It is quite difficult to get a group's efforts to fit together and look like they belong with each other because we all have different modelling and texturing styles/techniques/ideas which yield different
looking results. However, I think it is going al-right and we have worked well together!
On the Monday, I spent the whole day modelling/unwrapping my part of the scene which is the structure. This includes all the trim, the staircase, the banisters, walls, doorways and doors. I took on this role because I thought it would be a great opportunity to get stuck in with interior modelling which actually makes sense in terms of how it's built (Not just placing planes here and the for the walls etc).
Everything has to be made to scale as well, which is something we've had to consider as a group, but we have all based our models off of the original block-out I produced earlier on in the project. This
gave us a good base to work from because we all have to same scene. Therefore, when it comes to putting it all together, there is no need for a lot of tweaking/essentially wasting important time.
My job role is taking much longer than I expected it to because I'm trying to make it as accurate as I can, but that in itself takes up a lot of time, let alone the modelling/unwrapping! Anyway, here's the
stage I got to on Monday:

A lot of progress was made, but a lot more has to be done.
Tuesday was a very productive day! I managed to model/unwrap a lot of my assets, we put most of them into the scene, and scaled them accordingly. Everything is coming together very nicely, there are a few problems with the perspective but it's beginning to become a painful area because I've tried so much to match it up, but because of the lens that the scene was shot in, there's a few things that don't quite add up.
Nevertheless, the scene looks awesome and I can't wait to finish unwrapping/modelling the lot and get onto texturing! We did a very quick spot check to see what it looks like and here it is at this moment:

The morning session with Chris was about the colours used in films and one of the most memorable slides from the presentation was one which had a screenshot every 10-30 seconds throughout the whole film all put in sequence and it was amazing to see how the colour palette changed. These palettes effected the mood of the film which related to the events that were happening at that time. Here's a breakdown of Black Hawk Down:

Mike's afternoon session was also very informative as always, he went on to explain the importance of value control in our paintings as it helps draws the eyes to where you want them to focus as well as make your image 'pop' - The readability of the painting is hugely impacted by the use of the values. He also explained how having a very strong silhouette can mean that the rest of the design should work provided it isn't just awful. You can identify a memorable character through the silhouette, and thisalso translates into very small images because on a tiny screen you'll still be able to identify everything, despite not being able to see any detail.
Here's one of the silhouettes I designed for my character over the summer:

As you can see, the silhouette is pretty much there and it just needs some more tweaks to get it a bit more polished. My final character didn't look anything like this because I didn't follow it as I should have. Also, mine didn't have a cloak/hood because I was struggling to fit it all in the 5000 tri limit, but that was because I tried to make the face a little bit higher poly and ended up not making enough room for other details I wanted.
Wednesday was pretty much a 3D modelling day... Wooooo! I aimed to get all of my modelling done by Tuesday, but this didn't happen until Wednesday night. I think this is because I didn't take into account extra time for unwrapping, but everything (pretty much) is unwrapped how we want it, we just need to crack on with the textures now.
The following day however, involved another feedback session from the tutors & peers. I was feeling good about the current scene we'd rendered in max as a whitebox:


I thought it looked all well n' good for the assets we have done, it just needed the others/finishing touches to it and the scene would be modelled completely. However, Mike pointed out that the horizon line was way off and that the camera shot/setup was all wrong! I looked at it and immediately realised how wrong it was. This made us really focus on the fact that we have to get the camera lens and angle right for it to look good. After the presentation, I immediately went to the labs to try and sort it out and this is currently the best shot I have using 3ds max of our scene:

This was much better, but still a few small issues remain with the placement of assets. I can try to get a decent shot in UE4 using the depth of field and aspect ratio settings on the camera and I think it'll be good enough.
We planned to get a lot of texturing done on Friday alongside some of the card modelling. Unfortunately, the card model was taking far longer than we anticipated and we ended up just about getting it
finished by the end of the day. Here's a few pics of the model:


Some part of the model were really successful e.g. the walls, the measurements for the doorways etc, but as we realised we had less time to get it done, some of the assets were just made to fit by eye. Even though it looks nice, the actual scale of some models were a bit off. Nevertheless, I like how it turned out and couldn't wait to get back to unwrapping the last few bits and texturing.
I started texturing that night by doing the wood texture which will be used on a lot of the models, plus the ceiling texture. They're not the best, but due to time constraints, they'll have to do unless we get
time at the end for tweaking.
Over the weekend, I worked on the Tartan carpet running up the stairs (which by the way, is very hard to make from scratch!), the wall wood panels, wall paint, and 2 other wood textures.
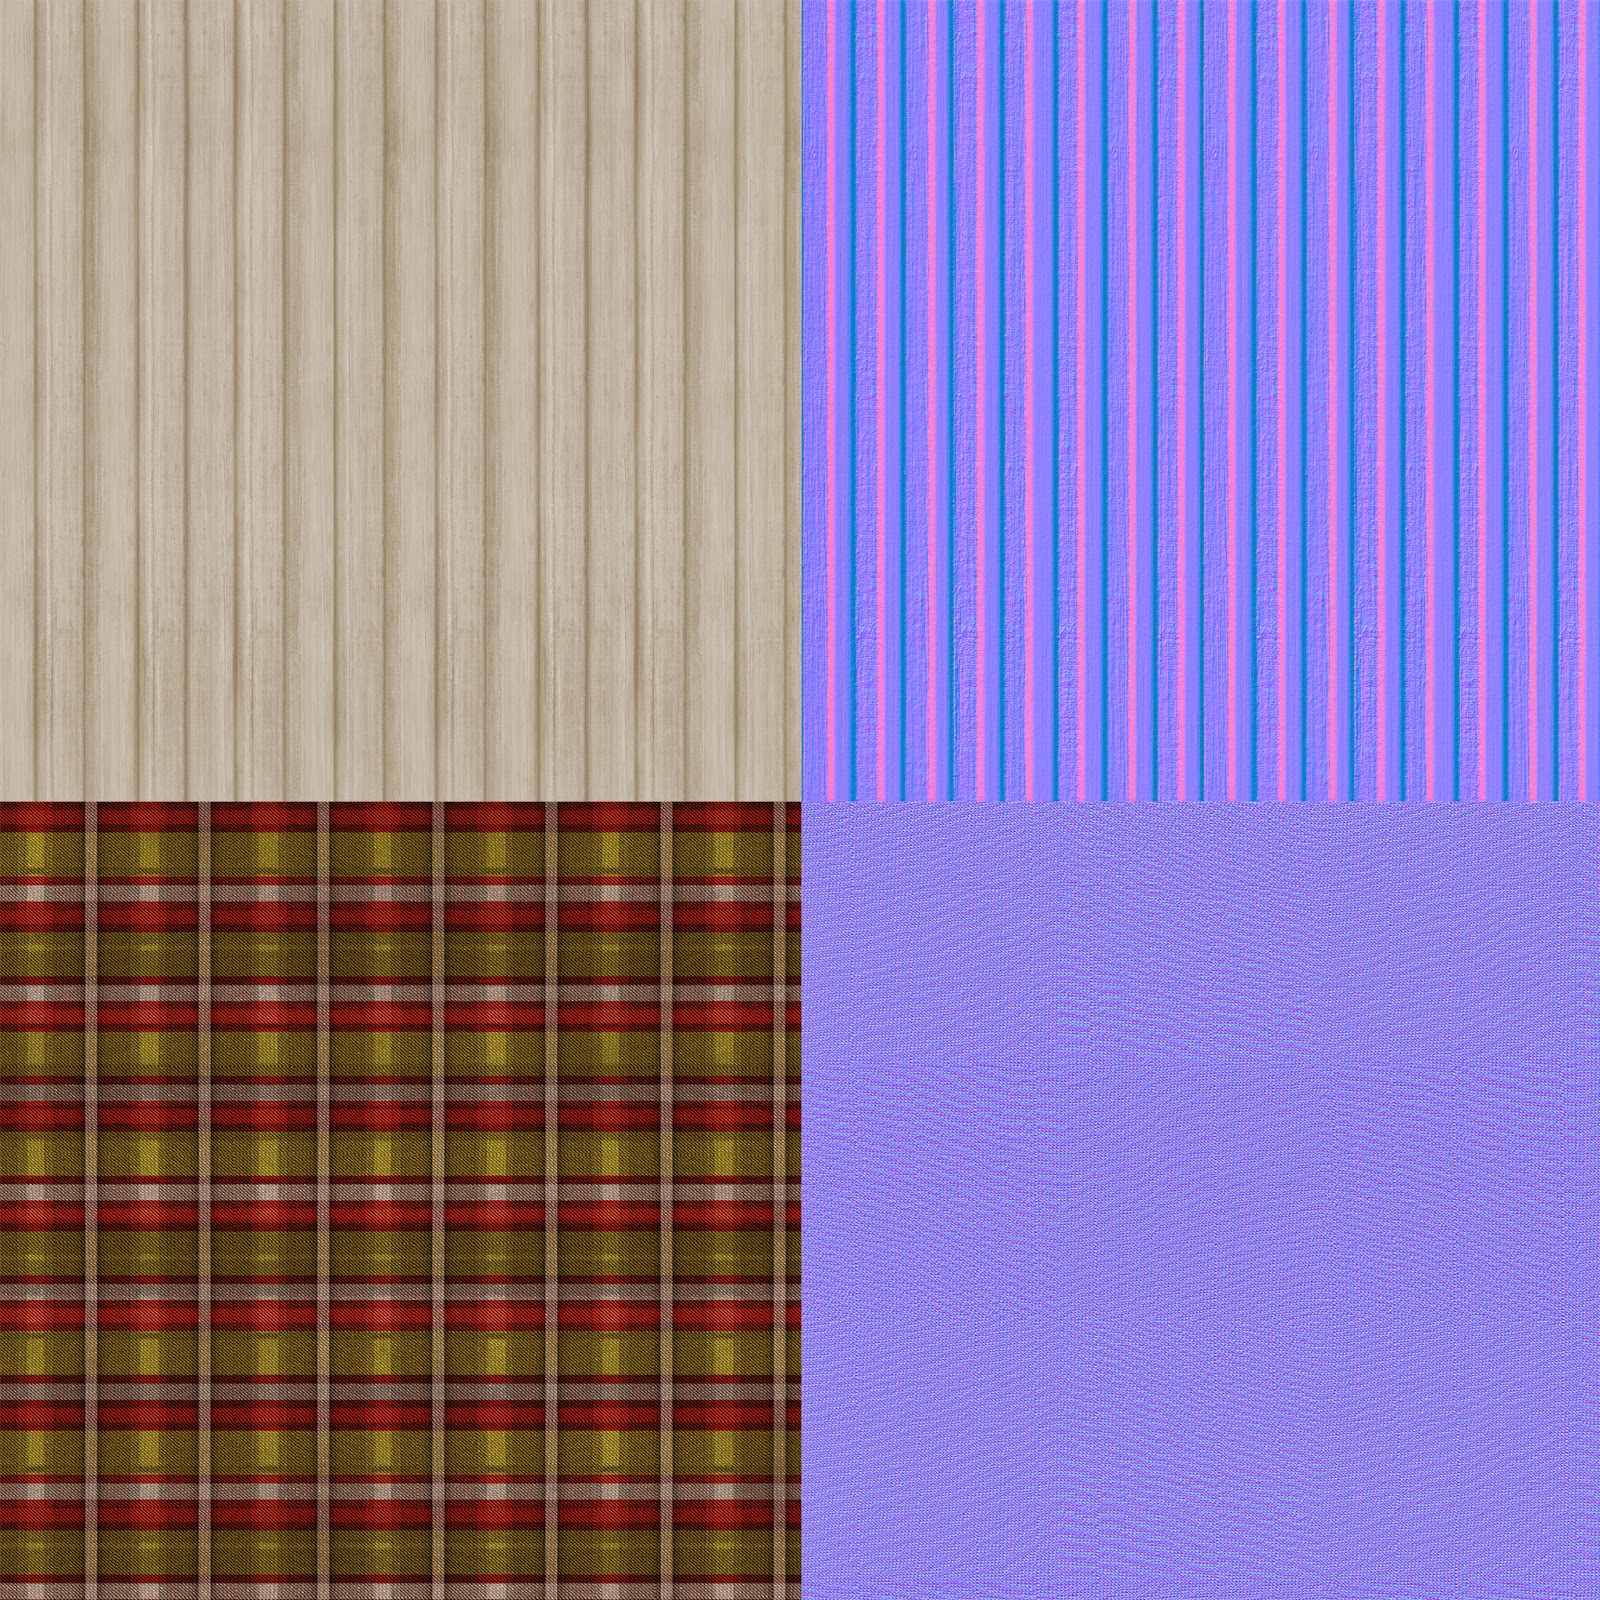


These are just the albedo and normal map textures, roughness maps have also been made for them.
Another good week has passed, but I'm excited to just finish the scene and do the lighting in engine to hopefully make it look even better. I also really want to move on to the next project because at the
moment it's unknown and that always excited me in 3D when we don't know what we could be doing next! I'd like to get to grips with making realistic textures using PBR, but I don't think that'll happen - I just assume they want us to learn that in our own time unfortunately. Anyway, hopefully it'll be something really cool and will be another group project because I have found the experience so far generally quite fun!
Onwards and upwards to the finalisation/presentation of this project! :)
No comments:
Post a Comment