Wednesday 29 October 2014

DMUGA Week 4 - Presenting our film scene/'Post-mortem' :)

The final deadline approaches for our 2nd group project, and I have to admit I'm a little nervous, but excited to see the scene come together to produce the fruits of our labour. I'm sure that we'll get it done on time, I just know that it'll be very tight considering we have a lot of write up to do as well as putting the scene together all within a few days. Ahhh! It'll be ok, heads down and across the line :)

Monday was a really fun and successful day! We (our group) learnt a few tricks from Steve, and we managed to just about get everything into one scene ready to be arranged and materials applied by 8 o' clock in the evening. I actually forgot to make the tiling floor texture alongside the others (I knew there was something I didn't do!) So I made it that very evening for the sake of the deadline we had today to get everything done. It's al-right and I think it'll fit the scene so I'm happy with how it turned out considering I'm totally knackered.


 Considering I made it is just over an hour, it ended up being pretty good!

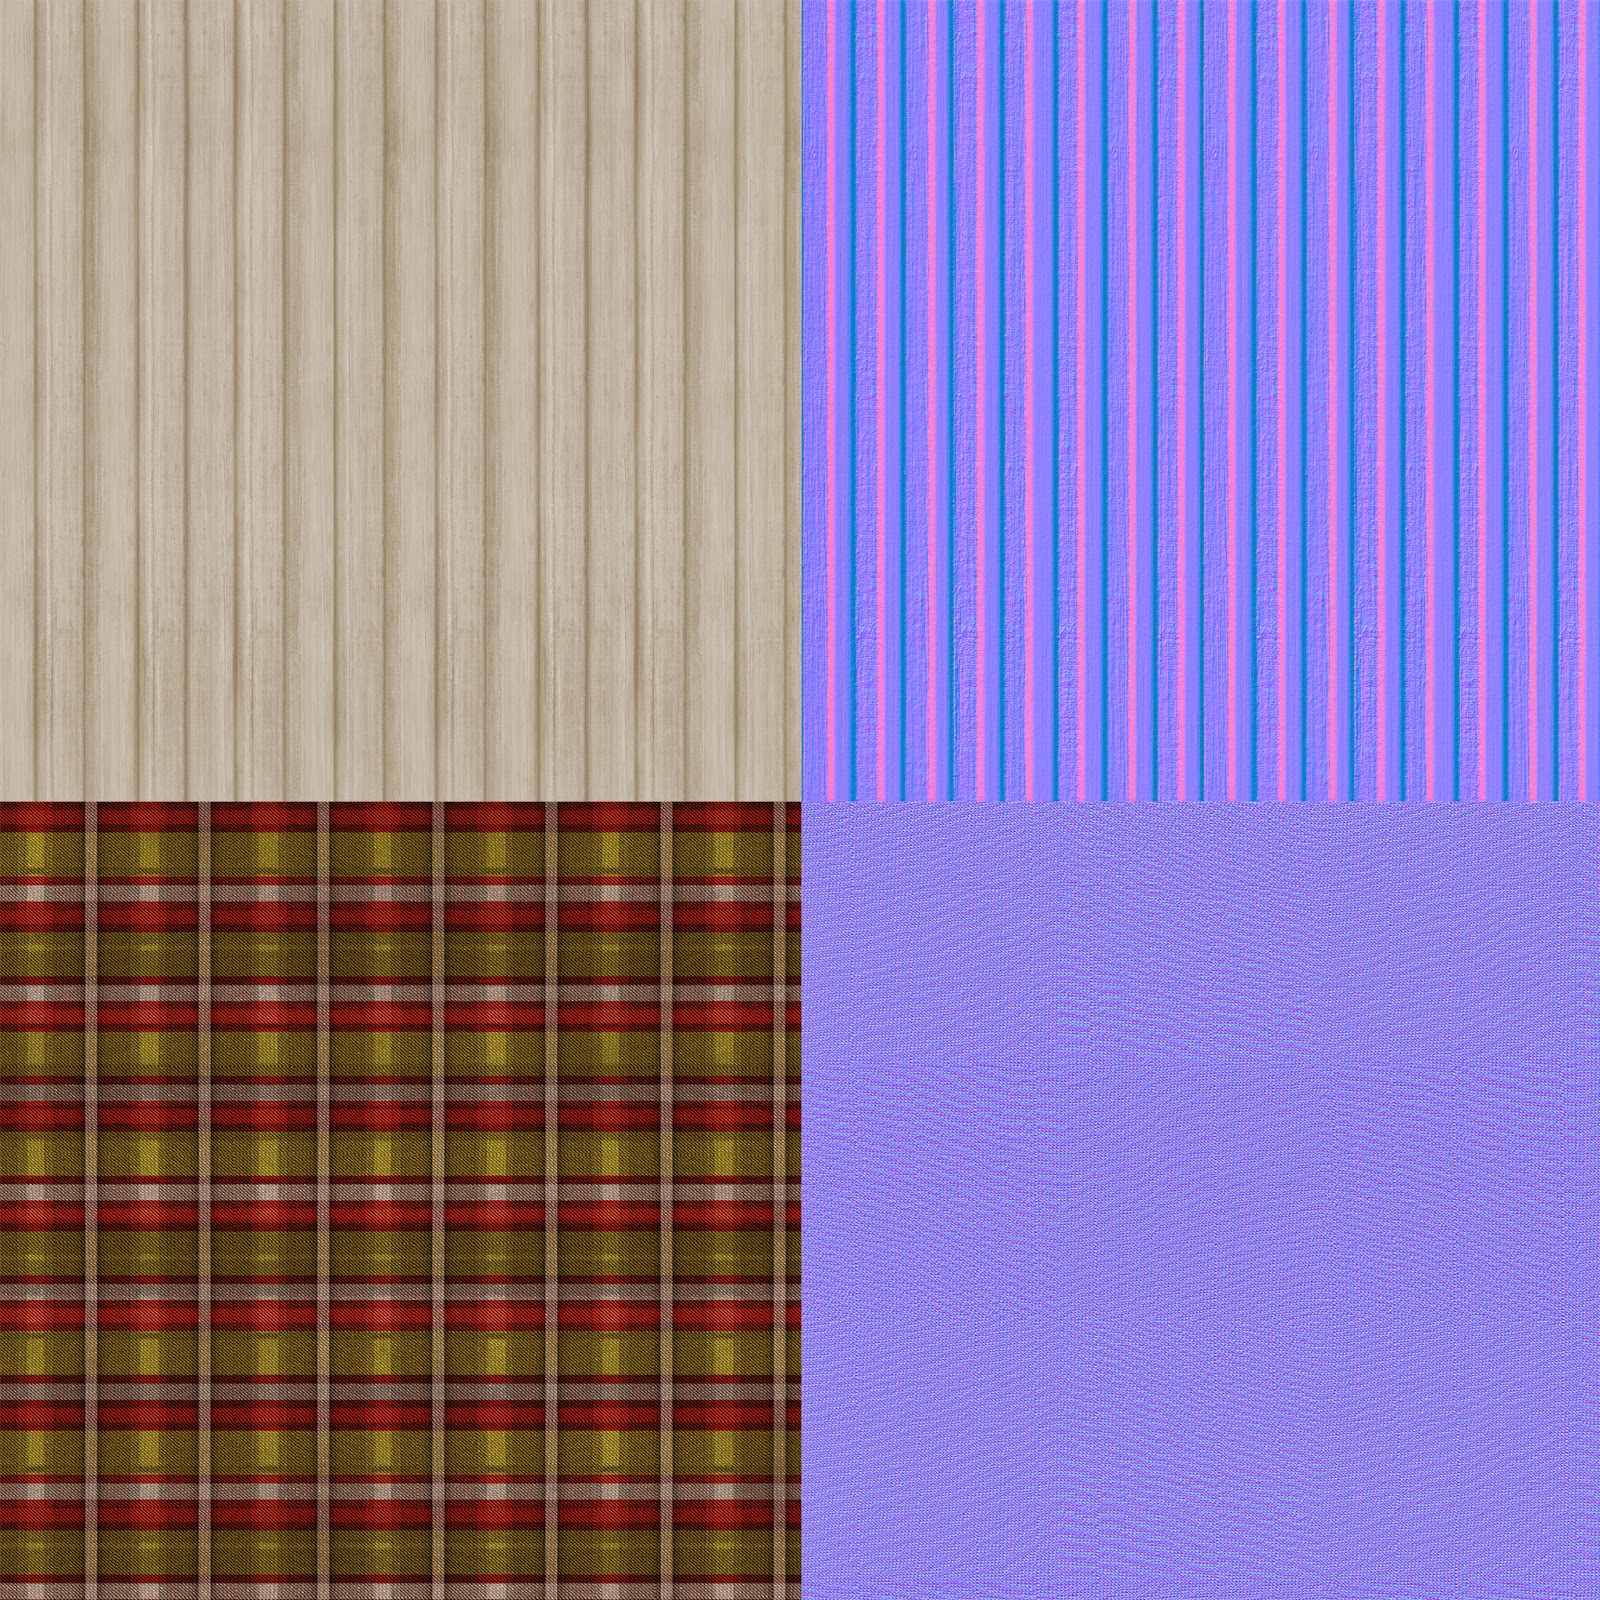
The rest of the texture sheets are here:


Visual Design on Tuesday was another feedback session with Chris which wasn't as helpful as we wanted it to be because our scene didn't load... Not a big problem though. It was also good to see the work the other groups were getting up to and their almost final scene completed. I'd say at this point I was pleased with what we'd done, we just have to get the lighting & camera angle down and we are all dandy.

Life drawing was surprising because we did have a model in the end, and my drawings weren't too bad. I just wish that I would have drawn mine a little bit bigger and rendered the fabric a bit better. I think I need to make use of the tonal values more as I used the same dark value on the model as I did on the background:


During the self-directed session, we worked a little bit more on the film scene and we managed to get some more textures applied and in the Engine working great. The scene with the assets were pretty much all in there and placed correctly, we just had a couple more to place.
Mikes session in the afternoon was awesome as always! He gave us an introduction into the Sentry Gun project we'll be doing the following week and provided some idea generation techniques - pretty much random from a selection of words to give a brief to meet, and splicing which involves taking two objects and merging them together to create the shape of whatever it is you're aiming for.
For example, I'll take a futuristic sentry gun and merge it with a banana. Now I have a banana shaped sentry gun which fires banana skins everywhere, making characters 'fall' over!

That evening, we stayed in the labs and had everything in engine and tried to sort out the lighting & camera of the scene.


It was very tricky to try and get right, but Lucy & Amanda had a good go at getting the lighting to look similar. They seem to have solved a few problems with dark textures by literally "banging a light in there". It's not the best tactic, but if it gets us one step closer to getting the scene looking right then by all means bang a light in there.

There was a lot of issues with the light-maps, causing random shadows everywhere, but we managed to get 95% of them sorted, so only a couple remain. However, those that remain weren't as important as the issue with the stairs. Here's the resolved light-map for the stairs:


Some other lighting problems which weren't desperate to be fixed for the final scene - the bottom of the walls are red, but couldn't be lowered in the density because the walls were all one object. Therefore, if we lowered the density further, the upper walls would look odd too:


Wednesday so was stressful, and it was another long day in the labs until 9 O' clock! I barely ate the whole day and ended up snacking on some biscuits (which by the way I never do!), but I needed the energy to last me until the labs closed. We spent the whole day trying to put the final things together/final touches on the scene as well as switching between all 5 of us to get the presentation ready for the morning.
The presentation was saved/uploaded at 20:55, 5 minutes before we had to leave... That's certainly not a healthy thing to do. I really do think now that we should have allocated a lot more time to getting the assets in the Engine and sorting all of the problems out, way before the final deadline. Plus, dedicating a decent amount of time on the presentation because a structured, well organised presentation is almost just as important as the work you're showing.

Here's some beauty shots of the final scene:


There was a little mix-up with what documents had to be submitted by Thursday, so I was stressing out over producing everything as well as all of the written design documents/review forms and there was no way that was going to happen for Wednesday night. Fortunately, these don't have to be done until Monday so I was very relieved about that.

On comes presentation day and everyone's work looked so good, so accurate, and well presented! I am amazed at how good everything looks already and we're just at the start of year 2! I was a little nervous purely because the style of presentation (20 seconds per slide, 20 slides) is a good style to have, but it throws me off a lot because I keep forgetting what it is I want to say. I ended up not saying a bunch of really important things which are key to how the group worked well, and how we went about the workflow to ensure that everyone is working from the same template.
It was ok I have to admit, I feel that I could have said so much more which would have been very relevant to how we worked as a team, but we can't go back and change it.

Here's the assets that I made/textured for the project:


I loved this group project though! I think that working in a team is really good fun, you can learn a lot, everything keeps you excited, you can help other people progress, and you all share a common goal to which is to make some that is awesome! It'll be weird going back to doing a single project next week for the 'Sentry Gun'.

Final Comparison:


Post-Mortem:


Summary of the project/What I’ve learnt:

As a very quick summary, I thoroughly enjoyed working in a team to produce this film scene. It held some challenges in the organisational sense, but I have learnt a lot from this experience. Each time I work in a team it will be a little bit different, but at least I know a bit on how to go about it. I like how the scene turned out because the models and textures look professional. However, I do feel that I didn't prioritise the room proportions as much as I should have. Overall, the project was very good, the end product could have been better (as always), but I am proud of what we managed to make, and glad that we chose this scene due to the challenges we had to confront during the process.

What I would do differently:

There's a few things I would do differently but time organisation, work distribution, and priorities are the main ones.

Time organisation: I think we would have benefitted from shifting everything backward in our plan and allocation more time to working in the Game Engine, and constantly checking back to the original scene to see if everything we do, fits the scene almost exactly. It would have been good if we had a lot more time at the end to tweak, learn about cameras in-game, get the lighting right, and work on the presentation much better than what we did. In addition, to have done a model-to-scene comparison check before the texturing stage to ensure that if anything looks wrong afterwards, it can only be the texturing, lighting, or camera (make sure the base mesh is accurate as possible).

Priorities: I didn't actually realise until part-way through the modelling to texturing stage that we had allocated things which weren't in the actual scene. In the back of my mind I was seeing it as a "Stretch goal" to expand on the scene and make the actual set, but this possibly detracted from potentially getting a better end result by having more people work on the important things in the scene itself.

Work Distribution: I think the distribution was okay, but it was apparent that some people had more to do than others. I think this unintentionally happened as we were discussing who wanted to do what in the scene. Next time, it would be good to establish how long we think each asset will take to make and double check with everyone that we are all sure that we can handle the work given to us - Constantly ask throughout If anyone feels they have too much or won't finish on-time/feel they have too little and are taking it easy, so that we can distribute the load more evenly.

Ways to improve personally:


-Learn more about lightmaps and how to make them correctly/avoid errors in engine.
-Spend additional time on the 2D aspect.
-Look at different kinds of materials in real life and how to replicate them as closely as possible in the game engine.

-Stick to the initial deadlines set within the project to make sure we’re all on track and using our time as efficiently as we can.

All is done now, I just had to write up the design documents over the weekend and prepare my mind for the creativity side of the 'Sentry Gun' next week.

Sunday 19 October 2014

DMUGA Week 3 - Everything is coming together... Hopefully! :)

Things are going so fast as we're already through the third week into my 2nd year at DMU! Our first project is only just under a week until hand-in day and it is nice to see how our scene is fitting together.
It is quite difficult to get a group's efforts to fit together and look like they belong with each other because we all have different modelling and texturing styles/techniques/ideas which yield different
looking results. However, I think it is going al-right and we have worked well together!

On the Monday, I spent the whole day modelling/unwrapping my part of the scene which is the structure. This includes all the trim, the staircase, the banisters, walls, doorways and doors. I took on this role because I thought it would be a great opportunity to get stuck in with interior modelling which actually makes sense in terms of how it's built (Not just placing planes here and the for the walls etc).

Everything has to be made to scale as well, which is something we've had to consider as a group, but we have all based our models off of the original block-out I produced earlier on in the project. This
gave us a good base to work from because we all have to same scene. Therefore, when it comes to putting it all together, there is no need for a lot of tweaking/essentially wasting important time.

My job role is taking much longer than I expected it to because I'm trying to make it as accurate as I can, but that in itself takes up a lot of time, let alone the modelling/unwrapping! Anyway, here's the
stage I got to on Monday:


A lot of progress was made, but a lot more has to be done.

Tuesday was a very productive day! I managed to model/unwrap a lot of my assets, we put most of them into the scene,  and scaled them accordingly. Everything is coming together very nicely, there are a few problems with the perspective but it's beginning to become a painful area because I've tried so much to match it up, but because of the lens that the scene was shot in, there's a few things that don't quite add up.
Nevertheless, the scene looks awesome and I can't wait to finish unwrapping/modelling the lot and get onto texturing! We did a very quick spot check to see what it looks like and here it is at this moment:


The morning session with Chris was about the colours used in films and one of the most memorable slides from the presentation was one which had a screenshot every 10-30 seconds throughout the whole film all put in sequence and it was amazing to see how the colour palette changed. These palettes effected the mood of the film which related to the events that were happening at that time. Here's a breakdown of Black Hawk Down:


Mike's afternoon session was also very informative as always, he went on to explain the importance of value control in our paintings as it helps draws the eyes to where you want them to focus as well as make your image 'pop' - The readability of the painting is hugely impacted by the use of the values. He also explained how having a very strong silhouette can mean that the rest of the design should work provided it isn't just awful. You can identify a memorable character through the silhouette, and thisalso translates into very small images because on a tiny screen you'll still be able to identify everything, despite not being able to see any detail.

Here's one of the silhouettes I designed for my character over the summer:


As you can see, the silhouette is pretty much there and it just needs some more tweaks to get it a bit more polished. My final character didn't look anything like this because I didn't follow it as I should have. Also, mine didn't have a cloak/hood because I was struggling to fit it all in the 5000 tri limit, but that was because I tried to make the face a little bit higher poly and ended up not making enough room for other details I wanted.

Wednesday was pretty much a 3D modelling day... Wooooo! I aimed to get all of my modelling done by Tuesday, but this didn't happen until Wednesday night. I think this is because I didn't take into account extra time for unwrapping, but everything (pretty much) is unwrapped how we want it, we just need to crack on with the textures now.

The following day however, involved another feedback session from the tutors & peers. I was feeling good about the current scene we'd rendered in max as a whitebox:


I thought it looked all well n' good for the assets we have done, it just needed the others/finishing touches to it and the scene would be modelled completely. However, Mike pointed out that the horizon line was way off and that the camera shot/setup was all wrong! I looked at it and immediately realised how wrong it was. This made us really focus on the fact that we have to get the camera lens and angle right for it to look good. After the presentation, I immediately went to the labs to try and sort it out and this is currently the best shot I have using 3ds max of our scene:


This was much better, but still a few small issues remain with the placement of assets. I can try to get a decent shot in UE4 using the depth of field and aspect ratio settings on the camera and I think it'll be good enough.

We planned to get a lot of texturing done on Friday alongside some of the card modelling. Unfortunately, the card model was taking far longer than we anticipated and we ended up just about getting it

finished by the end of the day. Here's a few pics of the model:


Some part of the model were really successful e.g. the walls, the measurements for the doorways etc, but as we realised we had less time to get it done, some of the assets were just made to fit by eye. Even though it looks nice, the actual scale of some models were a bit off. Nevertheless, I like how it turned out and couldn't wait to get back to unwrapping the last few bits and texturing.
I started texturing that night by doing the wood texture which will be used on a lot of the models, plus the ceiling texture. They're not the best, but due to time constraints, they'll have to do unless we get
time at the end for tweaking.

Over the weekend, I worked on the Tartan carpet running up the stairs (which by the way, is very hard to make from scratch!), the wall wood panels, wall paint, and 2 other wood textures.


These are just the albedo and normal map textures, roughness maps have also been made for them.

Another good week has passed, but I'm excited to just finish the scene and do the lighting in engine to hopefully make it look even better. I also really want to move on to the next project because at the
moment it's unknown and that always excited me in 3D when we don't know what we could be doing next! I'd like to get to grips with making realistic textures using PBR, but I don't think that'll happen - I just assume they want us to learn that in our own time unfortunately. Anyway, hopefully it'll be something really cool and will be another group project because I have found the experience so far generally quite fun!
Onwards and upwards to the finalisation/presentation of this project! :)

Saturday 18 October 2014

DMUGA Week 2 - Film interior problems! What scene to choose?

The second week into my second year at DMU studying Games Art, and it still amazes me how each project teaches me something new & improves me as a aspiring Games Artist!

The next project for 3D that we received on Monday was to start modelling the interior for our movie scene. I was really excited to just get stuck in and I did! We were shown how to use the new perspective tool in 3ds Max and I built a block-out for the scene in that morning. Here's the first block-out I produced:


Even though I was pleased with how it looked from the one camera angle, the room looked 'wrong' and out of proportion. At the time, I was reluctant to do it again, but one of the most important lessons I've learnt whilst being on this course is that if something doesn't have the desired outcome, and you potentially have to time to do it all again, then make another iteration. If anything it will be great practice! Therefore, after getting some advice from Steve, I re-blocked the scene out the following day and this is how it turned out:


As you can see, it is a lot more accurate and not only from just that one camera angle. This block-out was accurate enough for me to start modelling the structure of the house on top of it, but properly.
I must apologise, I didn't include how the first life drawing session went in my previous blog, so I'll mention it here. I didn't expect to just come straight in and draw anything too decent, but my drawings weren't a complete failure. However, I was a bit rusty and I'm really excited to get back into the swing of things and hopefully continue to improve! This current week, we produced drawings using charcoal, a rubber, and a charcoal covered sheet of paper. This is to focus on tonal ranges with the charcoal. I love this technique, however, I always find it difficult to get the range purely because the tiniest smudge using tissue paper will lighten up the black areas quite a lot, making it look flat.
Here's what I mean:

Week 1

Week 1

Week 2

Week 2


I am enjoying life drawing more so than last year, and I can see how much I've improved, but still have a very long way to go! I.e. My 2 minute drawings are very unfinished, and not aesthetically pleasing so I really need to improve on speed & accuracy.

In the afternoon session with Mike, we were told that for the movie project, we have a extra week. This is fine because it means we'll have more time, however, we only have this extra week because on Thursday they'd go through what movie we've all picked and give us the thumbs up or not. At this time I was just hoping that we could still do our scene because we've already done a fair amount for it. Nevertheless, I spent the rest of the day struggling to come up with other ideas that we could possibly do for this project. Here's all the mood boards for this project:


In addition, Mike showed us a colour palette technique which allows us to see how balanced the colour palette is of an image using a CMYK colour wheel:


I think Moonrise Kingdom is a good choice and I can't wait to make a decent start on the 3D side of things - Of which I started the next day by modelling the walls & side door frame.

We had another "Cool Sh*t Wednesday" presentation in the afternoon by Emma and even though it was a revision from a few months back, it was nice to see again what Emma has worked on and the kind of process she had to go through to make/animate little characters I.e. The horses from different angles made by an old painting program. Emma mentioned that one of the reasons why she loved her job was because you could change dramatically between art styles and what you are making in a short period of time, keeping it exciting and "fresh" each time. This is also one of my reasons I'd like to be a games artist!

Wednesday evening was spent making another mood board for other ideas we could do if Moonrise Kingdom got turned down. I have to admit, the past couple of days I didn't do much for the film project because I didn't want to put loads of hours in and have it be worthless to the project. However, the next day came and it turned out that Moonrise Kingdom was fine! Woohoo!

The lecture on Thursday Morning by Mike was re-enforcing what Joleon's presentation was about on Tuesday. The message from them were:

-Goal
-Audience
-Iteration

These are terms which we can all apply to many different projects in order to make them somewhat successful. A clear goal is needed (with the audience in mind/who it is for), and make many iterations of whatever it is you are doing to hopefully find that jewel of an idea.

The rest of Thursday was sent doing some 2D stuff and scaling the model in 3ds Max so that it fits to real-life. This means that for Friday's lesson with Jack, we can use the 3ds Max model to make it out of foam board and card by just scaling down using a conversion of 1:20. E.g. if the room is 8000mm across, the model's room would be 400mm across.
We measured all the aspects we needed to using a cuboid in 3ds Max:


I managed to get it all measured up and walls cut out whilst the group worked on modelling/unwrapping. We have also created a plan of what we need to do and with deadlines - this is very good because it'll give us something to guide our time to ensure we are doing things on-time:


I also did a little bit of modelling on Friday night, but not too much as I was pretty tired by the end of it... I need some downtime to relax!

Over the weekend, I got a fair amount done on the scene and this is what is looks like so far:


We also all got together as a group on Sunday night and tried to put together our physical model which is being made out of white card and foam board. It took way longer than expected and we still need to finish it at a later date; hopefully on Friday next week during Jack's lesson. Here's some of the process:


So a rather good week expect for the 'waiting period', I'm just glad that we could carry our film on and hopefully do it justice. There's a lot of work ahead but I'm sure we can do it, it'll be a painful process on the texturing of everything in our scenes though, as we have to make them super realistic as well as finish it all within the deadline! Ahhh, I'm not panicking... :)