Day 1 - Basics + Street Project, Road surface & pavement Texturing
The fundamentals surprisingly enough were almost everything I knew already (Which is a good sign!), although there was a few tricks I picked up on. For example, I knew about the swift loop tool, but had no idea you could hold down 'shift' and create an extra loop but averaged outwards away from the object. It's funny that this was exactly what I needed the night before when working on my van project. Another neat trick involved resolving the 'target welding' problem, in which the normals are flipped the opposite ways on the 2 polys, so you couldn't weld the vertexes together.
 |
| UVW Map for the road & pavement - 1024x2048 |
In addition, I played about in Photoshop a bit more and found out about the HDR toning adjustment which personally, I think can really make the textures 'pop'. I also tried a few different techniques on cleaning up the textures using the 'patch tool' & 'clone stamp' etc.
Day 2 - Making assets
I worked some more on my road textures because it just didn't look right. Here's an example of the first one:
 |
| Road Texture Example |
 |
| Render of my 'trash scene' |
Day 3 - Building more assets
 |
| Place sign |
 |
| Street warning sign - Please excuse the sky! |
Day 3 was the making of my streets signs. There was the place sign itself, plus a warning sign. these two object were rather plain and easy to make, and unwrapping them wasn't exactly too hard considering they were simple. Although, the place sign unwrapping was a bit harder than expected and I'm not sure why. Everything was box-like and so could be unwrapped into a clean net, but when it came to relaxing it, 3ds max just wasn't having any of it. Nevertheless, I completed both of them and started on making the bollard for the scene too.
I had a lot of fun creating these, and I was especially proud that my warning sign looks photo-realistic! I reckon if placed in a real-life scene, you'd have to look pretty hard to see that it is just a model.
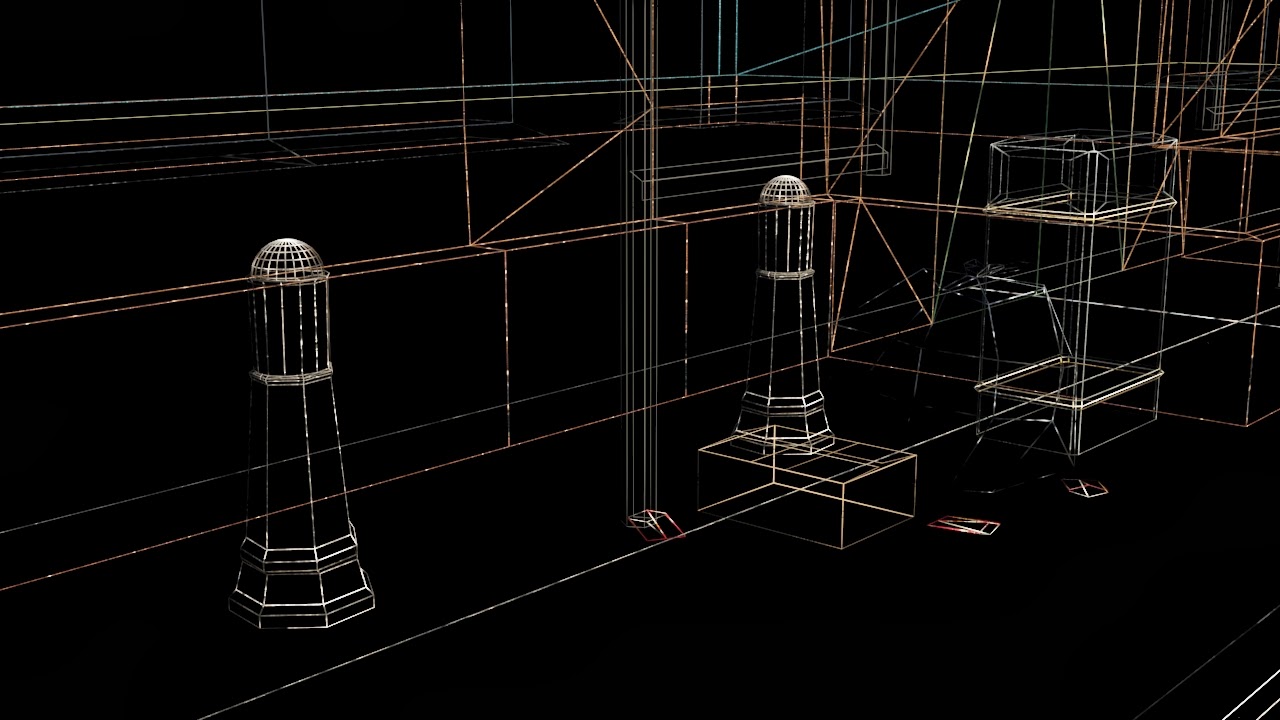
I also got to work on my bollard. This wasn't too bad to make, a small issue with connected a few verteces up but nothing too problematic. The real issue came when it was time to texture it, but didn't start this properly until Thursday.
Day 4 - Getting as much done as possible
 |
| Finished Bollard |
 |
| Diffuse texture for the bollard |
In the second half of the day, I worked on my ticket machine, which again, was easy to model, but texturing it was harder than expected. Still, it wasn't something I could handle, and I think it turned out very good, especially the specular & bump maps on it. However, for some reason, the specular for the information block on the top of it just didn't want to work.
 |
| Finished ticket machine - slight problem with specular on top |
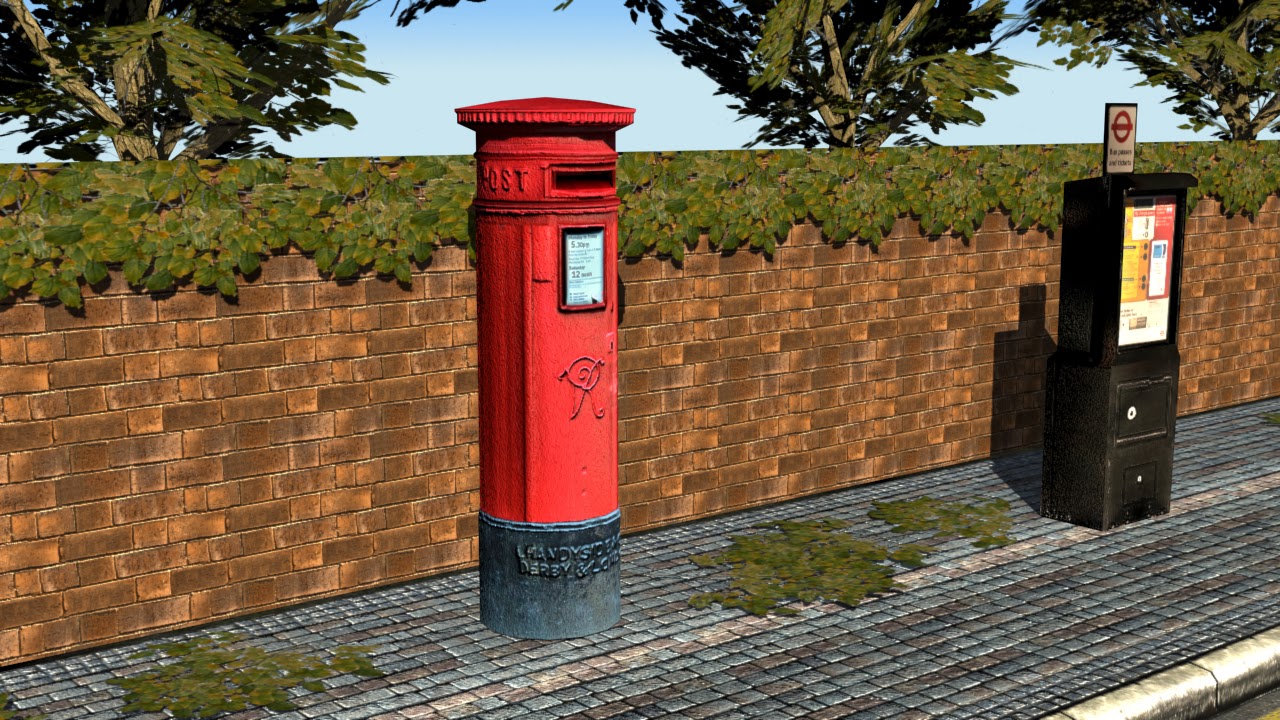
Day 5 - Finishing off & scene setting
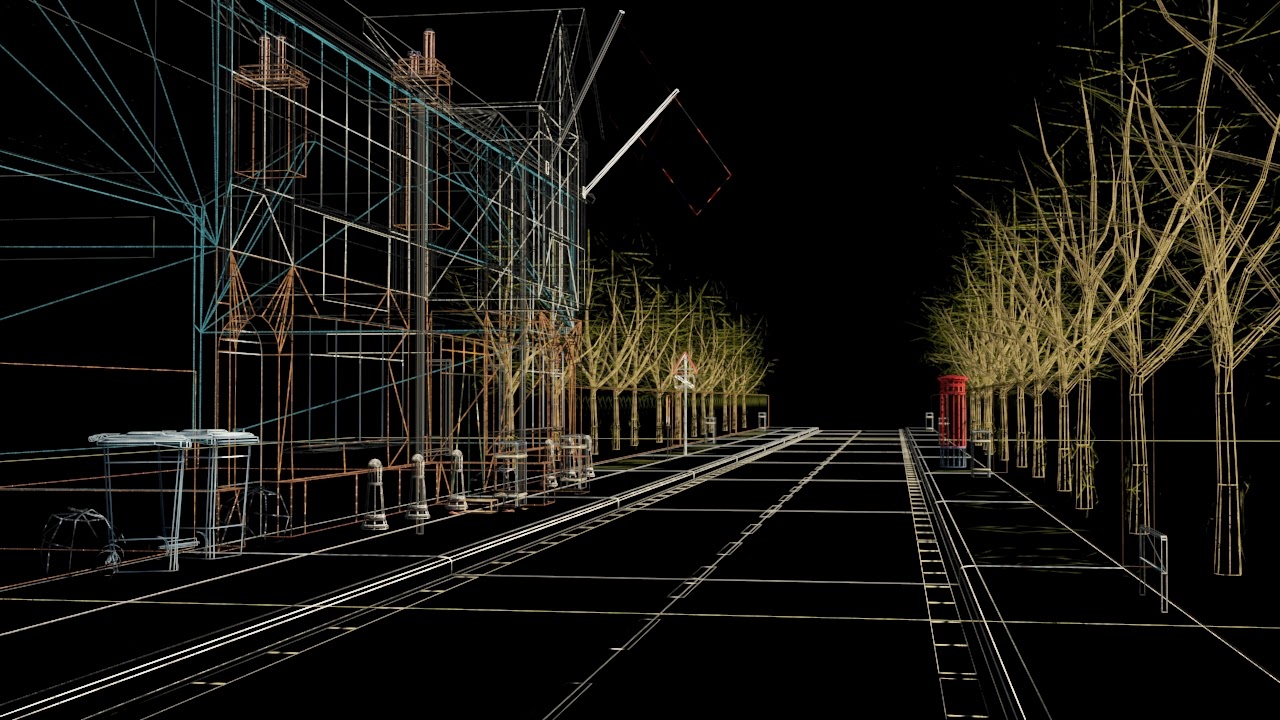
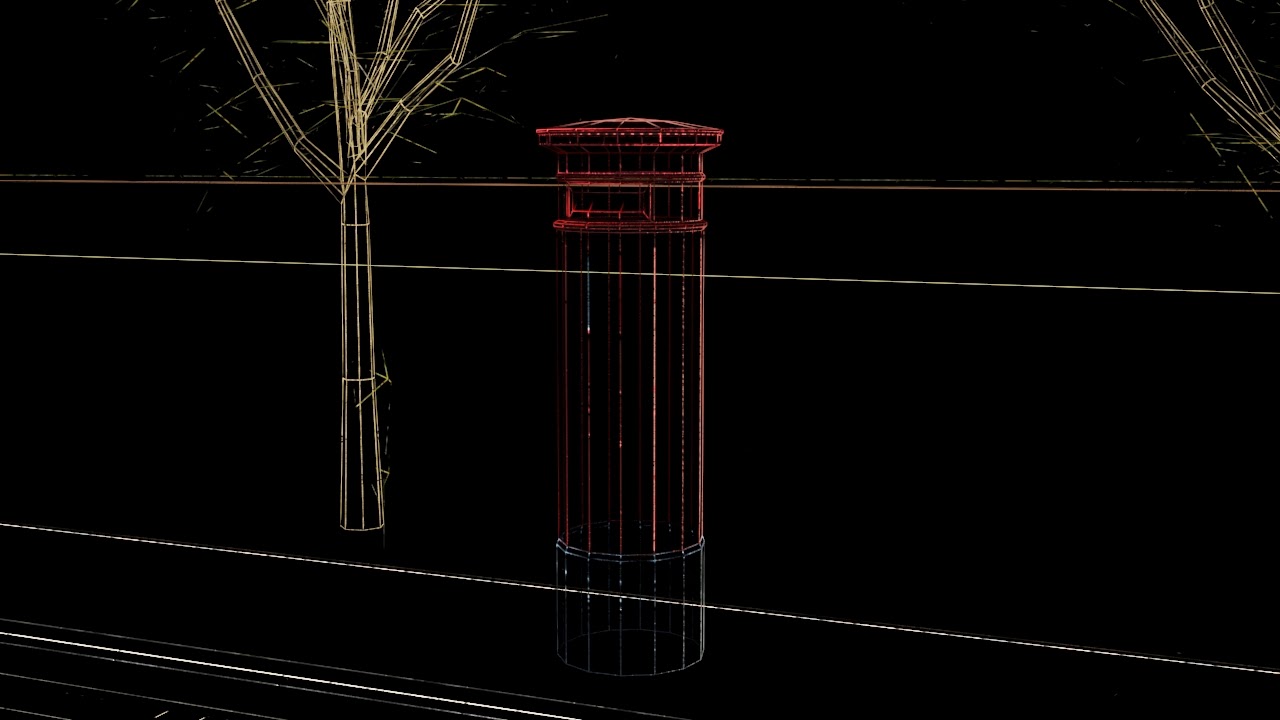
The last day was a chance to learn more about rendering techniques and basic lighting. I still had the postbox matter to tend to and I finished that off first before trying to lay out my scene. As you can already see, I've imported models from previous projects into my scene I.e. the building, trees, and the wheelie bin. After finishing the assets I needed, it was almost hand-in time, so I had a couple of hours to get my scene set up, lighting fairly good, and all my renders done, before submitting it and linking all of the textures so that they'd work properly. Here's the rest of the render of my scene:


To be completely honest, this week has been such a massive help in terms of getting to spend more time with 3ds max & Photoshop. I've learnt so much more about texturing properly, unwrapping in different ways, and in general producing better results than I was previously. The importance of getting good references was clearly highlighted and I love that I now have a better understanding of height, bump and specular maps. Baring in mind because it's the first time I tried creating my own height & specular maps, I kind of went a bit crazy with it, but I know that I need to tone it down a tiny bit, or at least have more control over it - not to mention only putting it where it's needed to bring the object some complexity. I now look forward to the visual design week, but have already seen the amazing work they've produced... Let's just say I don't feel up to scratch.
No comments:
Post a Comment