Saturday, 25 January 2014

DMUGA Week 17 - 'Boot Camp': Game Production

Okay, so let's get this straight. I made a very silly mistake and went to the wrong workshop... Great way to start the week! I was supposed to have Visual design/Life drawing this week, but instead I went to the game production one. Anyway, here's how the week panned out:

Day 1 - Basics + Street Project, Road surface & pavement Texturing

The fundamentals surprisingly enough were almost everything I knew already (Which is a good sign!), although there was a few tricks I picked up on. For example, I knew about the swift loop tool, but had no idea you could hold down 'shift' and create an extra loop but averaged outwards away from the object. It's funny that this was exactly what I needed the night before when working on my van project. Another neat trick involved resolving the 'target welding' problem, in which the normals are flipped the opposite ways on the 2 polys, so you couldn't weld the vertexes together.
UVW Map for the road & pavement - 1024x2048
We then began to work on the road surface by producing a very basic model of one side of the road & pavement, then going on to texture them. I started doing what I have been taught to do which is to have all the textures on different sheets, then apply the materials to the appropriate faces using a multi-sub object and materials ID's. However, I saw that Steve (our tutor), was using a 1024x2048 texture instead of the usual square ones that I learnt about. There are pros and cons of both ways, but because I'd never used this before, I wanted to try it out. The good thing about this method is that you get more control of blender between the textures, but less control over the size of them. Nevertheless, I did it anyway just to have the experience of using it in this way.
In addition, I played about in Photoshop a bit more and found out about the HDR toning adjustment which personally, I think can really make the textures 'pop'. I also tried a few different techniques on cleaning up the textures using the 'patch tool' & 'clone stamp' etc.

Day 2 - Making assets

I worked some more on my road textures because it just didn't look right. Here's an example of the first one:
Road Texture Example
As you can see, from this point of view it generally looks alright, but once I'd copied the road over for the other side, the pavement looked way too small.
Render of my 'trash scene'
This meant that I had to scale the pavement up, which of course made the bricks look too big and completely out of proportion. I went to change the size of them in Photoshop, but it meant that they looked even more tiled than they did before hand. This lead to the problem of: A) Spend hours playing about with the bricks to try and make them look more random, or B) get to work on other assets so that my scene didn't look so empty. I therefore opted for B and got to work on my bin bag, crisp packet & cardboard box. The bin bag had it's own issue when it came to unwrapping & texturing, but it turned out alright. However, If I did it again, I'd want to try texturing it a bit better than I did in terms of the specular maps, and the diffuse itself. The crisp packet was obviously rather easy to do, but the box gave me a slight headache as I had to try and match up the 'amazon' words from plane-to-plane; not a big deal though.

Day 3 - Building more assets


Place sign
Street warning sign - Please excuse the sky!
By this point, I'd already stayed up late trying to get each little project finished for each day and it was clear that I'd be doing that all week. Having said that, at this point I was feeling rather good/proud of myself that within a couple of days of pure 3D modelling & texturing, I'd made so much progress.

Day 3 was the making of my streets signs. There was the place sign itself, plus a warning sign. these two object were rather plain and easy to make, and unwrapping them wasn't exactly too hard considering they were simple. Although, the place sign unwrapping was a bit harder than expected and I'm not sure why. Everything was box-like and so could be unwrapped into a clean net, but when it came to relaxing it, 3ds max just wasn't having any of it. Nevertheless, I completed both of them and started on making the bollard for the scene too.

I had a lot of fun creating these, and I was especially proud that my warning sign looks photo-realistic! I reckon if placed in a real-life scene, you'd have to look pretty hard to see that it is just a model.
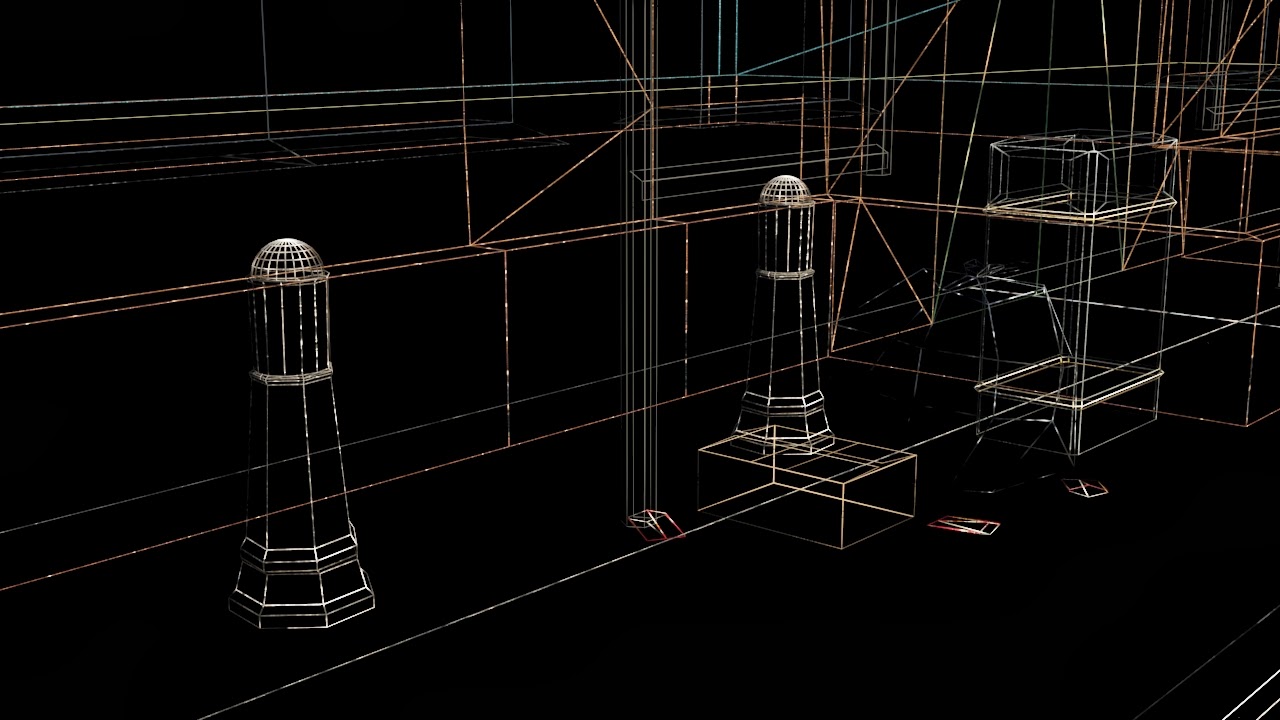
 I also got to work on my bollard. This wasn't too bad to make, a small issue with connected a few verteces up but nothing too problematic. The real issue came when it was time to texture it, but didn't start this properly until Thursday.

Day 4 - Getting as much done as possible

Finished Bollard
Diffuse texture for the bollard
At this point, I'd stayed up every night in order to make things look good and making sure I've got enough for my scene. I still didn't have a phonebox, a ticket machine, or a postbox. In the first half of the day I set my goal on finishing the bollard for the afternoon and I did. Now, as you can see from the texture, I found that by unwrapping it in this way, it wasn't so hard, but it did mean that in order to get it looking good, I had to spend a long time in Photoshop building it from the bottom to top in segments, whilst trying to keep it looking in perspective as it bent round. The other way of doing this is to make it into a sqaure shape uv, which I did for a different asset the next day. The dome at the top was quite a challenge to texture, I should have done the same thing and built of the base to the top, but instead to save time I used the patch tool and tried to merge it all together.

In the second half of the day, I worked on my ticket machine, which again, was easy to model, but texturing it was harder than expected. Still, it wasn't something I could handle, and I think it turned out very good, especially the specular & bump maps on it. However, for some reason, the specular for the information block on the top of it just didn't want to work.
Finished ticket machine - slight problem with specular on top
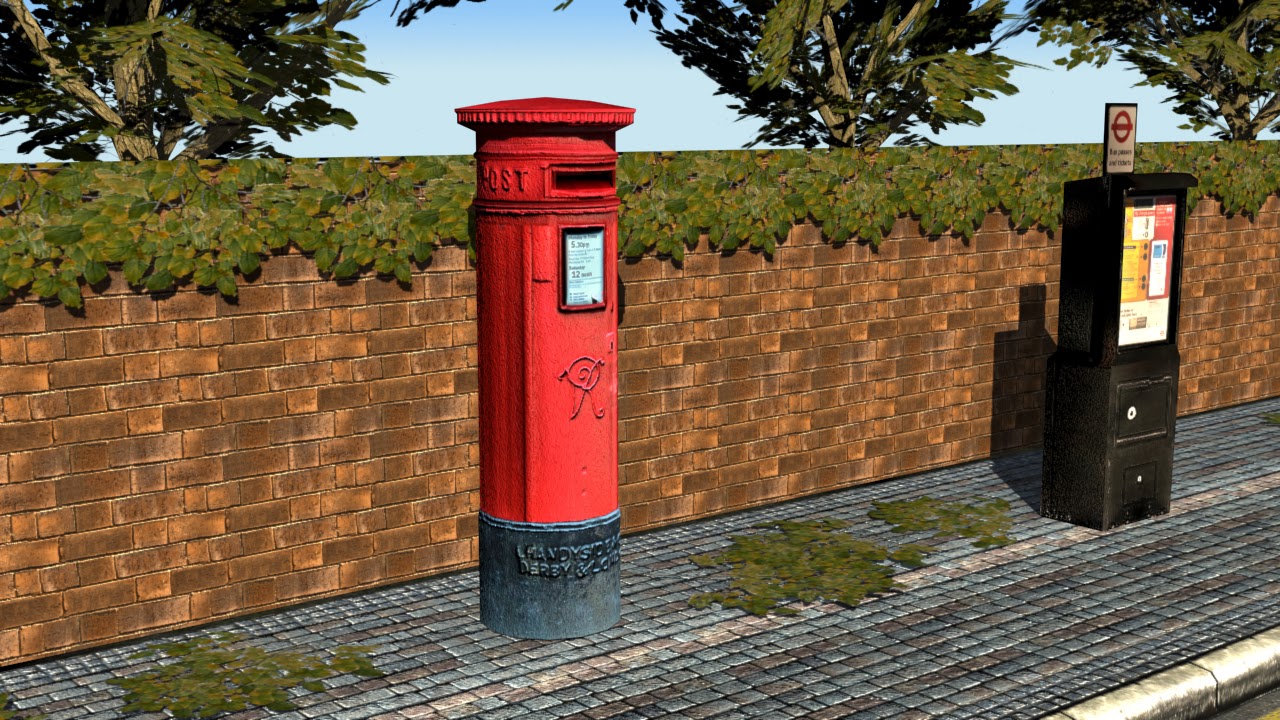
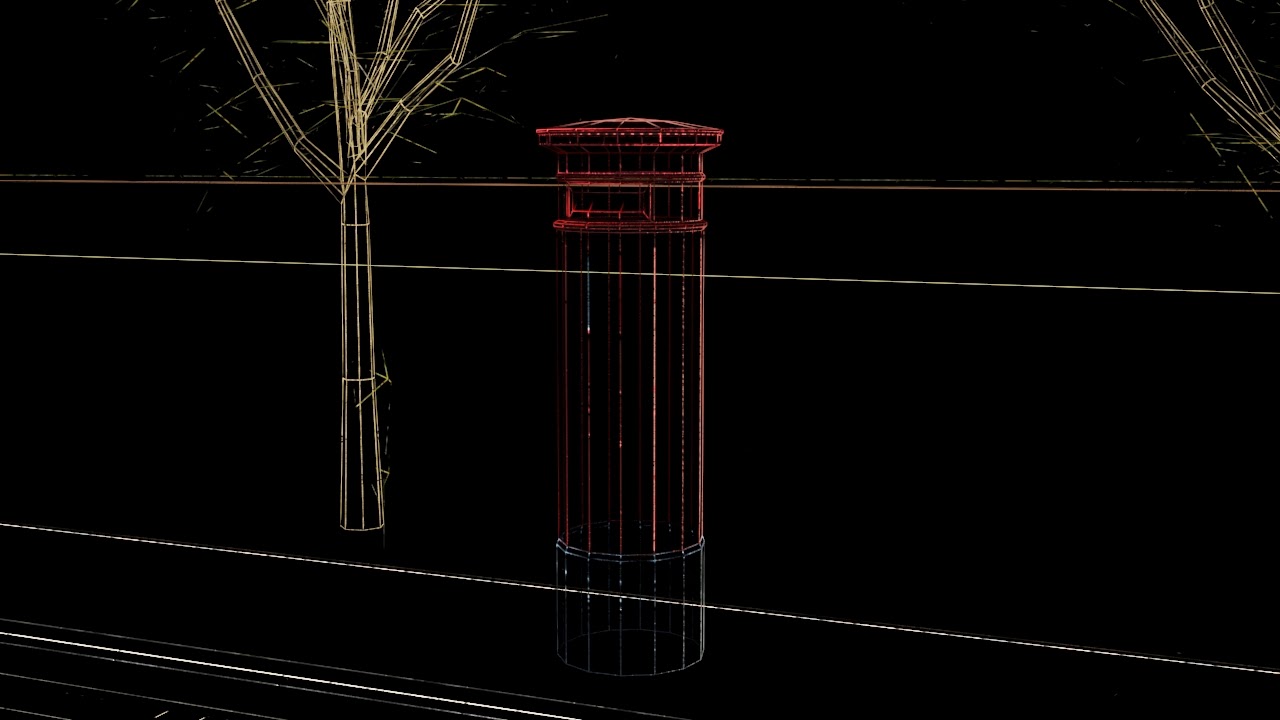
In the evening I start of my postbox because in order to bring some vibrancy into my scene, I was in desperate need for something red. The postbox seemed like a manageable task to get finished for the next day and looking good. The model of done, it just needed texturing.


Day 5 - Finishing off & scene setting

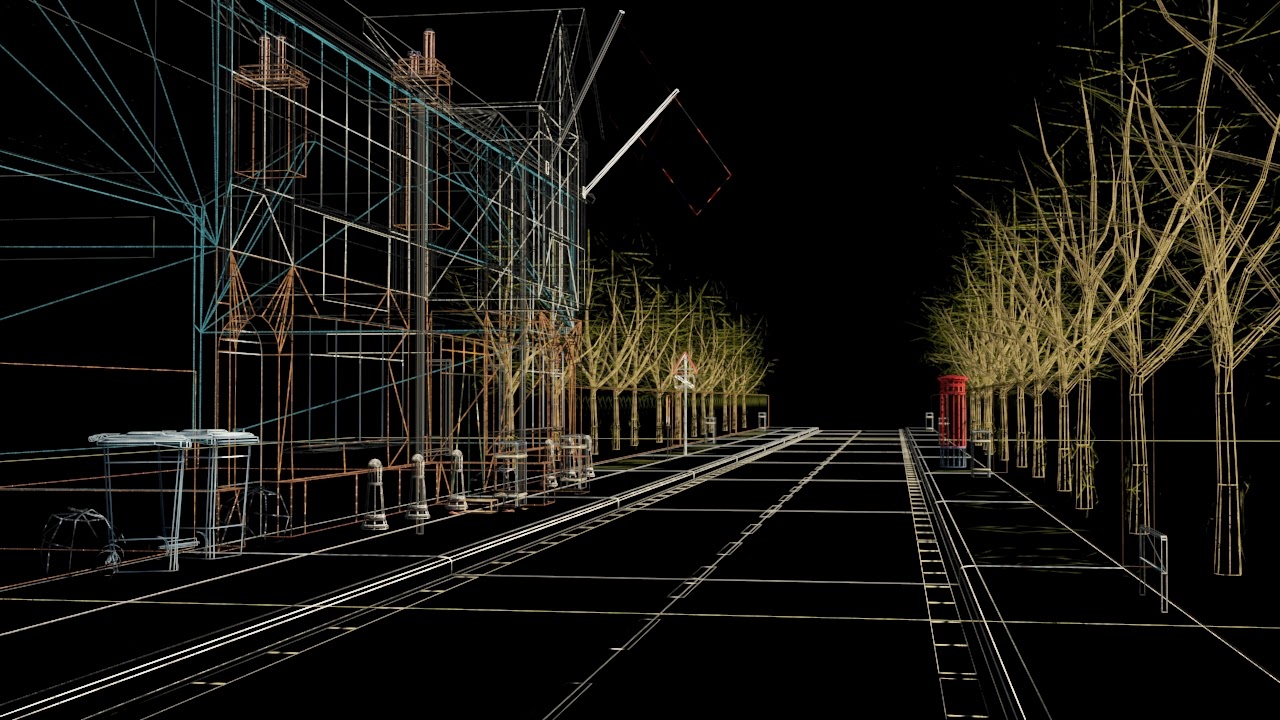
The last day was a chance to learn more about rendering techniques and basic lighting. I still had the postbox matter to tend to and I finished that off first before trying to lay out my scene. As you can already see, I've imported models from previous projects into my scene I.e. the building, trees, and the wheelie bin. After finishing the assets I needed, it was almost hand-in time, so I had a couple of hours to get my scene set up, lighting fairly good, and all my renders done, before submitting it and linking all of the textures so that they'd work properly. Here's the rest of the render of my scene:


 Summary

To be completely honest, this week has been such a massive help in terms of getting to spend more time with 3ds max & Photoshop. I've learnt so much more about texturing properly, unwrapping in different ways, and in general producing better results than I was previously. The importance of getting good references was clearly highlighted and I love that I now have a better understanding of height, bump and specular maps. Baring in mind because it's the first time I tried creating my own height & specular maps, I kind of went a bit crazy with it, but I know that I need to tone it down a tiny bit, or at least have more control over it - not to mention only putting it where it's needed to bring the object some complexity. I now look forward to the visual design week, but have already seen the amazing work they've produced... Let's just say I don't feel up to scratch.

Friday, 17 January 2014

DMUGA Week 16 - Always giving it my all

Just a brief introduction to explain why I chose the title I have. From the very start of this course I can honestly say 100% that all I give is my best. There's been many times I've thought about whether or not I'm cut out for this, and this is yet another one of those times. I'm sure there are other people that feel they're not good enough as well, but the lingering thought of "What else can I possibly do?" is just sitting there in the back of my mind. I look at others so I can see what I'm striving to beat/compete with, but I don't know what more I can do to try and get to that level; if I can't even compete then they're the ones going to be getting the job. I could go more in-depth but will keep this short. So just to summarise, I NEVER give up on anything and will keep going full steam - if I don't meet the standards required by the end of year 1, I may have to re-evaluate.

Visual Design

Moving onto a brighter note, it's now clear what we need to do for this 2 week project. It's extremely frustrating that any value of time that Chris recommends each piece should take, I end up doing double (as said in my previous post) and it's a massive problem which I just can't seem to help! The thing is, because I'm not as experienced as many others, I have to take extra time & preparation on everything we draw. This means that I end up spending so much time on the visual design work, I don't leave a lot of time left for game production. Obviously weekends are out of the question, each day timetabled off is just another day where I do my work. Also, a lot of people have said that the amount we've been given to do is too much, and it wouldn't be if we did only spend 1 hour drawing each final + 5mins per sketch, however, if this is what I did spend... I'd probably get shown the door.
One of the finals I did using the Indian Ink (More time spent than I should have)

Over the past few pieces that I've done this week, I have really tried to spend literally 10mins on the smaller sketches, and keep it under 2 hours for the finals. This does mean that the quality of work has suffered (noticeable in my most recent one), but not too much hopefully. I've had a lot of time now to play about with different shading techniques used with the indian ink & fineliner, I'm still experimenting and making mistakes (I.e. Putting too much on, too much water, bleeding becomes problematic), but I think I'm honing in on a style that I like and is quick to do.

Game Production

Into the 2nd week of our van project and I had planned to have finished the exterior & interior by now. I am close to that as of this moment, but having said that, I still have a fair amount to do for the interior. Although, considering I have around 700 tris left, everything will be very low poly so it may not take too long. The thing that worries me however is that despite having 4 weeks, our head of 3D has said that she built-in the time with this project alongside the 2 weeks of intensive study. Which essentially means we don't really have 4 weeks. I am proud to say that my topology/polyflow for this is actually rather good for a first-time vehicle, I just need to make sure that my texturing is up to par in order to bring it to life. I am extremely looking forward to the gladiator project we have next, it'll be a challenge but hopefully one I'll enjoy very much.

Van_001 - Iso front view
 As you can see from the pictures, everything seems to be pretty good, the only thing that maybe slightly off is the bend at the bumper coming round the front. Although, this isn't a major cause for concern, plus, I tried to make it so that when it comes to texturing, I'd have 100% accurate lines where the bumper starts/finishes, to prevent the bumper appearing too large or too small.

Van_001 - Iso back view

In addition, as I've just mentioned, we found out about what will be happening in the next 2 weeks. One week will be dedicated to visual design, one week to game production. They claim that it'll be a crash course for fundamentals that all of us should have learnt by now, but will go over to really let us absorb everything. I think this is a really good idea, but I will say that I'm pretty scared of the visual design - I'm just excited for 3D.

Critical Studies

The past 2 seminars have been rather interesting. They're trying to get us to see objects in the 3D poly mesh that we'd be modelling on 3ds Max. This is well us when it comes to creating them because if we think about how something is structured/how it's weighted, we add geometry to the areas where there needs to be structure (I.e. In an orderly fashion which logically would support the weight of that object). In the first week we were given a task to model a card manikin using the idea of very low poly. In our group, we met up and started to brainstorm a quick & easy net that we may use for the body and the head. However, we quickly realised that in order to make it accurately, it would take a lot of measuring out/getting angles right etc. So instead, we decided to do a very quick model in max, UV unwrap it and print out the net.

Modelling it in 3ds Max
The finished mankin
 I have to say that it worked out very well, a couple of problems cutting it out but otherwise, rather swift. The thing I liked about our model is that because of the net, we could get some sort of form to our limbs, whereas other models were very block-like and quite linear.

The think that I like about doing this is the sudden realisation that anything we model which is low poly like this, we can potentially print out the net and make it into a form we can touch without the use of a 3D printer. The next project we've been set is to texture it. We've been given little block-men to do for 'fun', but I'd really want to see if we can texture ours in Photoshop and print out the next again so we can apply it to the figure. I don't know if that'll happen, but it would be nice.

A good week despite the stress, and I am very much enjoying things. It's just the battle of keeping up to speed and not producing work which is unacceptable. The next 2 weeks may bring me to tears, or be extremely helpful and be just what I needed to keep me on the path to becoming a game artist.

Thursday, 9 January 2014

DMUGA Week 15 - Term 2 Begins...

The holidays are over now, time to crack on with what needs to be done! As usual, I'm a bit nervous about starting, but hopefully things will be ok (thoughts before day #1).

Visual Design

The first week back has been a big hit in terms of workload. I have literally spent most of my waking hours trying to do work for visual design. Even though I know that the smaller sketches are only supposed to take 20-30 mins each, I take a lot longer. In fact thinking about it now, if someone suggests it'll take x amount of time, I'll be spending probably twice that amount doing it which means I end up being more stressed out because I can't see myself finishing the work in on time, this in-turn results in late nights to ensure it's done.
Going back to a previous blog post of "timetable my life", I have since then done exactly that. However, I'm always tired, my eating patterns are very weird to say the least, and I don't feel like my work is the best it can be even though I am most definitely giving 100% effort. Going off some advice from some friends, things I do may not be the best, but it's practice, and if it looks bad it's not the end of the world if you submit it - not everything will be great so accept it and move on to the next task.


Life drawing this week I felt was pretty good, as the first lesson back I decided to make my focus still on proportion and shading to some degree. I do admit that I can see improvement in my life drawings now from when we began, I.e. I've finally allowed myself to draw bigger by choosing a better composition & focusing on a certain area and enlarging it, as opposed to just drawing the whole scene. I know it's still not great, but once I've done some more like I did today, maybe I can go into correct shading for muscles instead of it looking a bit flat.

1 Page of the 'feet project' over Christmas

Laying pose #1


Game Production

The Transit van project was given to us and I was really looking forward to this one because I've seen speed modelling of vehicles on the internet and have always wondered how to do it. The technique we have to use is 'Strip modelling' and you build by extruding lines out for the majority of it. The design document we have to produce is good because it'll let me schedule what I need to have done by what time, plus any problems I came across along the way. Now, I'd love to be able to spend 5/6 hours straight just modelling this van, but because I'm so slow at drawing, I have to put most of my time into that and just work on the van when I can. This is a problem I've had to deal with since I've started, and I really hope it won't affect my model for this project too much.

Critical Studies

The lecture this week was a little 'booster' for the 3D aspect of this course. Michael spoke about seeing the world in primitives/basic shapes and incorporating volume in our visual work from using this concept. This is pretty much the level of expertise that I expected when I signed up, being able to look at ANYTHING in this world no matter how complicated, and model it in 3D and be able to say "I made this, it's not a photograph."
The seminar lead on from this and we had an activity to physically demonstrate the importance of low poly modelling which is accurate and a solid representation of the real thing. This also tried to show us how to think of objects as triangles and how we may be able to model it. The homework for this is to make a paper model of a person, which should get us to look at the form in a low poly mesh.

So, apart from the workload which is only going to increase, I'm excited to crack on with whatever they throw at us!