Sunday, 23 February 2014

DMUGA Week 21 - Characters Continued... :)

After the first week of these character projects, I was feeling good in general. I had a basis to which I could form my Visual Design character, and I had most of the body done for the 3D Gladiator. This blog will be about how I've developed them both, up until the stage I am now.

Monday - Visual Design

For this week, we had 2nd year students helping us with anything we needed to ask questions on, give some crits, and advice on how to go about this project. Chris let us know that we had to model our character this week using Plasticine or sculpey, although, since I already have Plasticine, I'll stick with that for this one.
Even though I'd love to model my character right away, I know that I hadn't done enough development and only 1 orthographic view of the character's head. So, before starting my digital final on Wednesday, and my model on Saturday, I decided to develop my character until I was happy with it. Here's some of the things I did:

Part of the character development


Modelling from Plasticine


Gun made from card and painted with black acrylic paint


I have never drawn an orthographic view of a person before this project, so throughout it I admit that I had to look at quite a few reference images to observe how it's done. I think that whenever I do this now, I need to draw the anatomy underneath everything before continuing, at least until I am comfortable and confident with how to draw the body from different angles.
I went from a western character, to a thug, to an explorer, and finally settled on a hunter. I wanted to see how he'd work in different personas, and thought that the hunter just seemed to work.

Tuesday - Game Production 

As there there is no timetabled lessons this week, I just carried on as usual and went to the labs all day to work on my gladiator. I went in hoping that I'd have the full body done by today and could start working on props. However, I had 1:30hrs wasted trying to set up a reference for his ear because for whatever reason, the computer I was on had some settings I have no idea about and wasn't applying my texture properly! I tried importing the model into a new file in case I accidentally changed a setting, but ended up just swapping computers... All of that time just wasted. Anyway, from there I got the head done, and now I need to adjust his arm shapes, plus cut the tri count down by roughly 260 to meet the brief of under 2500 tris.
I have to say, connecting the head and ears were a pain because obviously there were more verts on the border of the head than the body, so I had to play about with that quite a bit. Unfortunately, there is more triangles in my mesh now, but I don't know of another way to go about this.

I need to do some more on it tonight (the night I am publishing this blog), but and I hope to cut the tris down quite a bit and get the base for my character, and finally start thinking about modelling parts for the armour/props.

The rest of the week - Getting things sorted

I know this week is supposed to be a week where we model our interesting character and get feedback from year 2 students, which is what I've done and it was rather helpful. However, I have had some personal things to sort out which have bogged me down for a very long time this week (It isn't an excuse but let's face it, some things that happen really do prevent your mind from working properly), which isn't exactly helping my studies, but I have managed to get the life drawing homework done and clearly some of the character development for the project done too. Here's the digital painting of my character, it isn't great but it is my first one I've ever done completely made up:

Character digital Paint
There are a lot of improvements to be made on this, I.e. I composition, the way I've done the grass, the colouring on the character. I tried using a technique I've seen others doing which is to do the grey-scale first, then apply a 'colour' layer on top of it. However, this didn't work too well for me. This shading on the gun is pretty good, but for the skin tone and his clothes it isn't exactly the greatest. The good thing is that I've learnt from doing this and hopefully the next time I use this technique, I will really try and get the grey-scale tones right, or at least, better.

To summerise what I've done this week, I have to say that I have taken it a bit easy because of a certain situation as mentioned, and I hope to be back to full steam this coming week.

Sunday, 16 February 2014

DMUGA Week 20 - Creating characters!

This week's agenda: Characters. I really do love how they've structured the course so that both our 2D & 3D projects run alongside each other in terms of relevance. Don't get me wrong, of course they're interlinked, but in terms of the subject matter. Also, I think that I'm still making improvements in general which is obviously a good thing, it's just not at the speed I need it to be. I'm keeping on it though, and always trying to be better than the previous week.

Monday - Visual Design: 


Final Model View #2
Final Model View #1
I recall that in my last blog post, I didn't actually post the finished model for my vehicle so here it is alongside the digital painting (just to save you the effort of flicking back to see it):


Final Digital Painting
Baring in mind that for the model, I thought I had much more paint than I did, so I therefore had to use it very sparingly. In addition, I looked through my art set to find that I also didn't have any light blue paint... Which meant I couldn't even paint on the 'highlighted' paint pattern on the top of the model. You can't quite see in the picture but I can assure you that the propellers were made too using modelling wire, card and masking tape to fix them to either end - just needed to slide them inside the tubes. I think it turned out alright though despite my short supplies.

Moving onto the actual project for this week, Chris introduced the 'Interesting character' project for us all to do. We'd have 1 week to come up with the character, and the second week we will model them (I'm thinking clay, Plasticine etc. However, in order for us to make this character, we had to go out and find people who looked interesting and draw them quickly, trying to capture the essence of them. Now, this can either be fine - just take a trip down the local pub and draw. Or, it becomes a very laborious task of actually finding someone interesting and sketching them without being suspicious or annoyed that you're watching them. Alas, I did get quite a few which were nice, but the other half were quite bad.
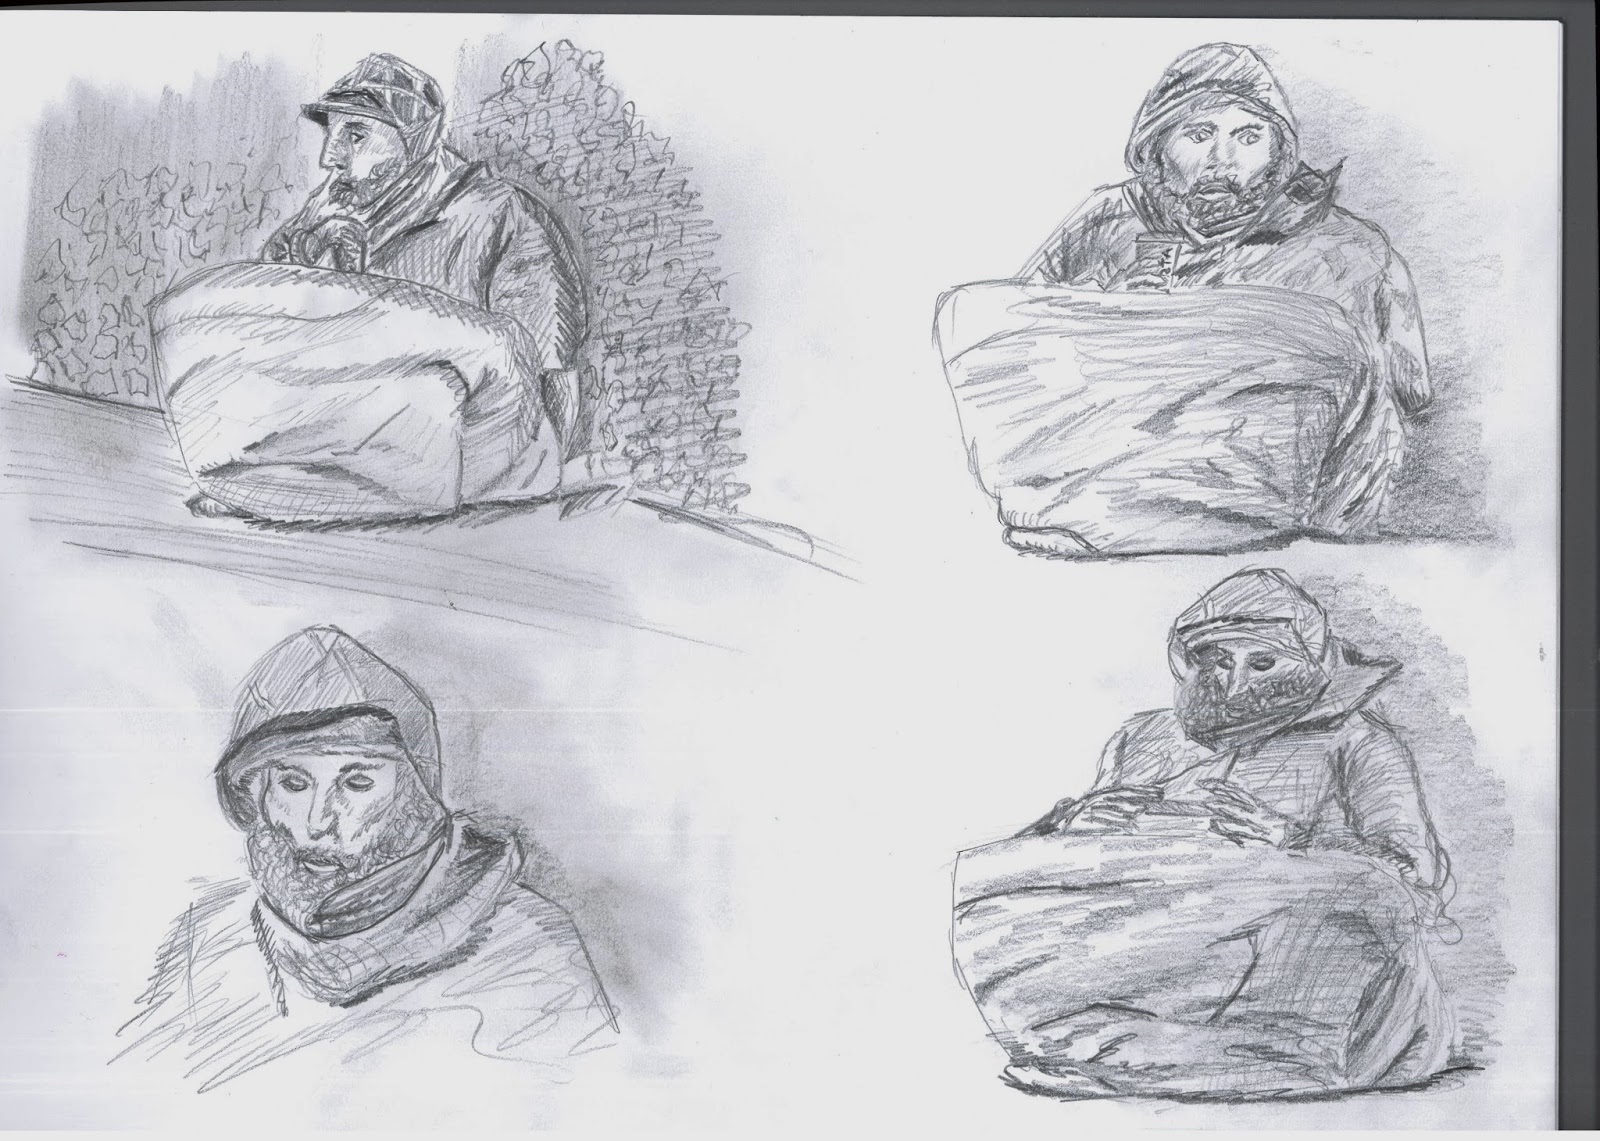
On the way back, we spotted a homeless man, and having seen Chris' photography project on homeless people, we thought he'd be great for a character. This did mean taking an inconspicuous picture from afar, but he portrayed such emotion just with his expressions that we just had to capture. Here's some quick drawings of him:
Homeless man sketches
As I said, there were quite a few interesting people I came across, but in the end I decided to mix a bit of the homeless man's face with another face and this is what I got:
Mix of sketch #16 & #22

Wild West-styled character
I know that I'm not exactly the best at drawing people, and the pose could 100% be much better; I was going for the default pose for models, but then changed it when I got to the feet... No idea why and now it just looks odd.

Tuesday: Game Production

This is where the modules link, we finally handed in our van - Here's some pictures:
Final Van - Iso

Interior - Wireframe + Material

Wireframe + Material

Wireframe
I was pleased with the outcome, but a few issues I couldn't fix which I mentioned in my previous blog. This week however, we got given the 'Gladiator' Project; 2500 tris for the character, plus an extra 300 for any props/apparel. I thought to myself "Yeah, this is going to be really good fun, definitely possible". Now, as the week got on and I spent more and more time working on it, I came to the realisation that I most definitely will run out of tris for the body. I made the mistake of leaving the head until last and now I have gone way over my budget:

My character so far - 3DS Max
I think that in order to overcome this, I will need to severely reduced the loops around this thighs and hands, but I will finish the face first and see what I have to work with. My aim is for him to look like a centurion, but because we can't cover the face, I'll try and do a variation of one with less apparel.

 Wednesday: Critical Studies

Well, we had a lecture about our blog tasks, and I know that I completed all of mine... Or so I thought. It turns out that we had to produce drafts before our final blog for the 'personal enquiry', but I had just gone ahead and produced a final. Although I obviously went through the process of deciding what to write about and what to include, I just didn't write 2 blogs about it. Which means I'll probably have to do that which I hope to do this week... Keyword there is HOPE :) The lecture made it clear on how the module was split for marks which was good, I didn't even know until this point.
Beforehand, we were required to print off our most recent blog post for the seminar, and I predicted right with what we were going to do with them. We marked each other's blogs using the marking criteria and gave each other feedback on how to improve. This was also useful as it was pointed out to me that my blog was rather 'bland', which I can quite clearly see is applicable to my recent ones. I think this was a reaction to what we were told early on which was to keep them professional and not go over the top - I seem to have definitely changed my style since my first one. I don't want to seem uninteresting and motionless, so i will be trying to put more emotion into my writing from now on... Again!!

Extras

Just a couple of extra things that I haven't included that you may be interested in, I've been having a lot of computer problems in terms of speed and just general application loading (especially 3ds max). I know my computer can handle 3ds max fairly well, but it freezes on me 3-5 times before allowing me to use it properly. In addition get this... I got the blue screen. I haven't seen that since my Windows 98! I had to boot it in safe mode, back up all of my work, and perform a system recovery, but I'm still worried as it does still freeze from time to time.
I won't be posting it for privacy reasons, but I have been practicing on my new graphics tablet recently, and since Valentines day was coming up, I thought what better way to practice faces and using the tablet? By drawing a portrait for a friend! I have to say I spent around 15 hours on it to make it the best I could (12hrs drawing +3hrs tweaking) and it turned out absolutely amazing! I am very pleased with it and am developing a greater interest in digital painting.

I hope this was a good insight as to how my week went, I'm definitely enjoying things, it's just a matter of will I improve fast enough? Time will tell, but in the meantime, bring on the next week :)

Saturday, 8 February 2014

DMUGA Week 19 - Modelling Vehicles

Okay, so this week we returned to the normal routine, but the vehicle project from visual design last week has a part 2! As mentioned, the previous 2 weeks were a real help for me as a whole and I think I have improved massively. The digital painting that we had to do has sparked something in me and I am now really excited about digital paints. I have purchased a Wacom Bamboo tablet to further my experience with one and hopefully improve in my own time as well.

Monday - Visual Design

We began this week reflecting on what we have done during the visual design week, picking out bits that we've learnt, what could have been better etc. Our tutors also picked out the work they liked the most and gave a brief explanation as to why a particular concept or project worked well. Discussing what could have been better helped since a lot of people felt like they were in the same boat with not really knowing exactly how to spend their time. Whereas now speaking retrospectively, I know that the time I spent thinking about what on earth to do, I should have just been doing the work and making sure that it is the right amount in order to fill the brief successfully. Of course if we get the chance to re-do it, I will hopefully do it a lot better. It just means that I can now work from my mistake and make sure not to do it again.

Down to the actual work, this week's task is to model the vehicles we designed. Here's a few pictures of mine so far:

Made the wireframe from modelling wire & masking tape

Covered it in newspaper & PVA Glue

Put an undercoat of white (of which I ran out), and covered it with blue acrylic paint

I haven't actually got much paint so I have to use it very sparingly, but I think it will turn out alright.

Tuesday - Game production

Not much happened this day, although, Steve pointed out a few errors in my van; nothing major. At this stage, I was unwrapping the interior and I had already done the exterior/lights. Throughout the week however, I have been adding to it and texturing parts, so this is what it currently looks like:

Exterior - Diffuse only

Interior - Diffuse only
I am happy with what it looks like, a few issues here and there, but right now I need to focus on finishing the interior, and adding spec/height maps to it all.

Wednesday - Critical Studies

Our lecture this week consisted of (his name escapes me) a tutor's background in industry and how he has gotten to where he is today. He went through and talked about his 2D work e.g. life drawings, studies etc, and a little bit about his 3D work. The thing that I think most people remember from this however is his work on a 'demon hand'. I personally found it very interesting, and the sound design that went along with the animation was very eerie and it added to the effectiveness of the whole thing. He talked about being able to work in a team and how we didn't seem to fit together very well, although, I disagree strongly and think that he hasn't seen us together in the right environment. I can't wait to do a group project, everyone is very friendly and think there are some who I would work very well with. The sculptures of heads he displayed were outstanding, and the life drawings were also very good, and one of the points made was that you have to make many mistakes before you get it right. This is true and am coming to realise this, but this reinforced the point further.

The seminar was a follow up on the block characters we made previously. As a bit of fun, our task for this day was to make any character you wanted to from the cubeecraft template. I chose to do 'Cosmo' from the tv show "Fairly Odd Parents", and it turned out rather well:

Cosmo - Front
Cosmo - Back

We showed the fruits of our labour and finished the session off with a 'scrum' whereby everyone stated their current situation in terms of uni work and any personal work they've been doing. This was rather a good idea since I have had no clue as to what stages other people were at for everything and it helped put into perspective how far along I was with the workload.

The rest of the week up until this point, I have been working on the van, modelling my vehicle, and practicing digital painting for many hours on end. I hope that in the future, I will have some quality digital paints to post. I am looking forward so much to next week's project for 3D - The gladiator project!

Saturday, 1 February 2014

DMUGA Week 18 - 'Boot camp': Visual Design

Before starting this, as I write this now I can truly say that I am very excited to hopefully experience that same learning curve as I did for Game Production. I know that we'll be doing work on perspective, graphic tablet (of which I've NEVER used before), and produce some cool concepts for vehicles.

Day 1 - Introduction

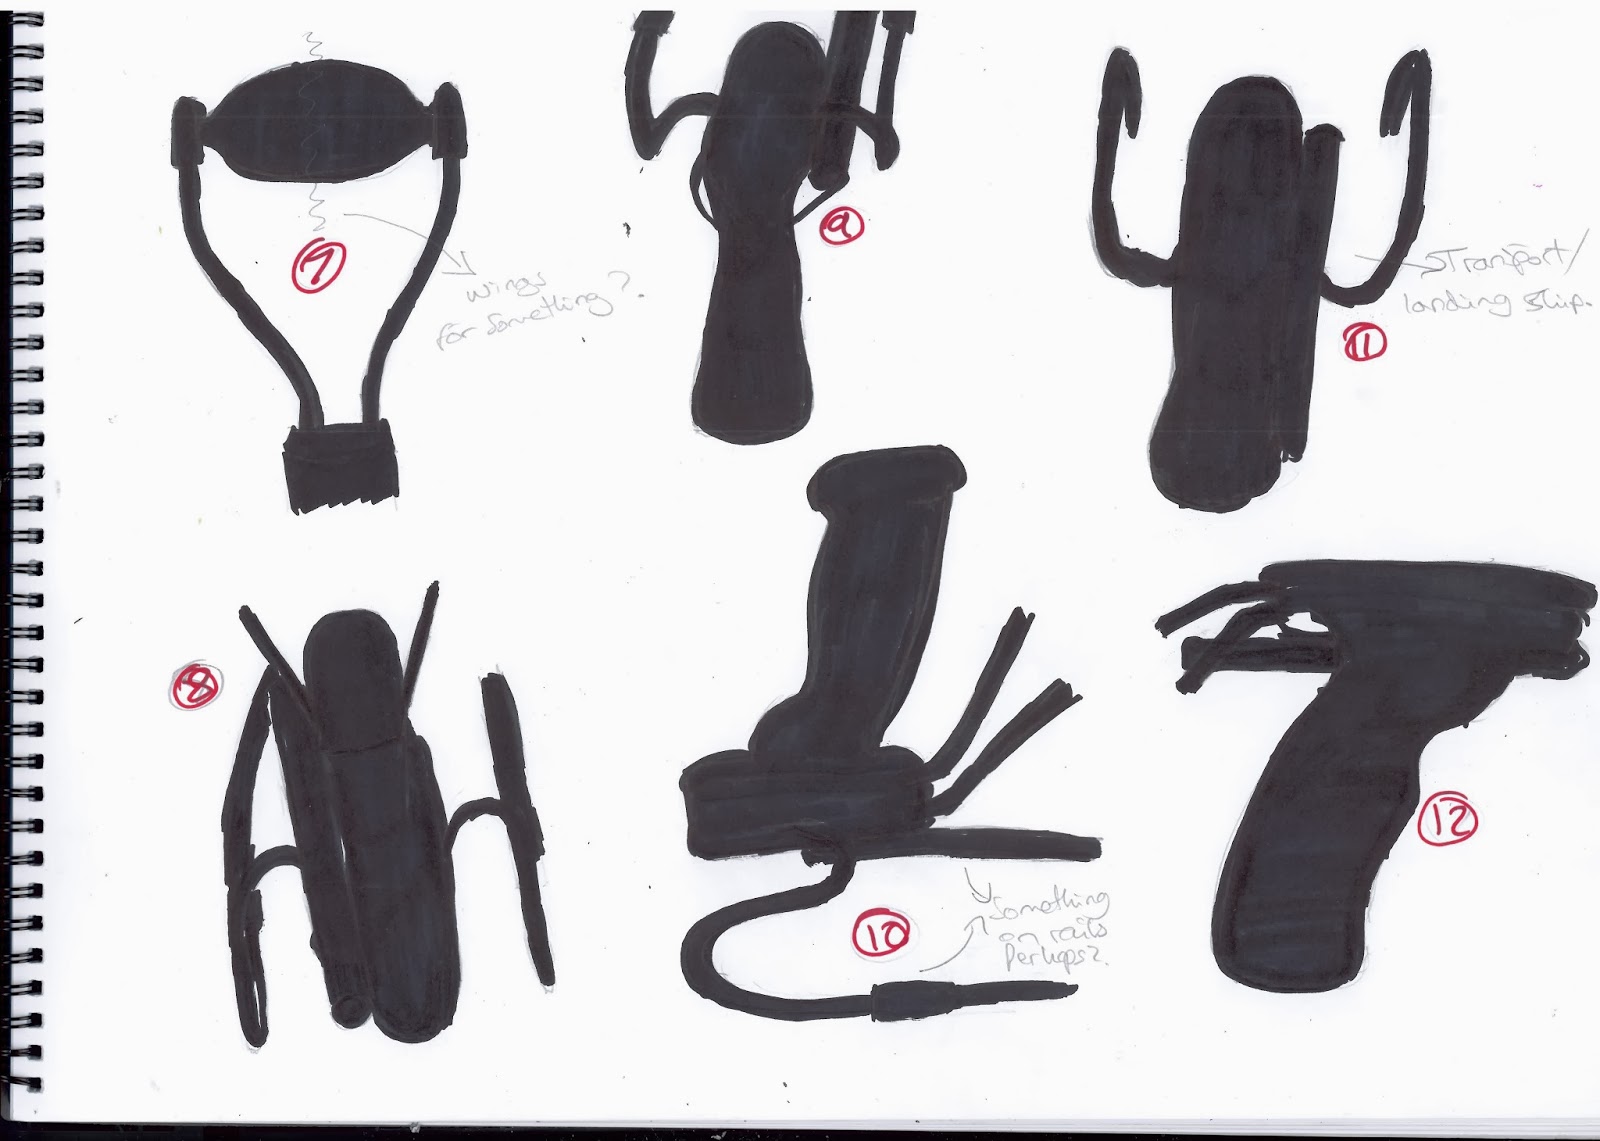
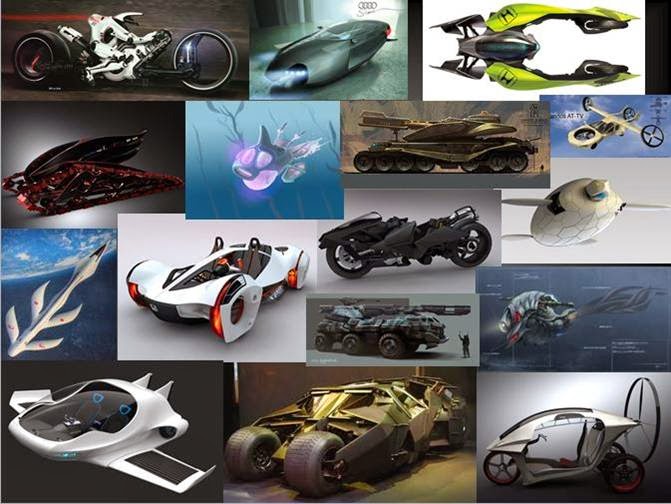
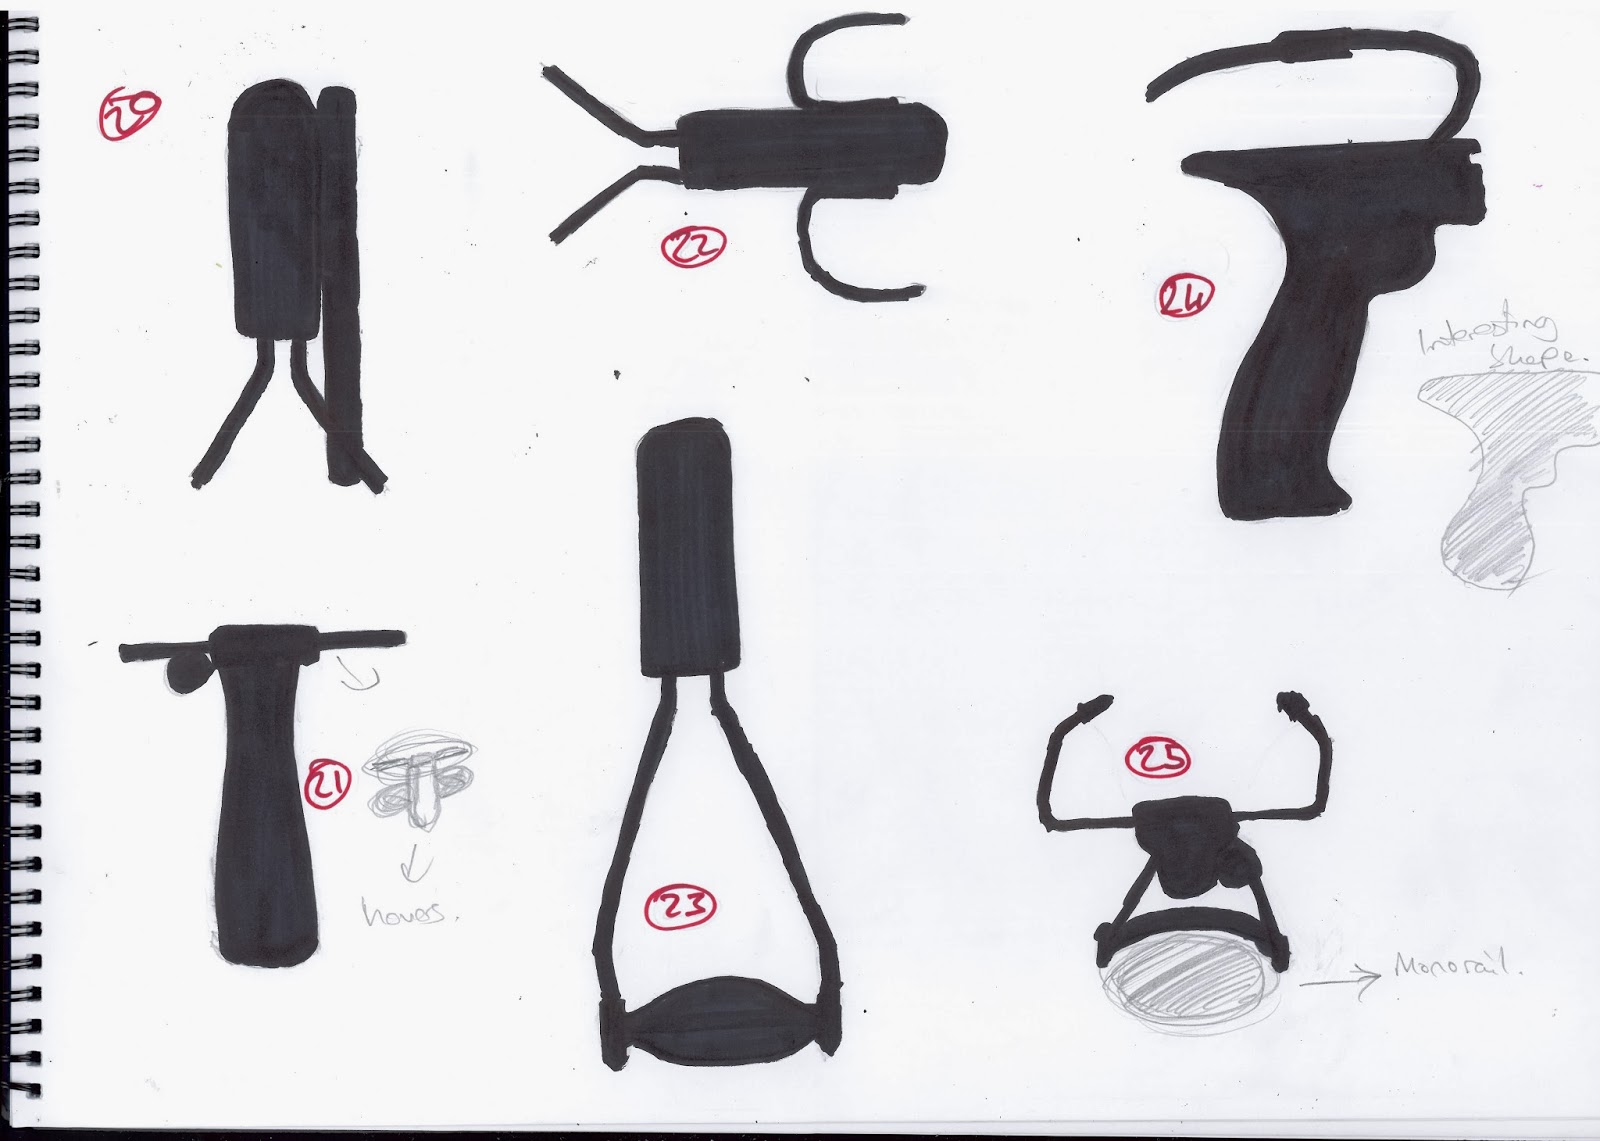
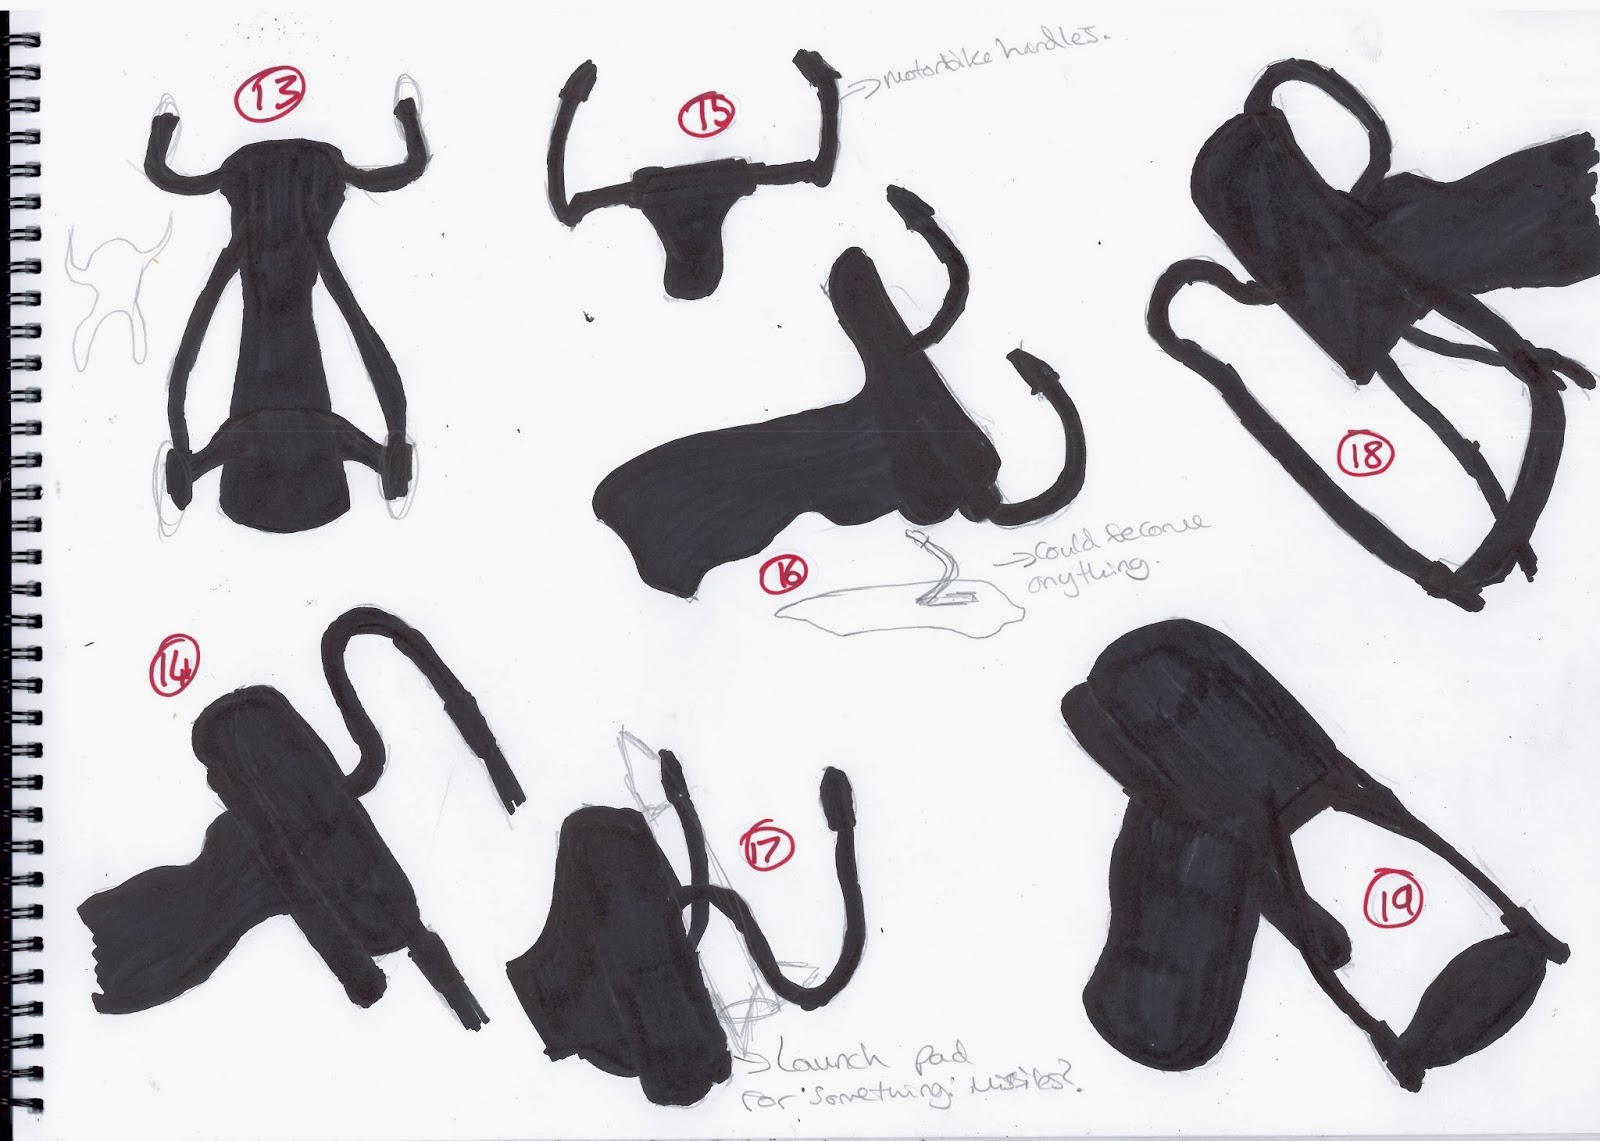
The first day in terms of timetabled lessons only consisted of the project introduction for the week. This involved some example work of Mitch and his amazing digital painting that didn't take very long (Would take me ages to produce that standard of work). I came out of the intro lesson feeling alright, maybe a bit worried as to what to do, but not too bad. I spent the rest of the day looking for a book to bring into the next lesson, drew some silhouettes of my chosen object (a slingshot), and put together a mood board to see what other things already exist in this area + maybe tilt towards what kinda of vehicle I might go for based on the silhouettes I already have. Here's what they looked like:
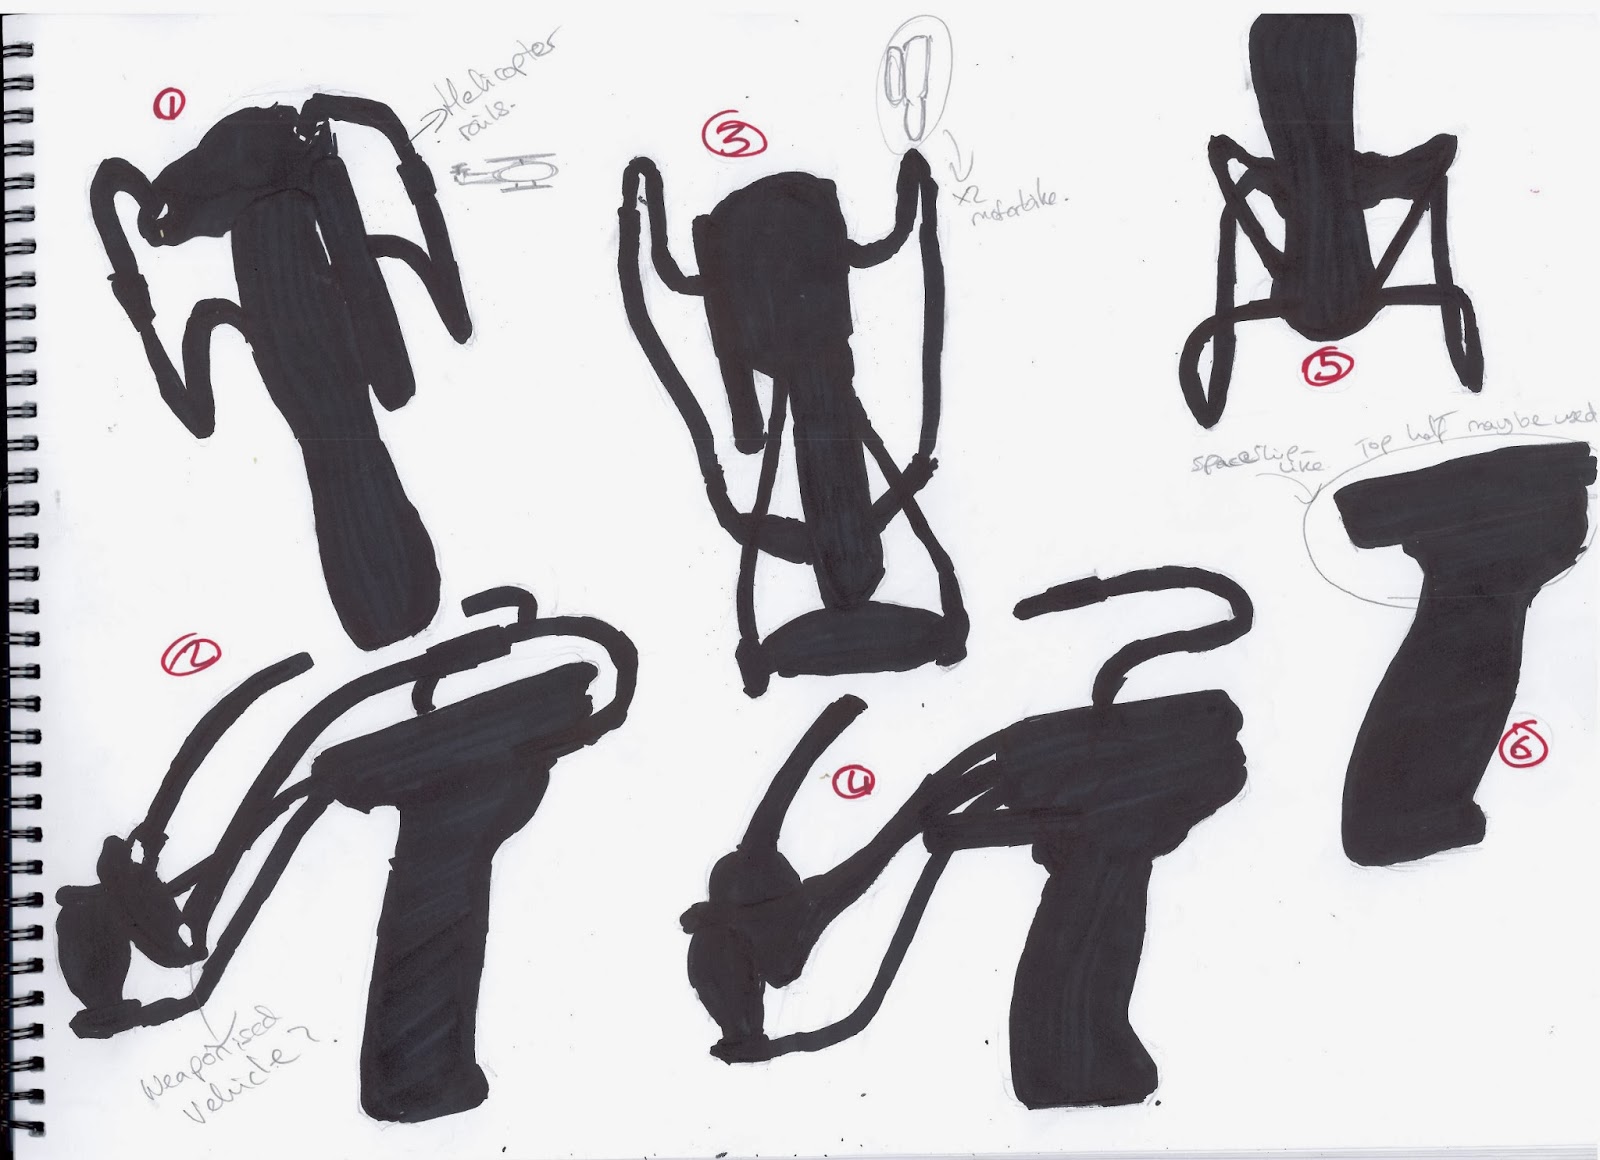
Silhouettes #1
Silhouettes #2


Mood Board #2

Mood Board #1


Silhouettes #4


Silhouettes #3


From these silhouettes, I brainstormed random things using either the whole silhouette or part of one - admittedly they do just look like 'doodles'...:
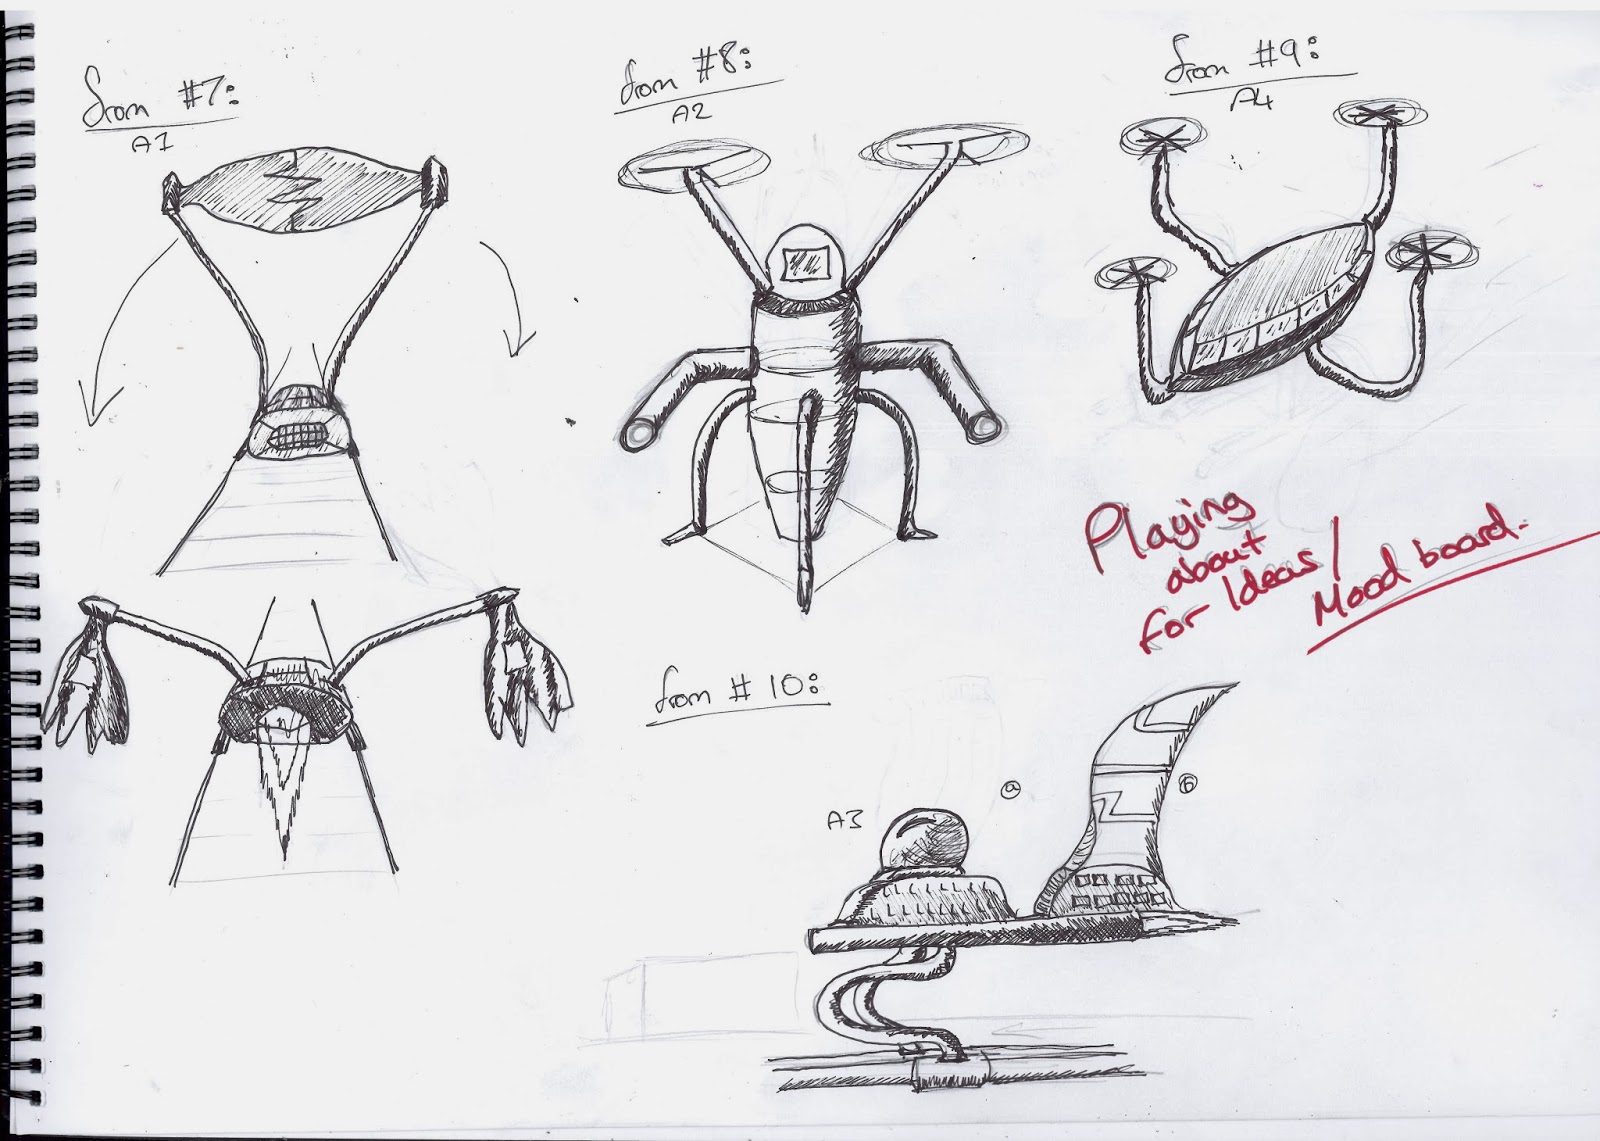
Brainstorm #1
Brainstorm #2

Now, as bad as these are, I could have picked almost any one of these and made them 1000x better through development. Although, to be honest I wasn't entirely sure as to what things we need to cover, so I moved on to Tuesday to see how others were getting on (which I know you shouldn't do; focus on your work and your work ALONE, look to others for inspiration and aspiration).

Day 2 - Lost in what to do & making a decision as to what to make

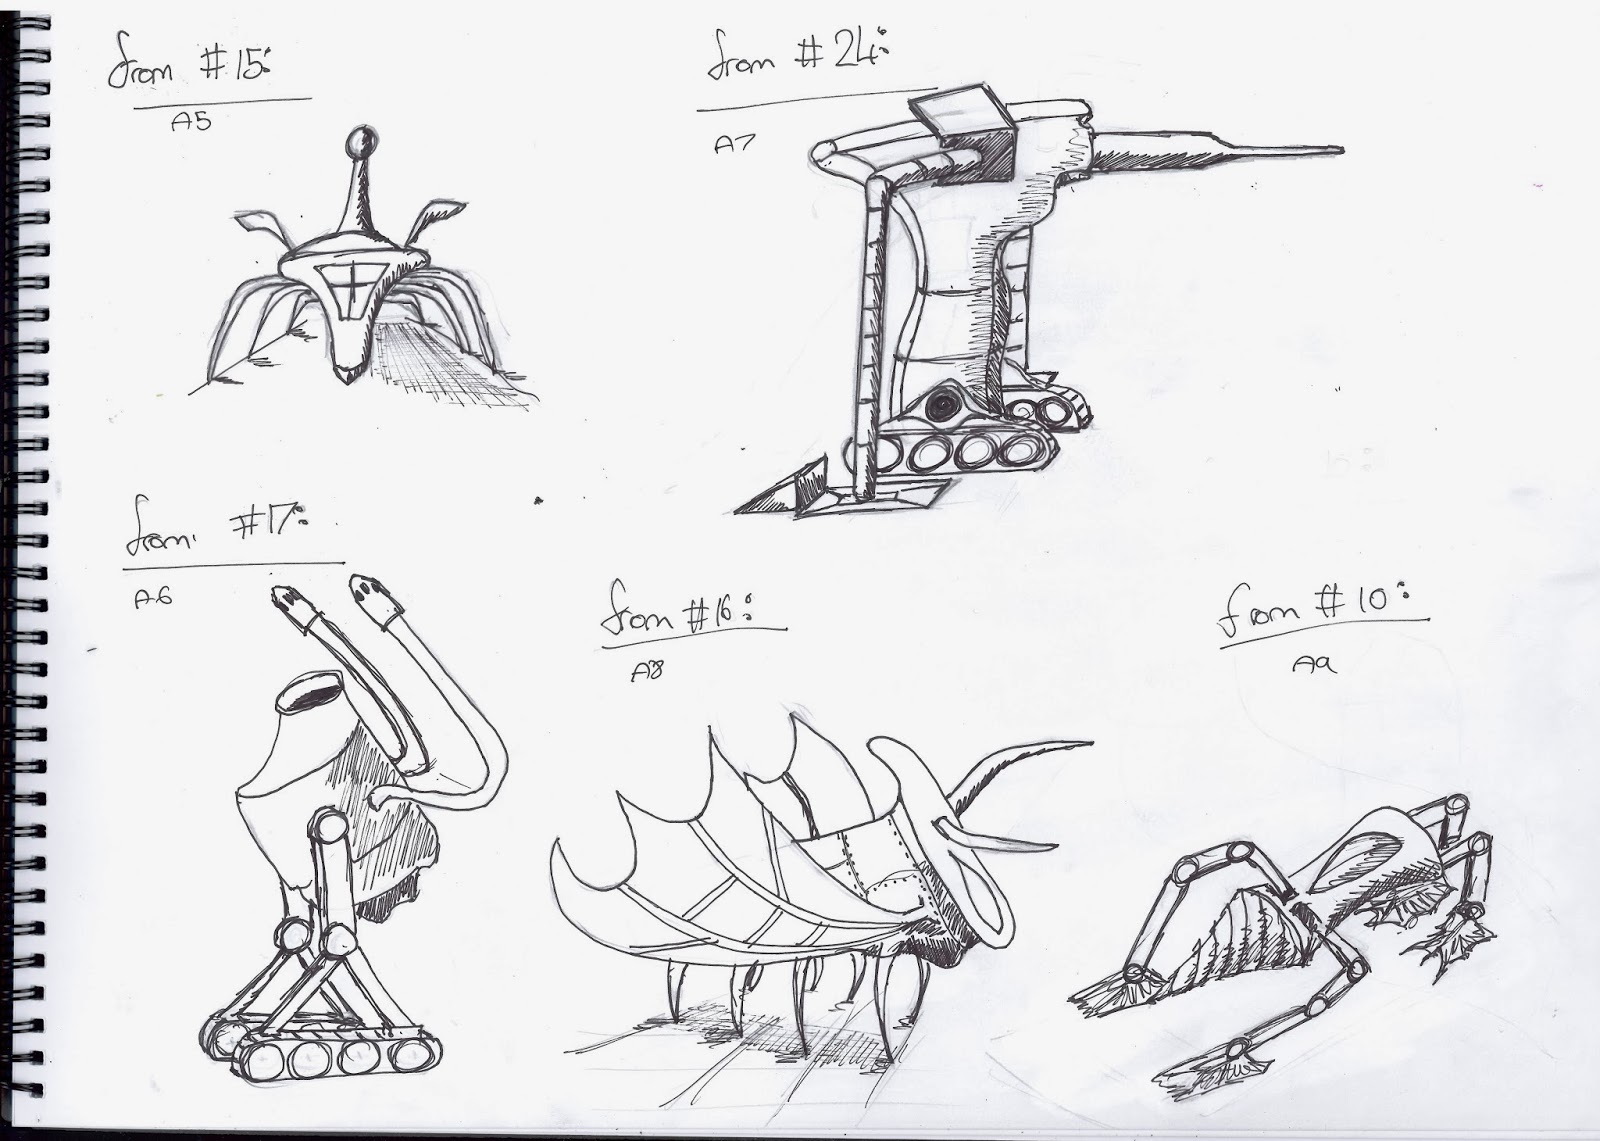
After the first day, I wasn't feeling great about the amount I'd done, but not completely terrible. Not sure how to go about this/what they want from us exactly, I made a quick mind map of many different types of vehicles I could potentially go for, and distilled which ones were the most appealing and fit with the shapes gathered from the silhouettes.
Vehicle type mind-map
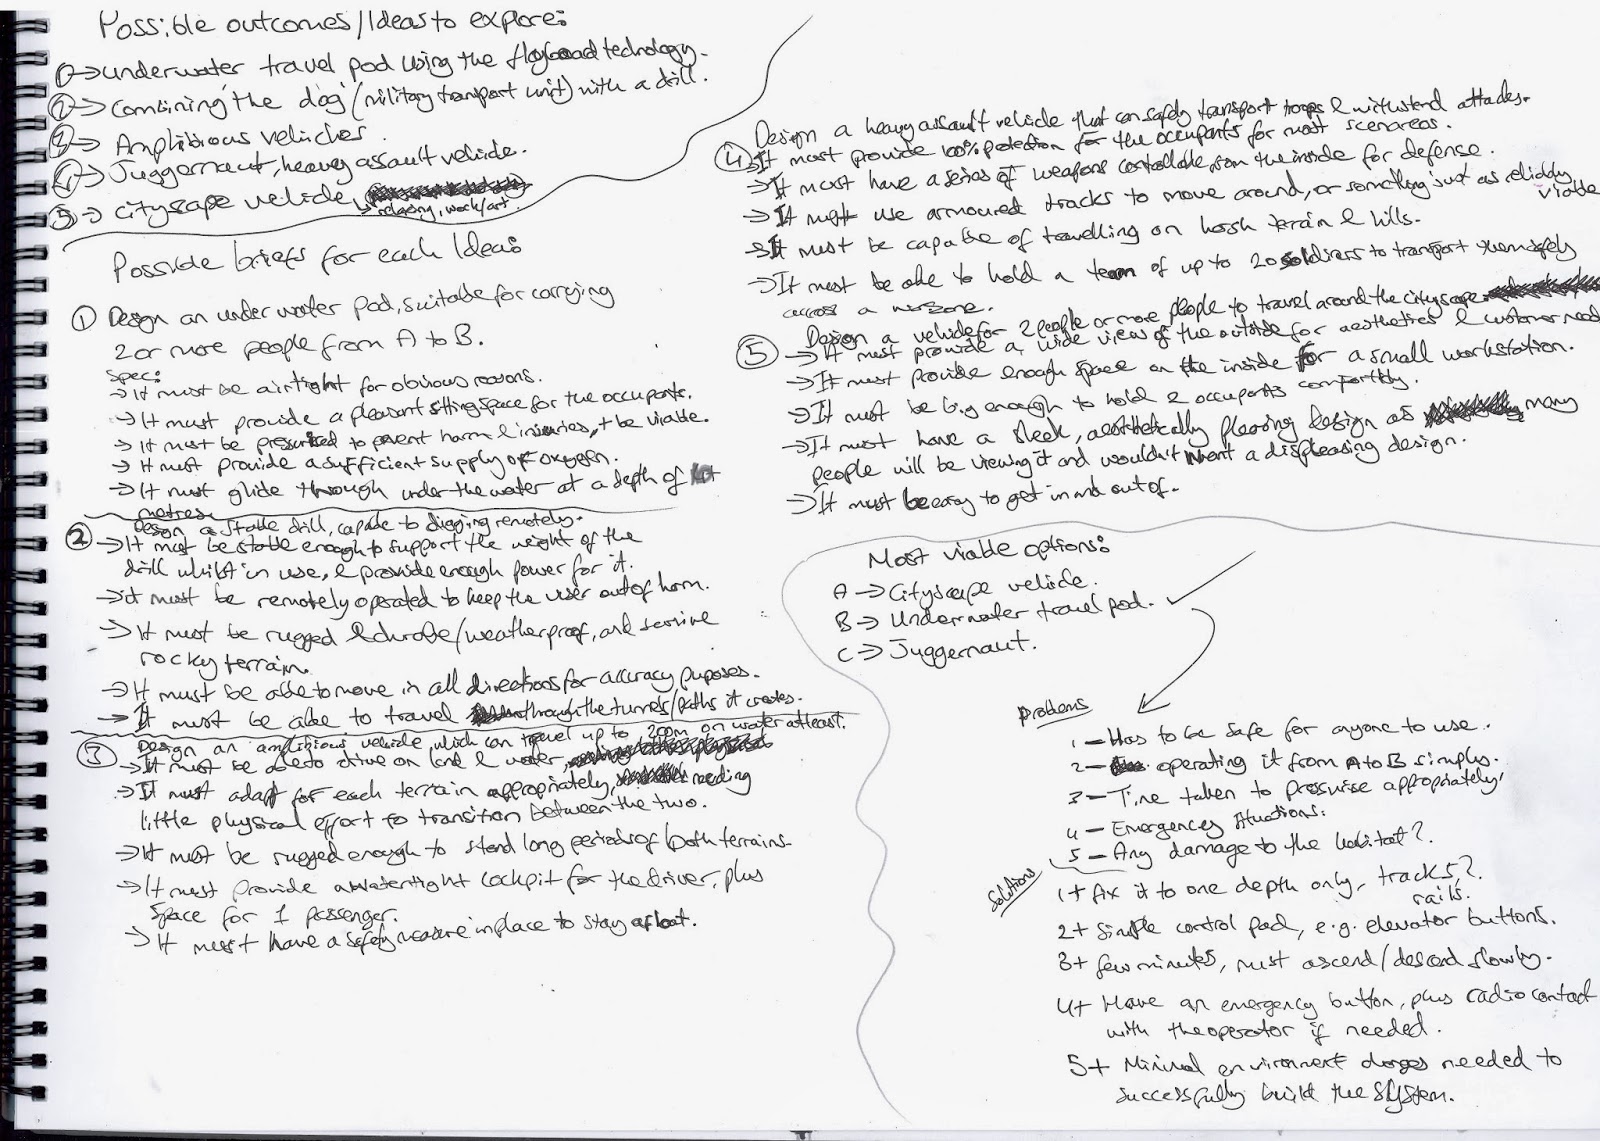
Quick briefs for 5 chosen vehicles
 From the mind-map I chose 5 potential vehicle types and wrote briefs & very short spec points on each one. Some of the ideas didn't seem very viable, so ruled them out, and decided upon an underwater travel pod.
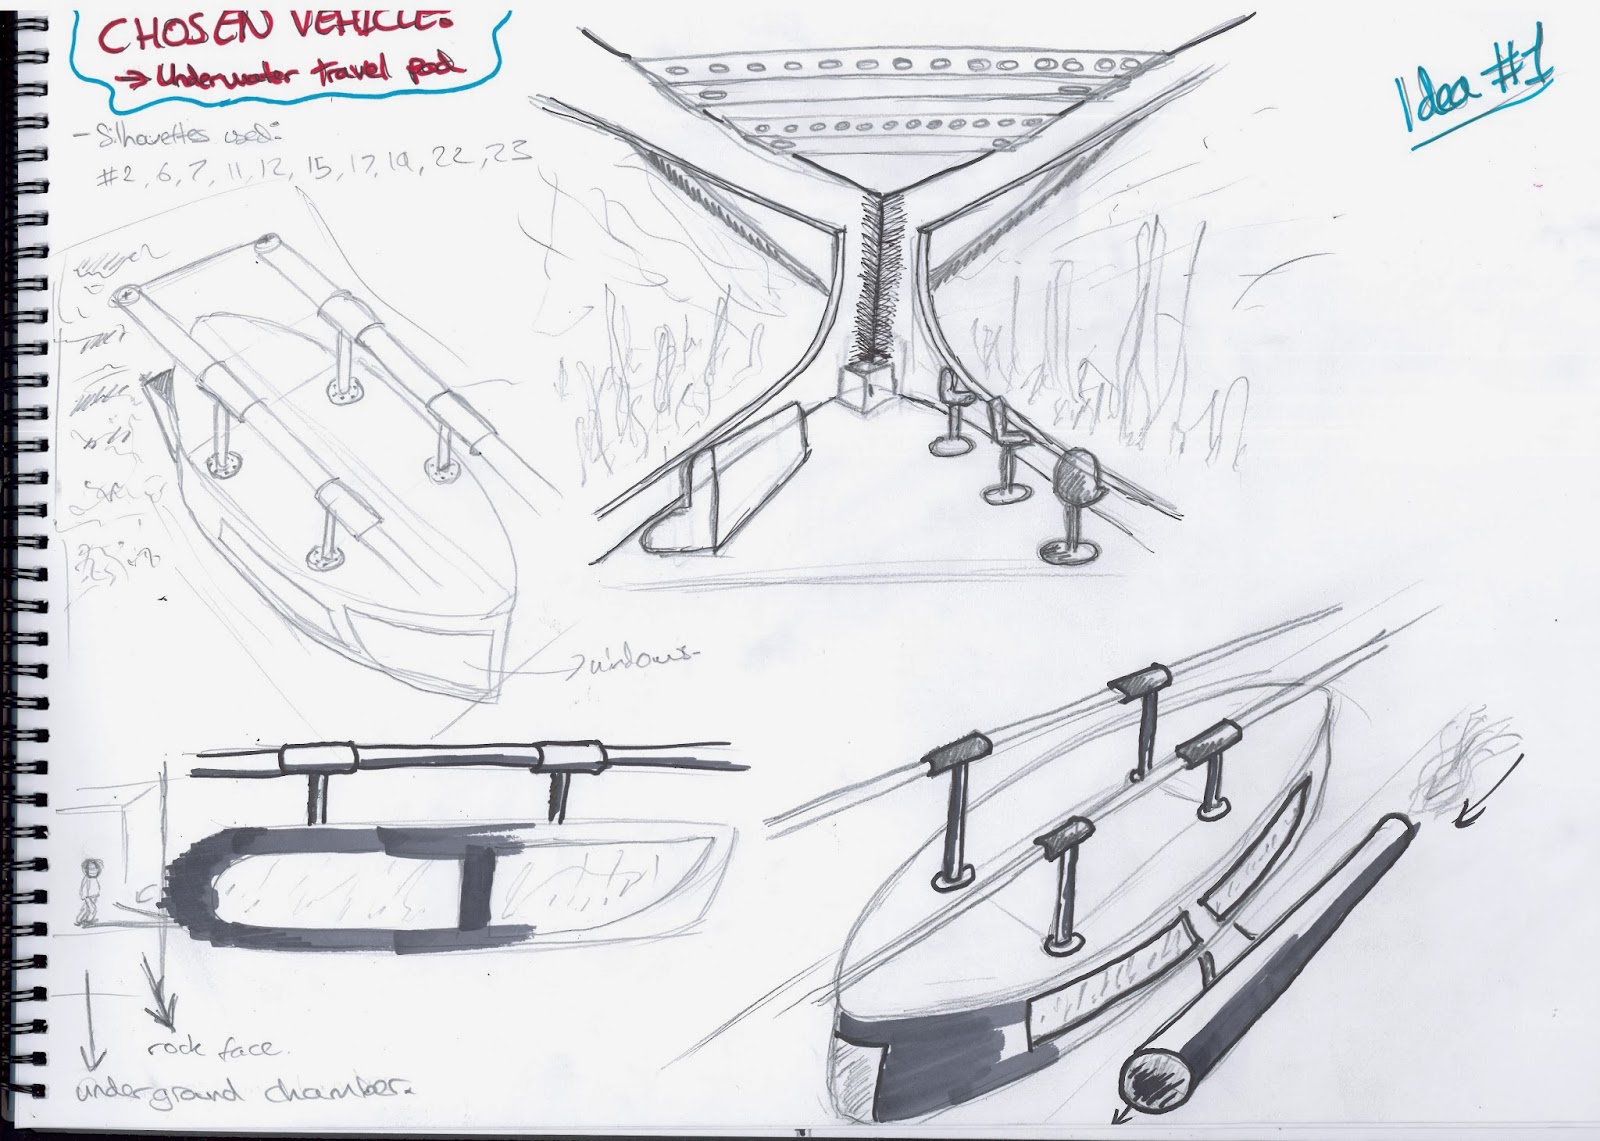
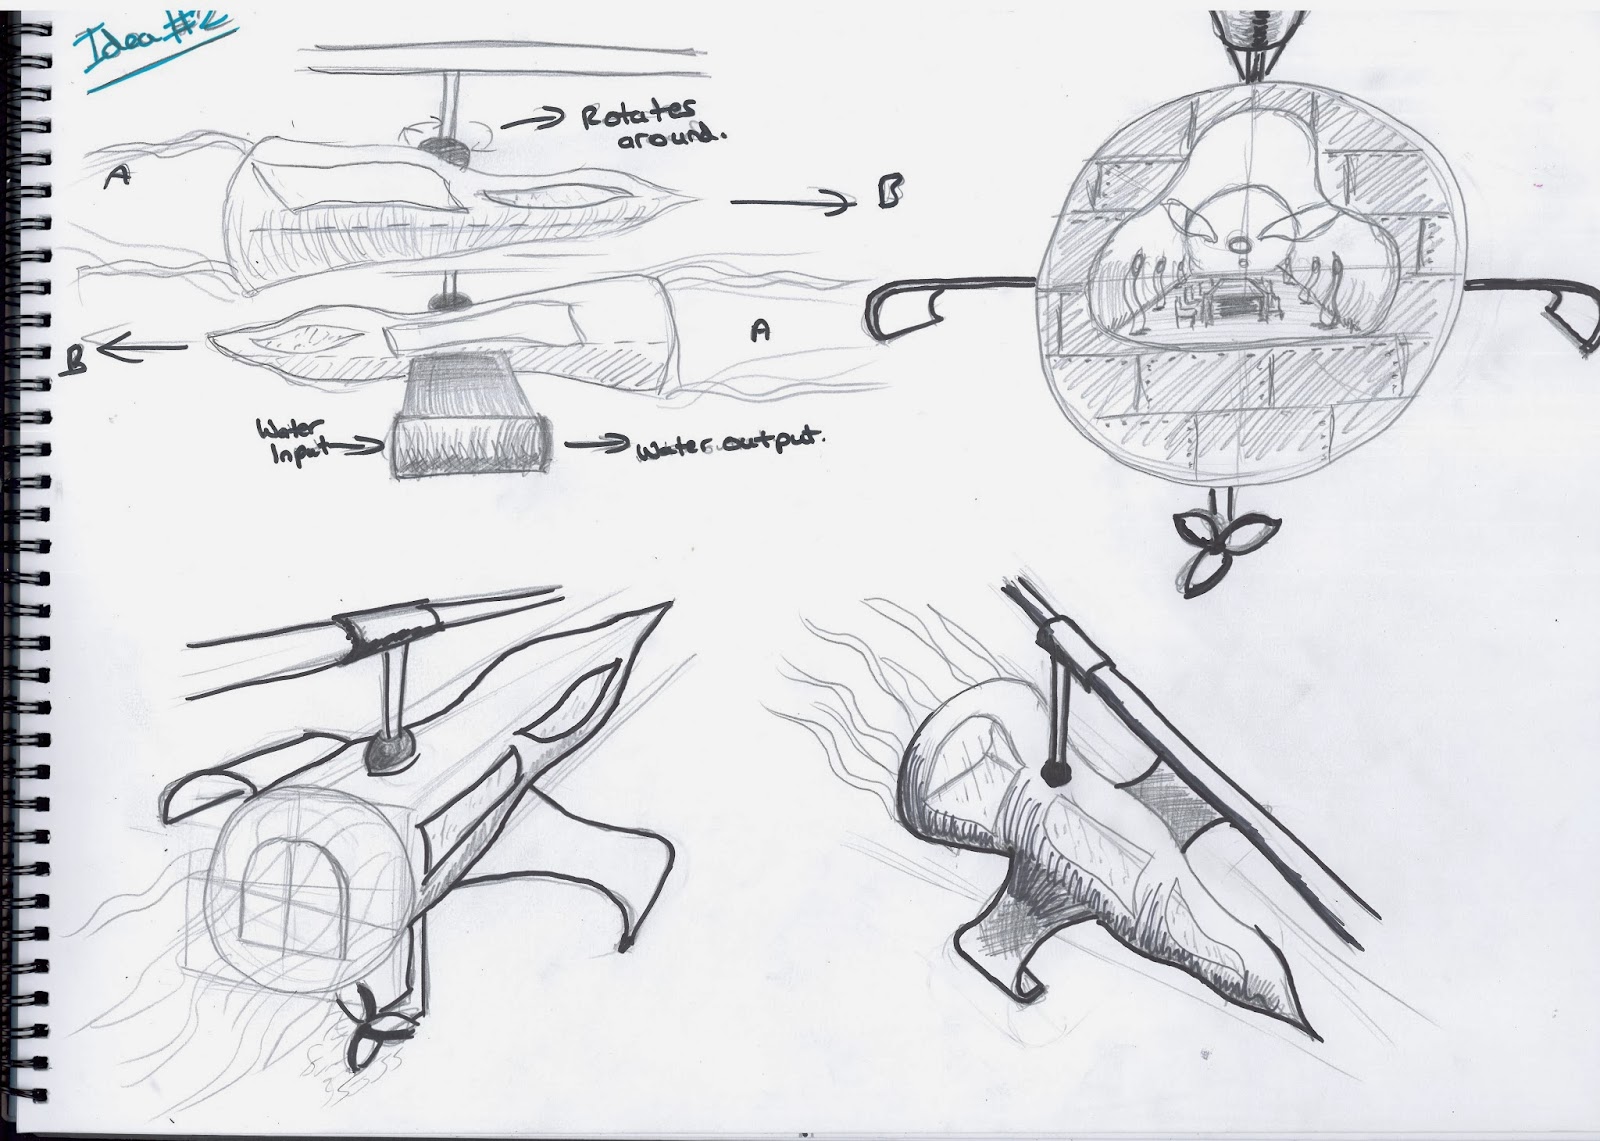
Idea #1

Idea #2
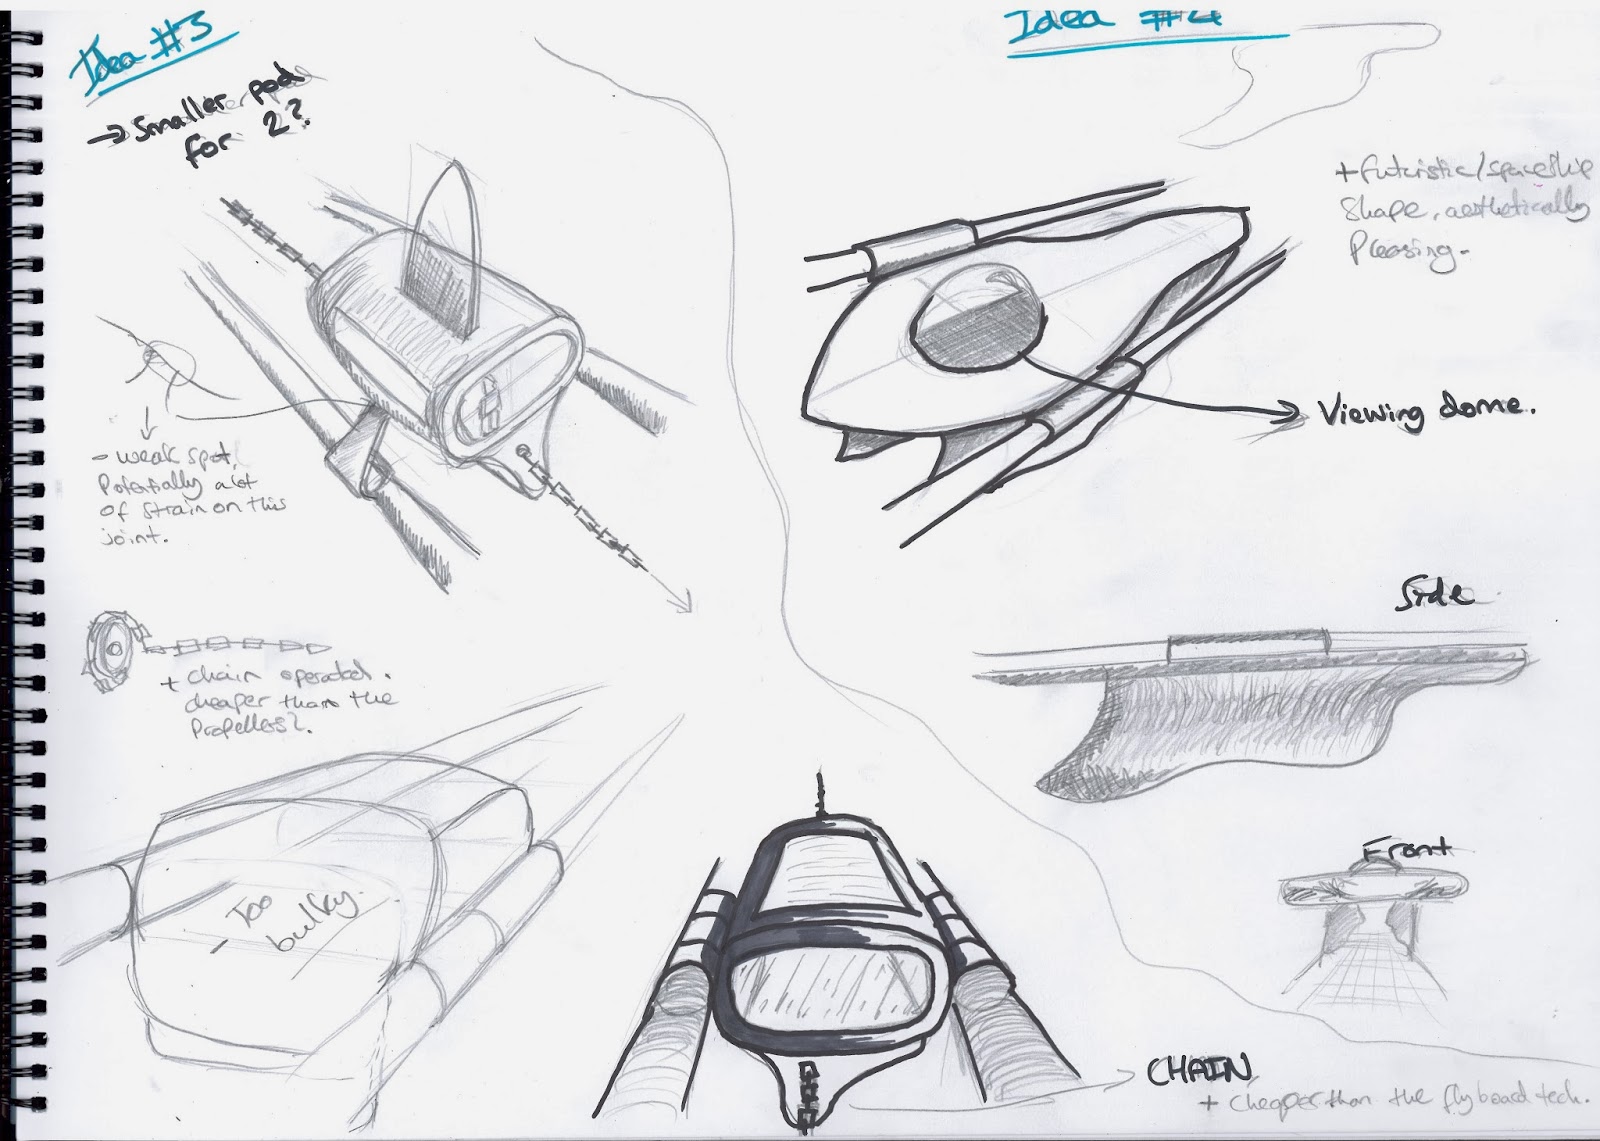
Ideas #3 & #'4
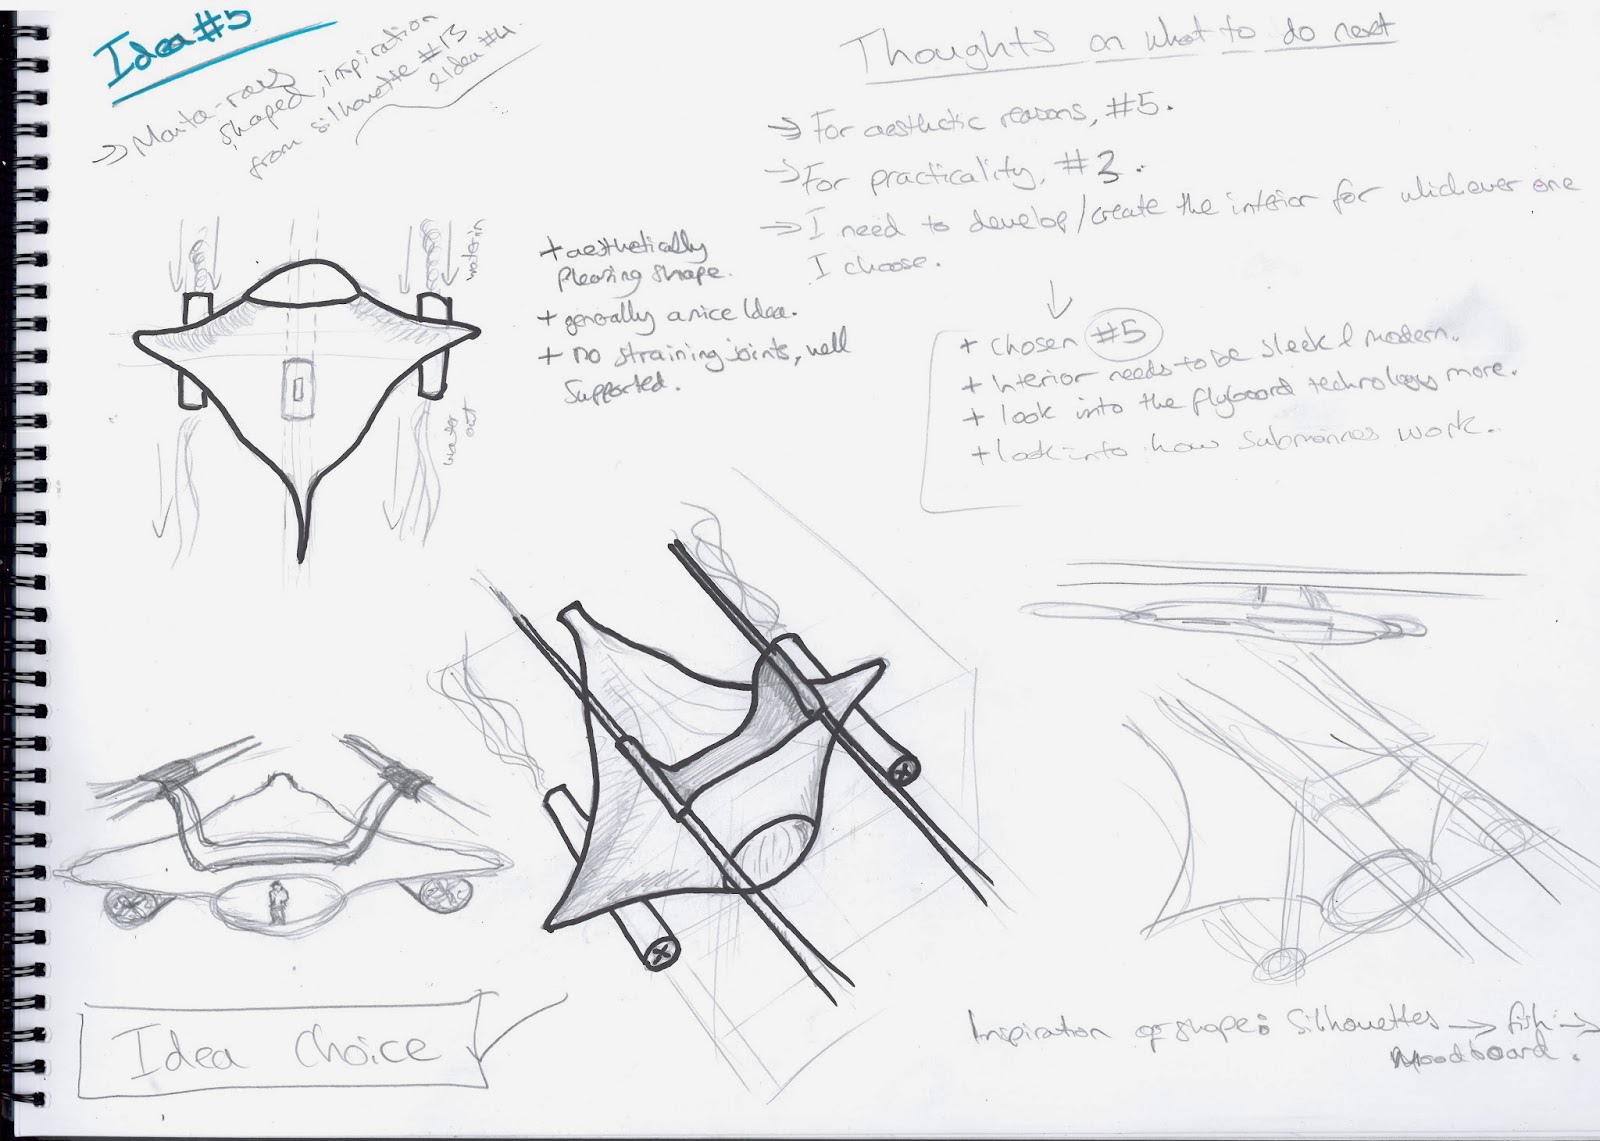
Idea #5
 My first idea was one of my favourites, it was aesthetically good, the function of how it worked seemed viable, and would probably be a good choice. #2 and #4 weren't amazing ideas, again viable, but they just didn't appeal to me as much. #3's shape as you can see was clearly based off of one of the silhouettes of my slingshot, and I think it would make a very nice pod for 2-5 people. #5 in my opinion was aesthetically the most appealing, and I liked everything about it and so that was my chosen vehicle.


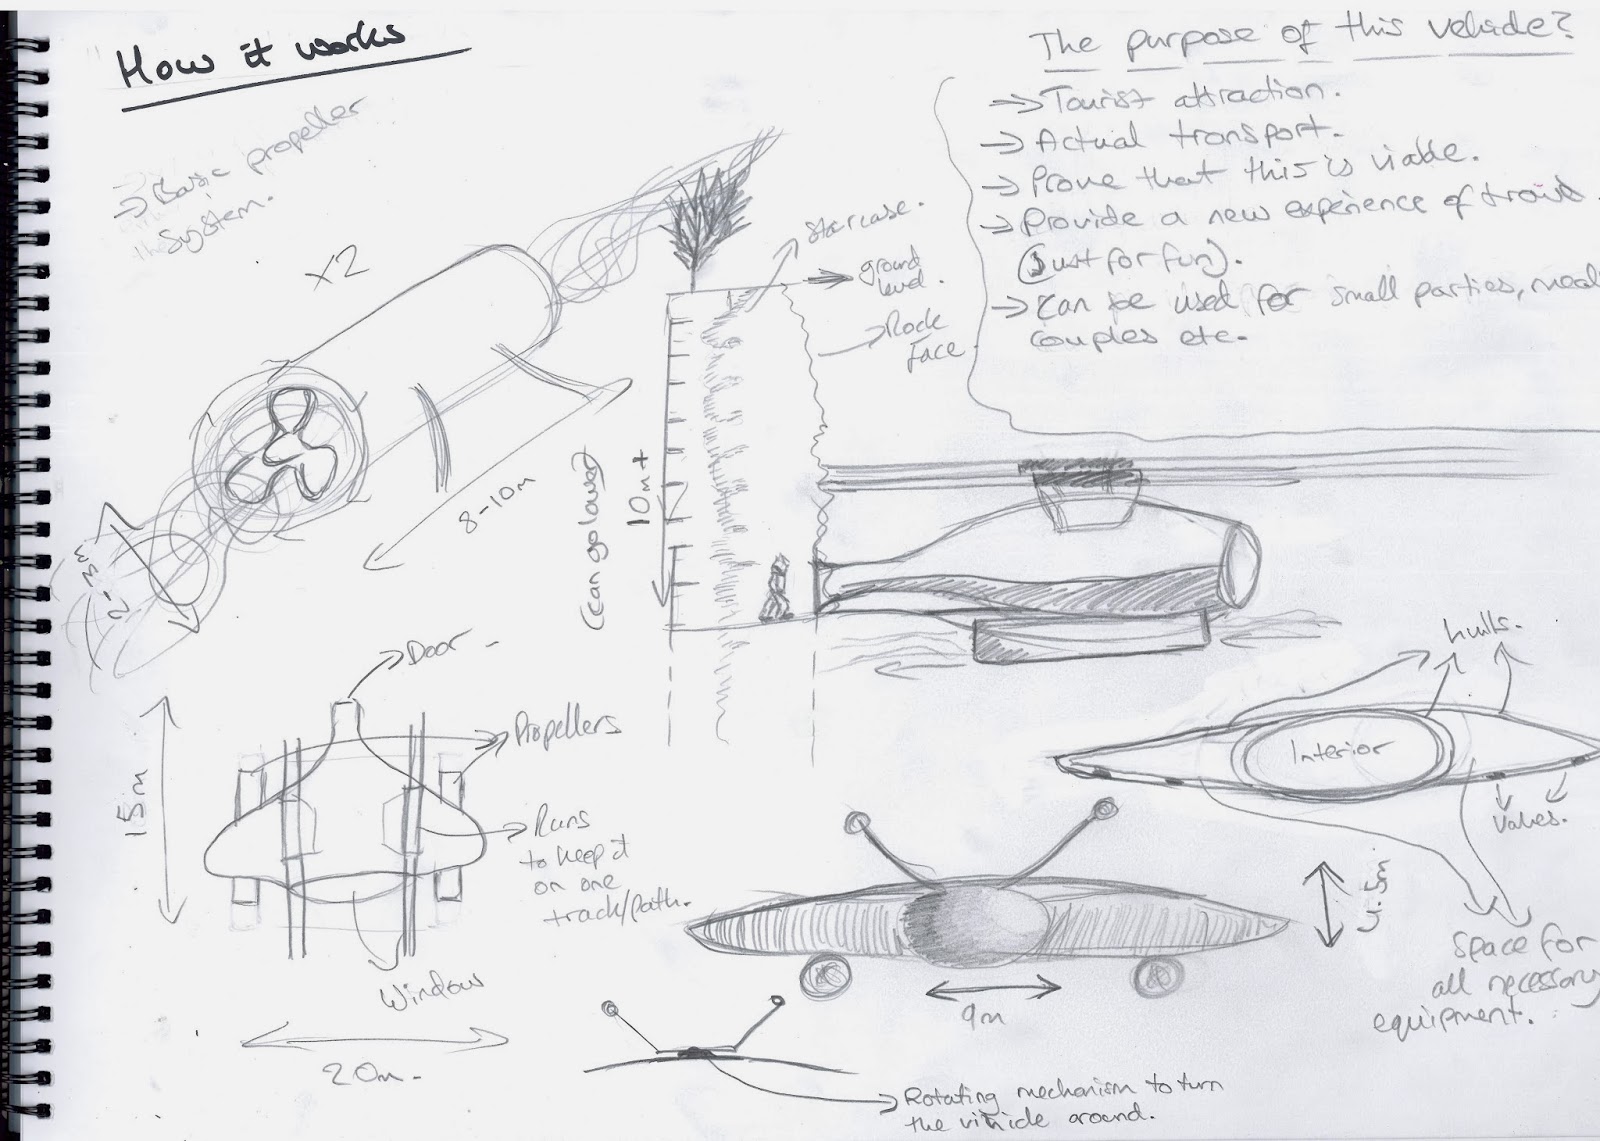
Once I had done these and chosen which one I wanted to do, I knew the next thing to do was a little bit of research as to how it would actually work and if it could be done. Now, there isn't any new technology for this, so that wasn't a major concern. I did however look at how a submarine works to keep the occupants inside alive and well. The reason why this day is titled the way it is, is because of what I've already mentioned, and I was waiting until Wednesday's first lesson about the project to see what it was we needed to do (Once again, BAD IDEA... Never wait for something).

Day 3 - First lesson & did it just click?

 So, finally it came to the first lesson and I was excited to see what we were going to do. Basically, "you should have all already started your projects", so I was thinking "yeah sure that's ok, I've done a little bit, now what next?", and it turns out that obviously we should have already been well away with things and have done a lot of work. I was then thinking to myself "Ok, so I have a small amount of work and I know I need to develop my idea and do different variations, try different things, evaluate them etc..." But for whatever reason, once that session was over, I just didn't do that. Honestly, I think it was my body saying no to work from the unbelievable amount of time I put into the 3D project the previous week.

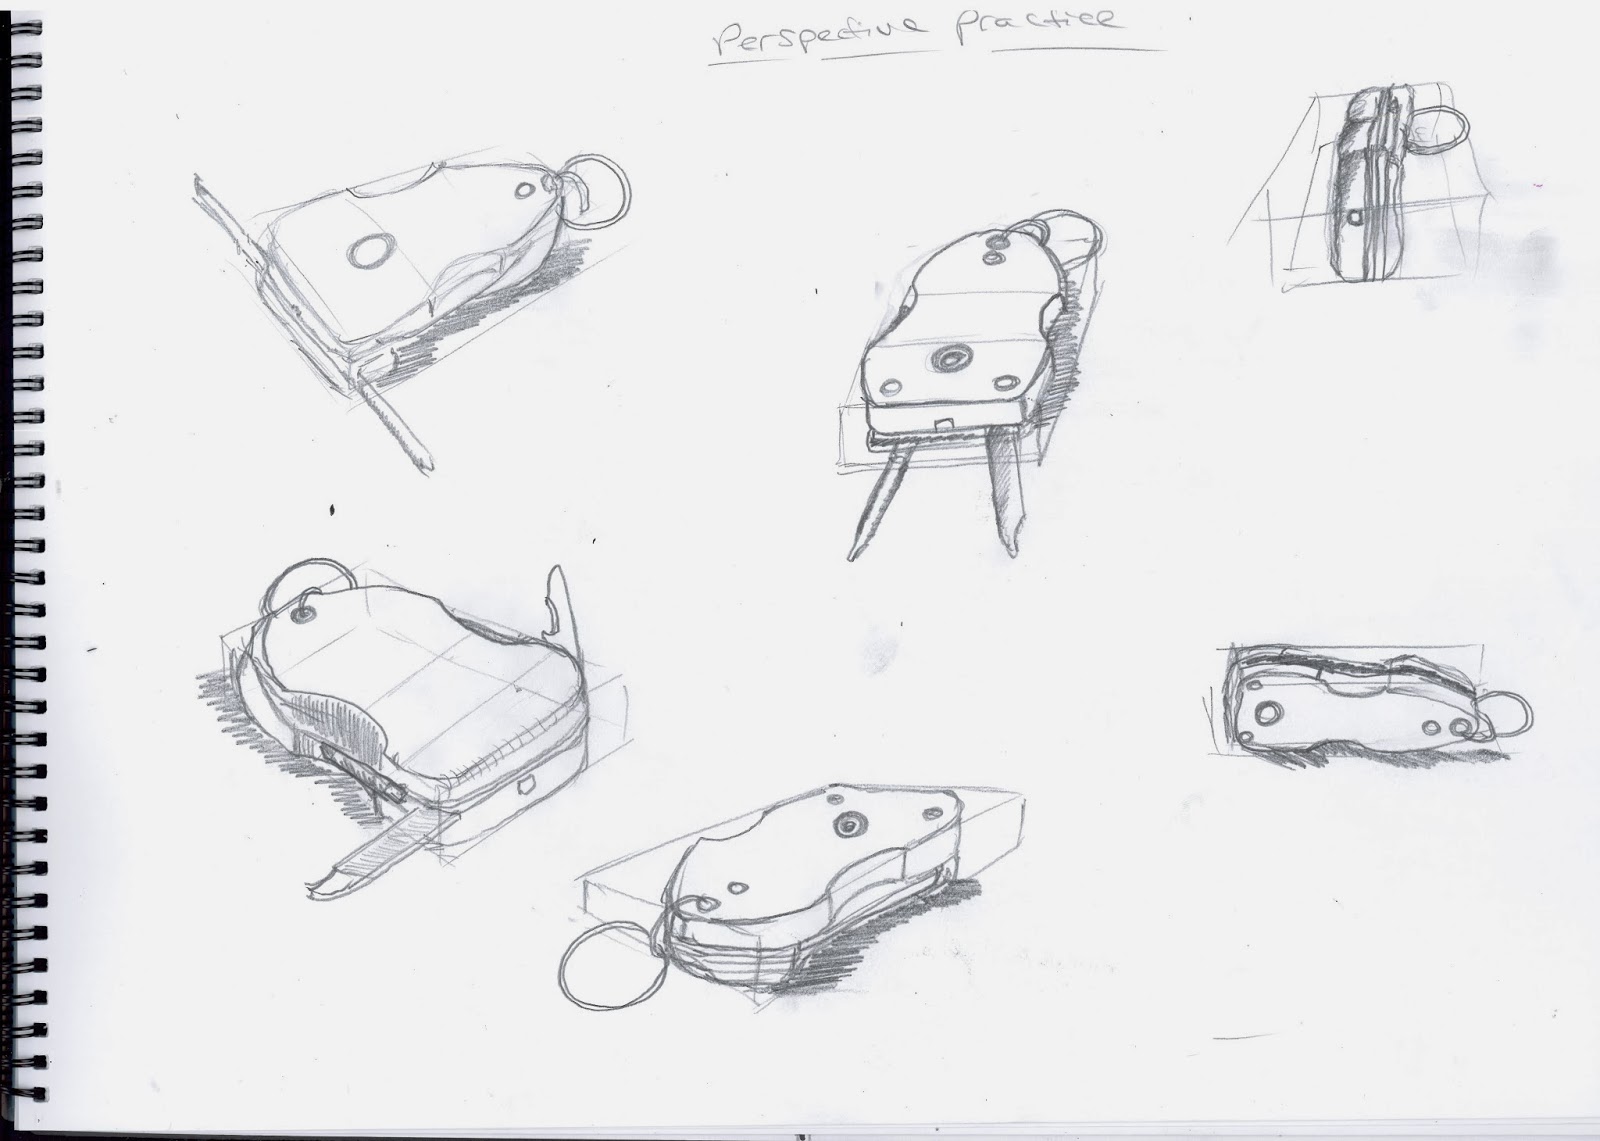
Anyway, during this session we looked at some more silhouettes and did some quick perspective drawings. Now, I know I can draw in perspective; I've been doing it since GCSE design, but it usually takes me a long time to get them right. However, from doing this short and quick exercise, something clicked and now everything I did after that I tried to put things into perspective a lot faster.
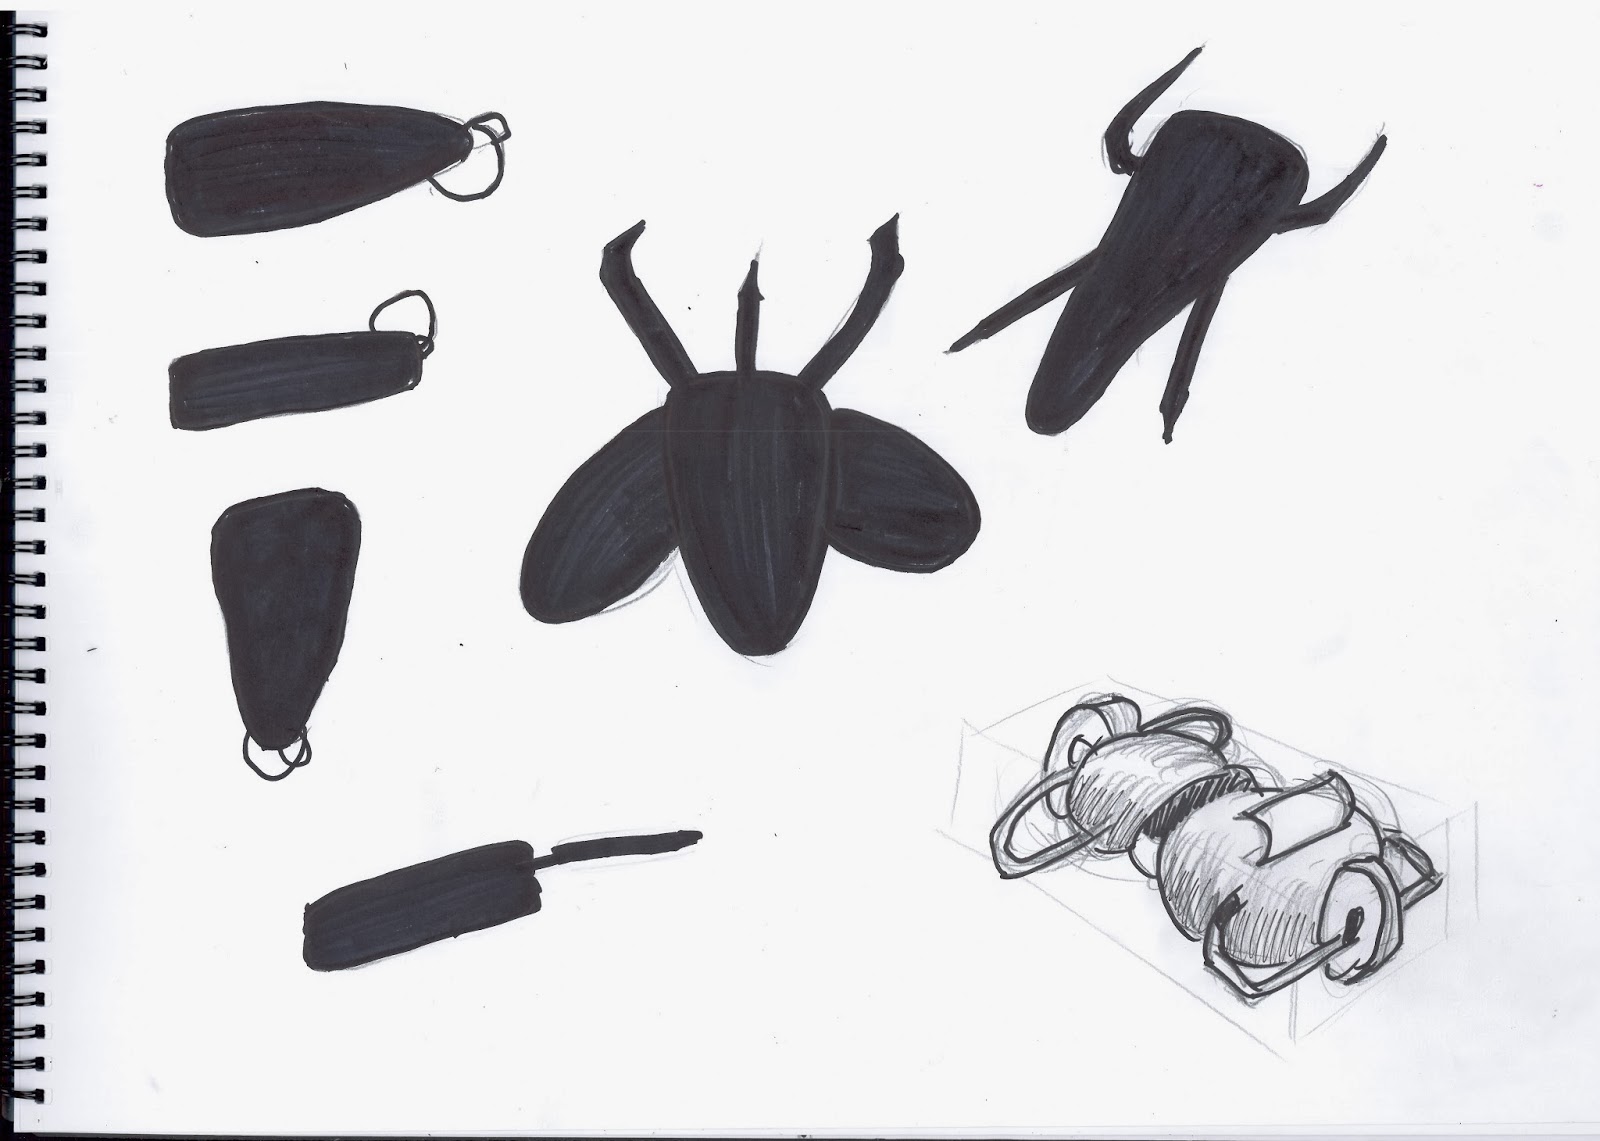
Lesson - Silhouettes #1
Lesson - Perspective #1

These haven't got the greatest perspective, but I'm glad that I did them all in a couple of mins.


We had to rush through these exercises in order to get to a lecture at 12 o' clock. This lecture was out of the blue and we had no idea what this 'TV Chef' was coming to us to talk about. It just so happens that the amazing "Crytek - off the map" competition work that some 3rd years had made, was being used by this man in his TV series that he's trying to get aired. Without going in to detail, he was looking for more work like that but of different places in history. I quite liked the idea and definitely think it would be extremely fun creating that type of work for this purpose.
After the lecture as I have said, I was supposed to buckle down and work until the evening, but all I managed was this:
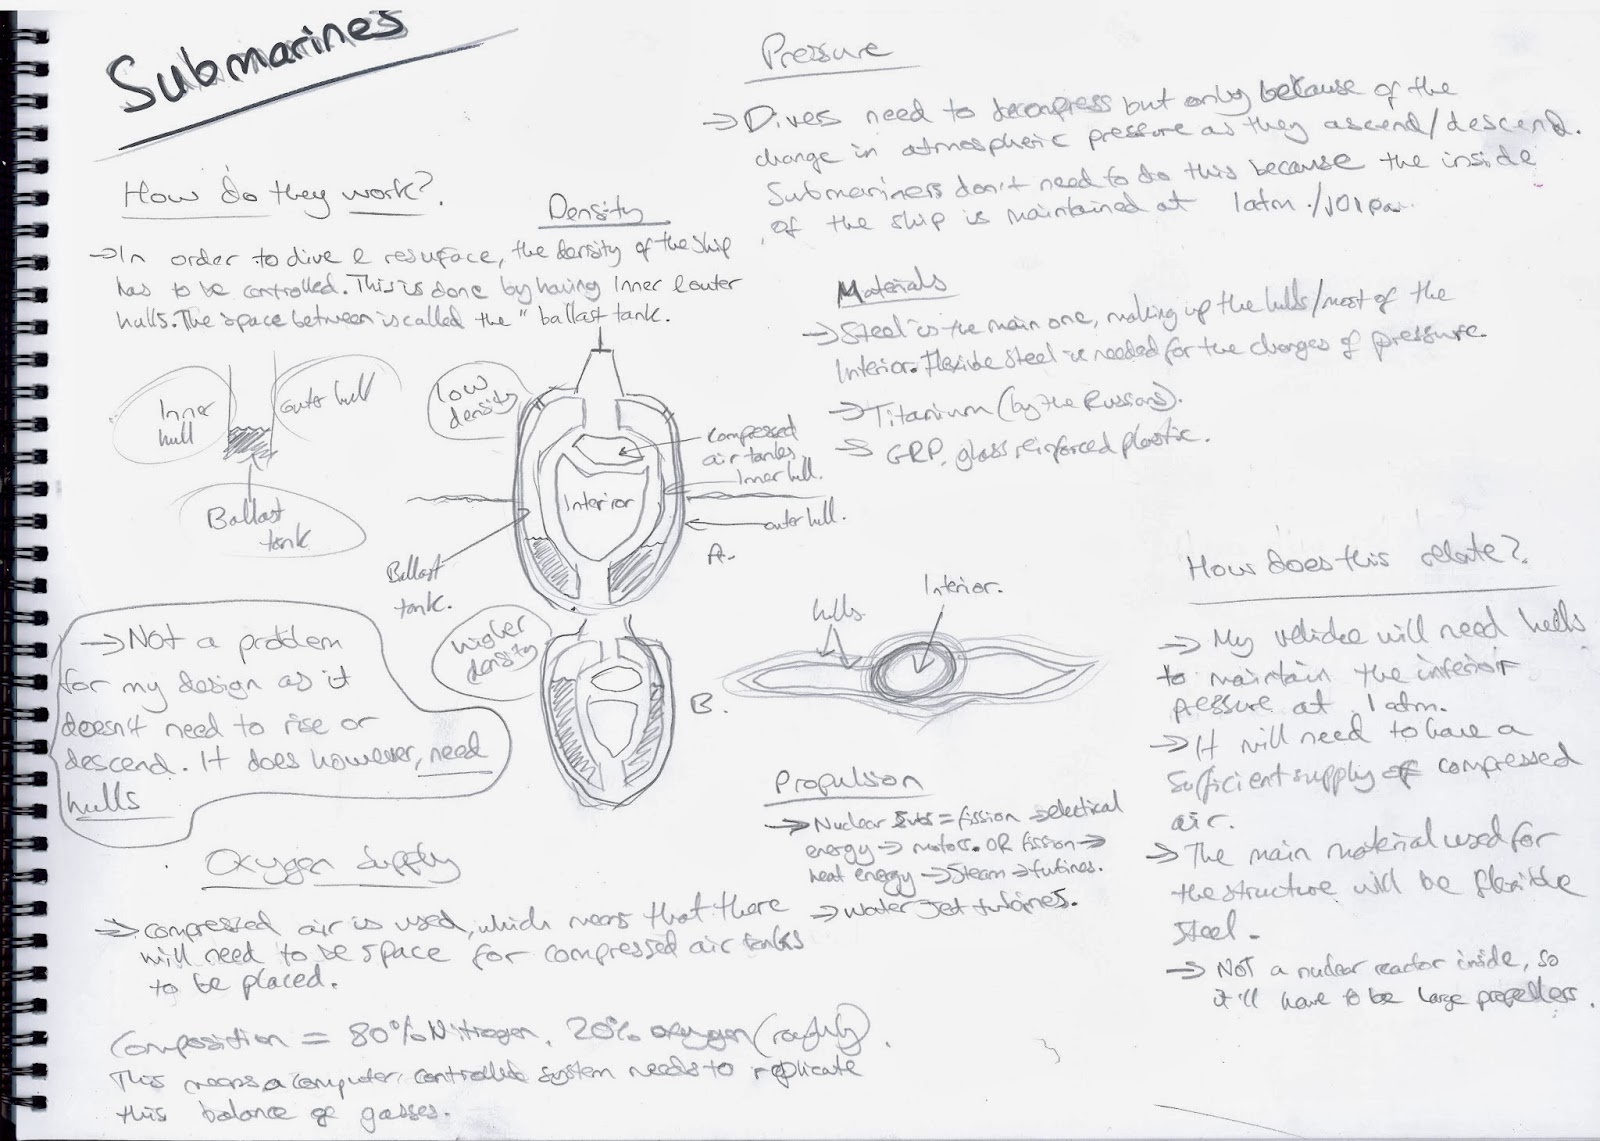
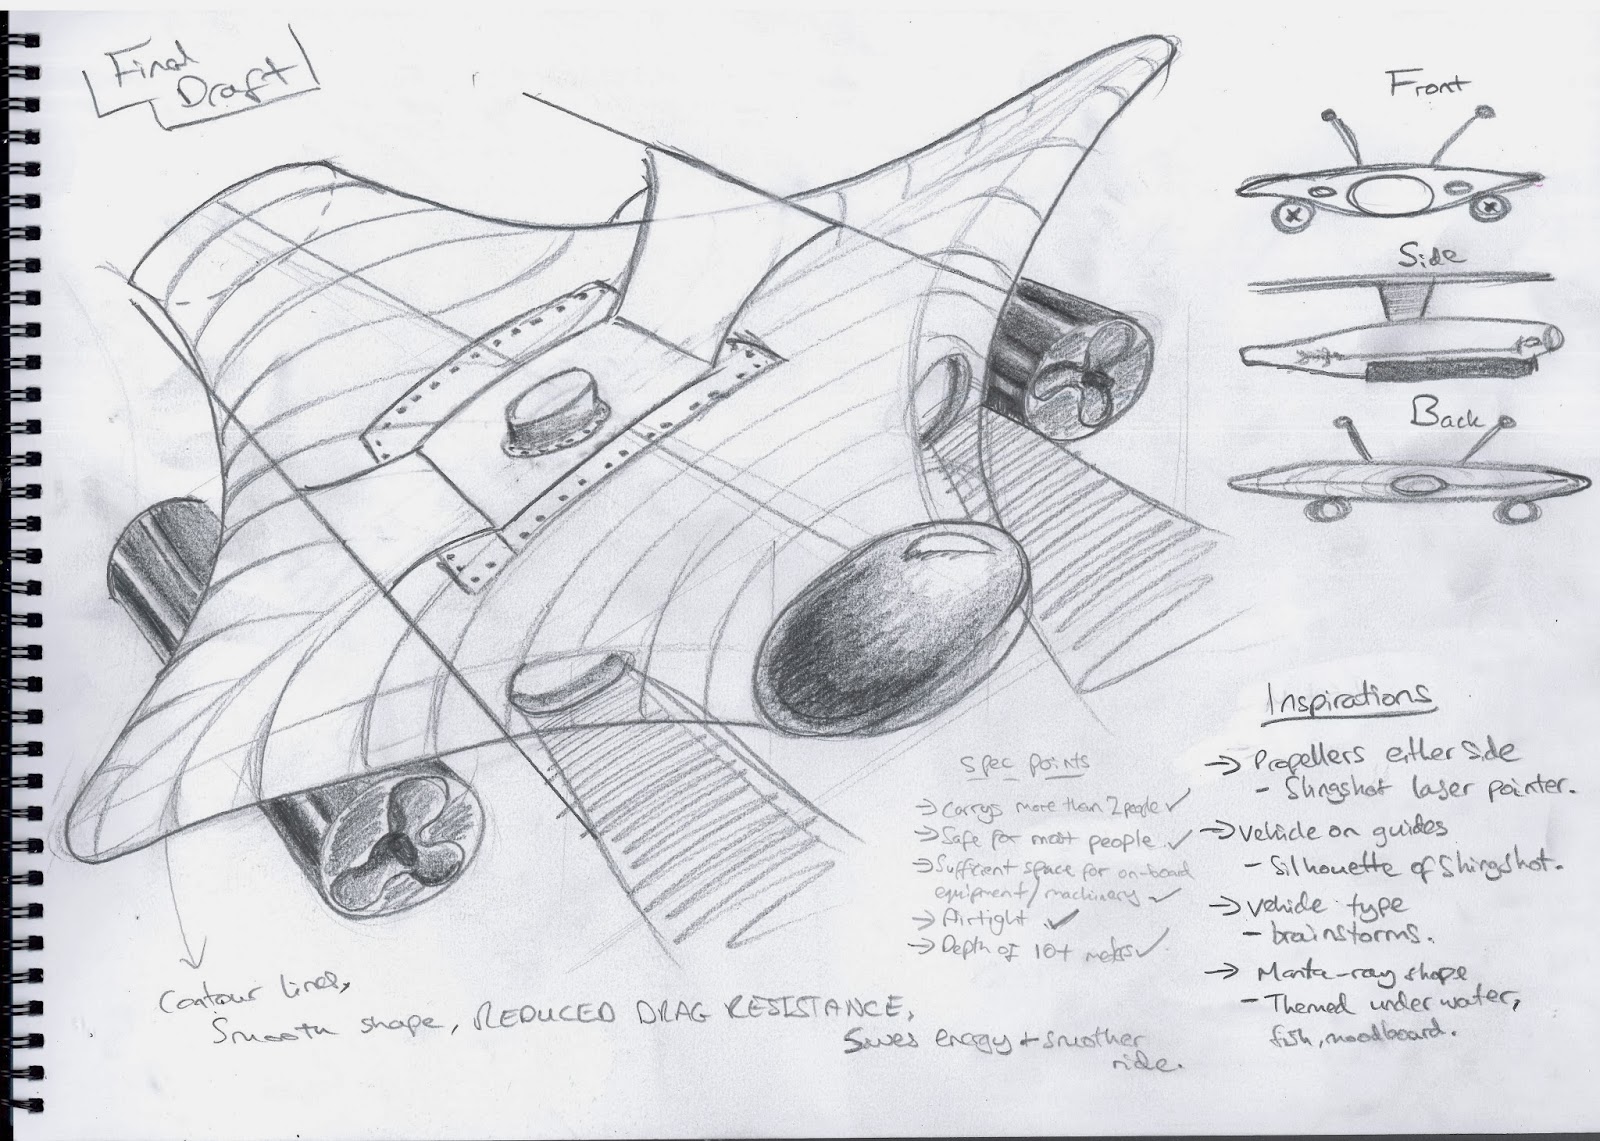
Basic understanding of submarines
How my idea would work


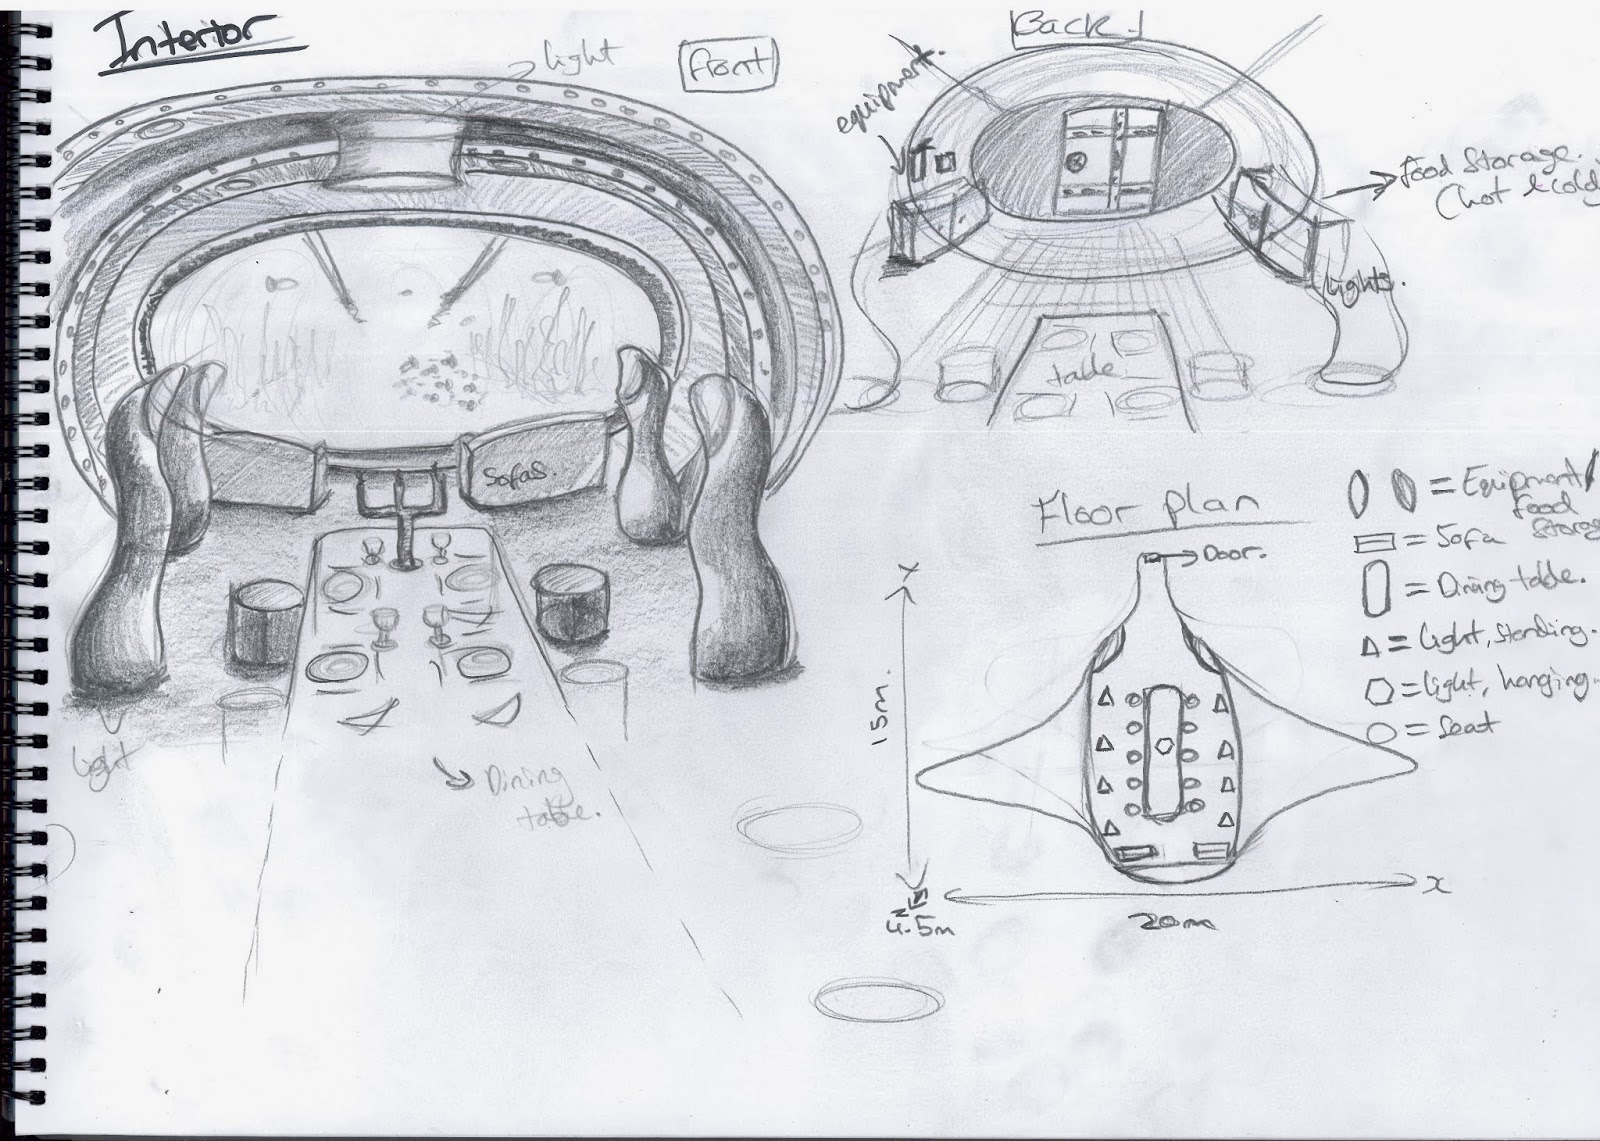
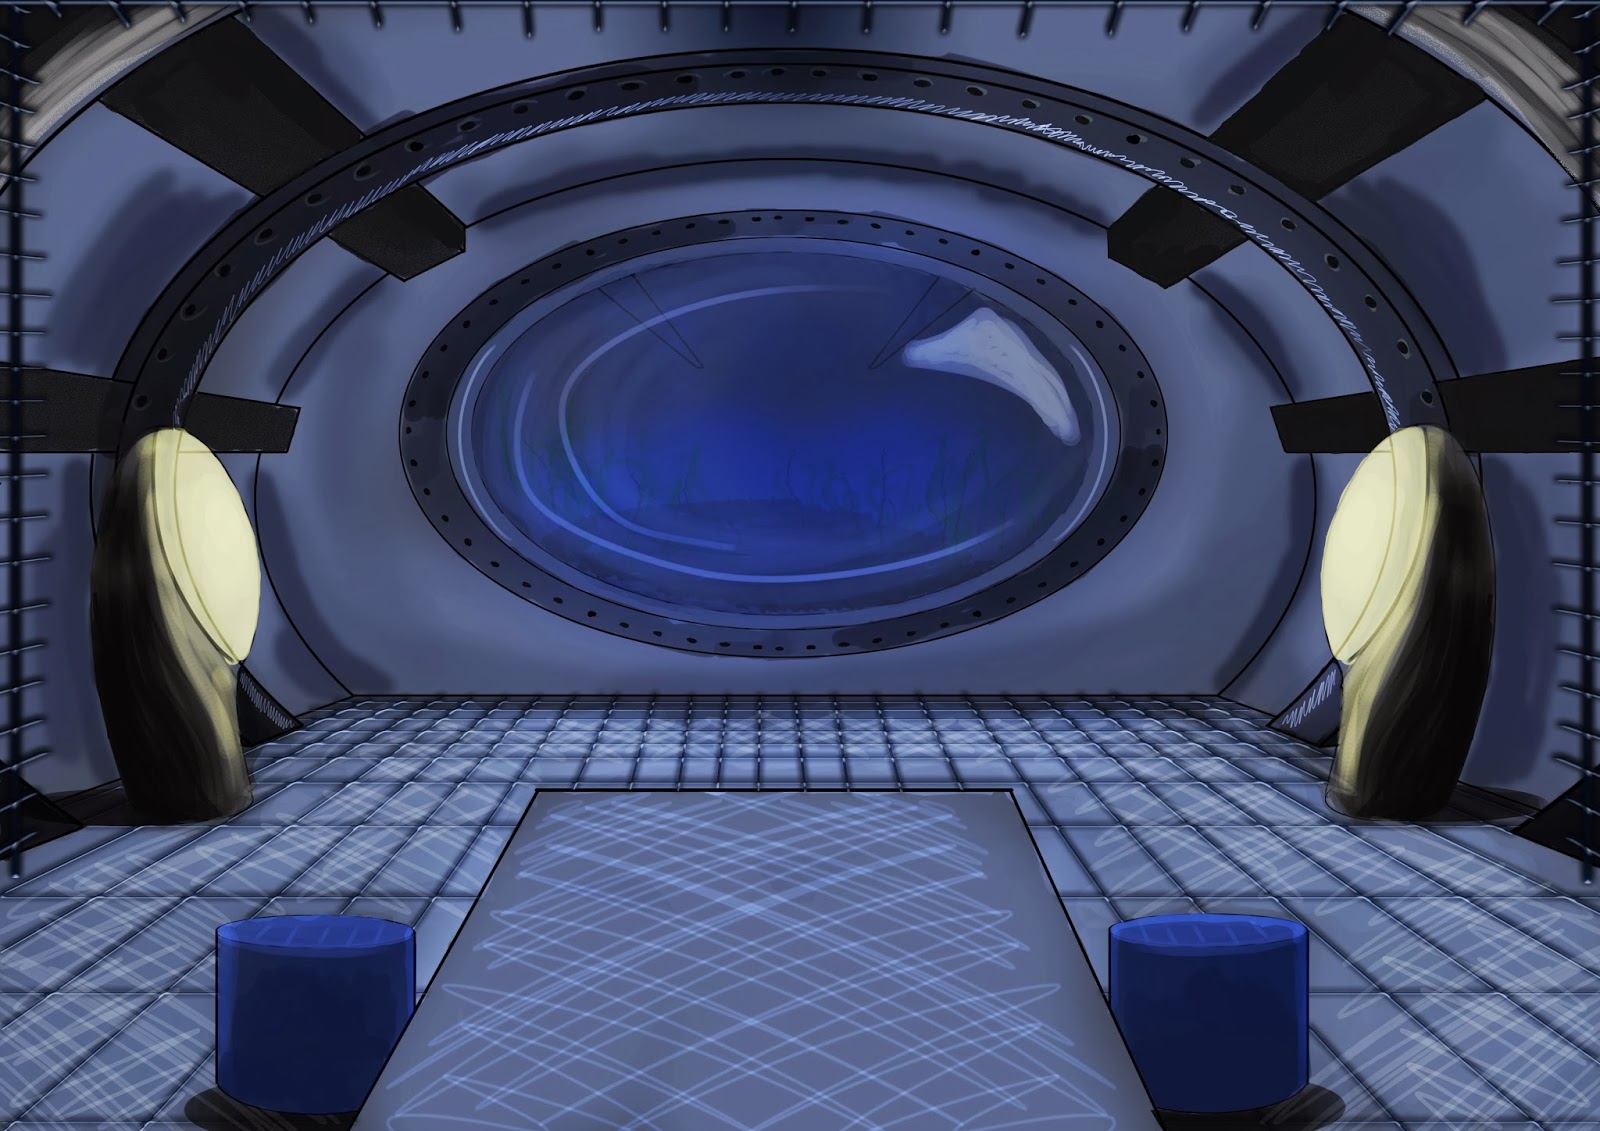
An idea for the interior & floor plan
Final Draft
I am most definitely not proud of the amount of work produced, and at this point, all I was thinking about was us being able to use the graphics tablets the next day - I had no idea what to expect; would I be any good?

Day 4 - Working on a Cintiq = amazing!

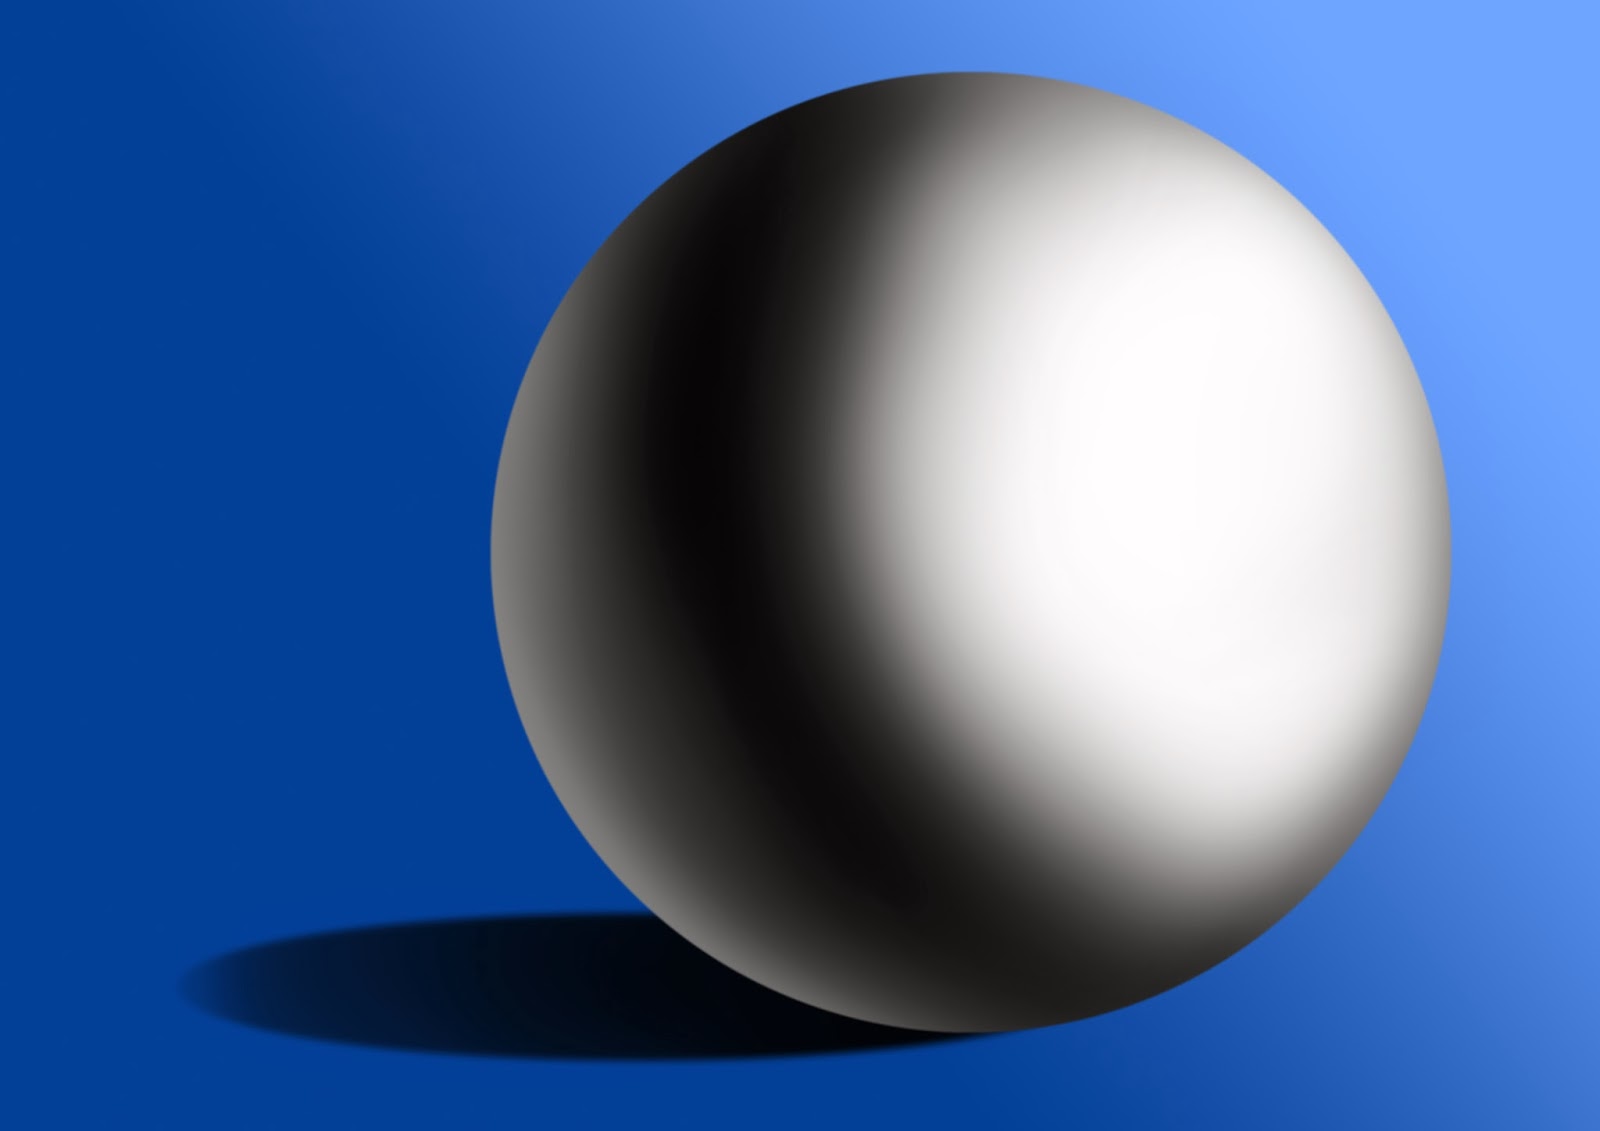
Here came the day that for the first time in my life that I'd even touched a graphics tablet. Mitch gave us a very short introduction to them and just let us play about/get used to how they worked. Obviously, a lot of other people were used to graphics tablets, or had at least used one before to do digital painting in Photoshop, so they just got on with their vehicle designs. I on the other hand was sitting there for about half an hour doing sphere after sphere, shading it to try and get it to look 3D. I have to say that as basic as this is, I really loved the exercise and wanted to produce one that looked pretty good. Here's the first attempt, and my tenth attempt:
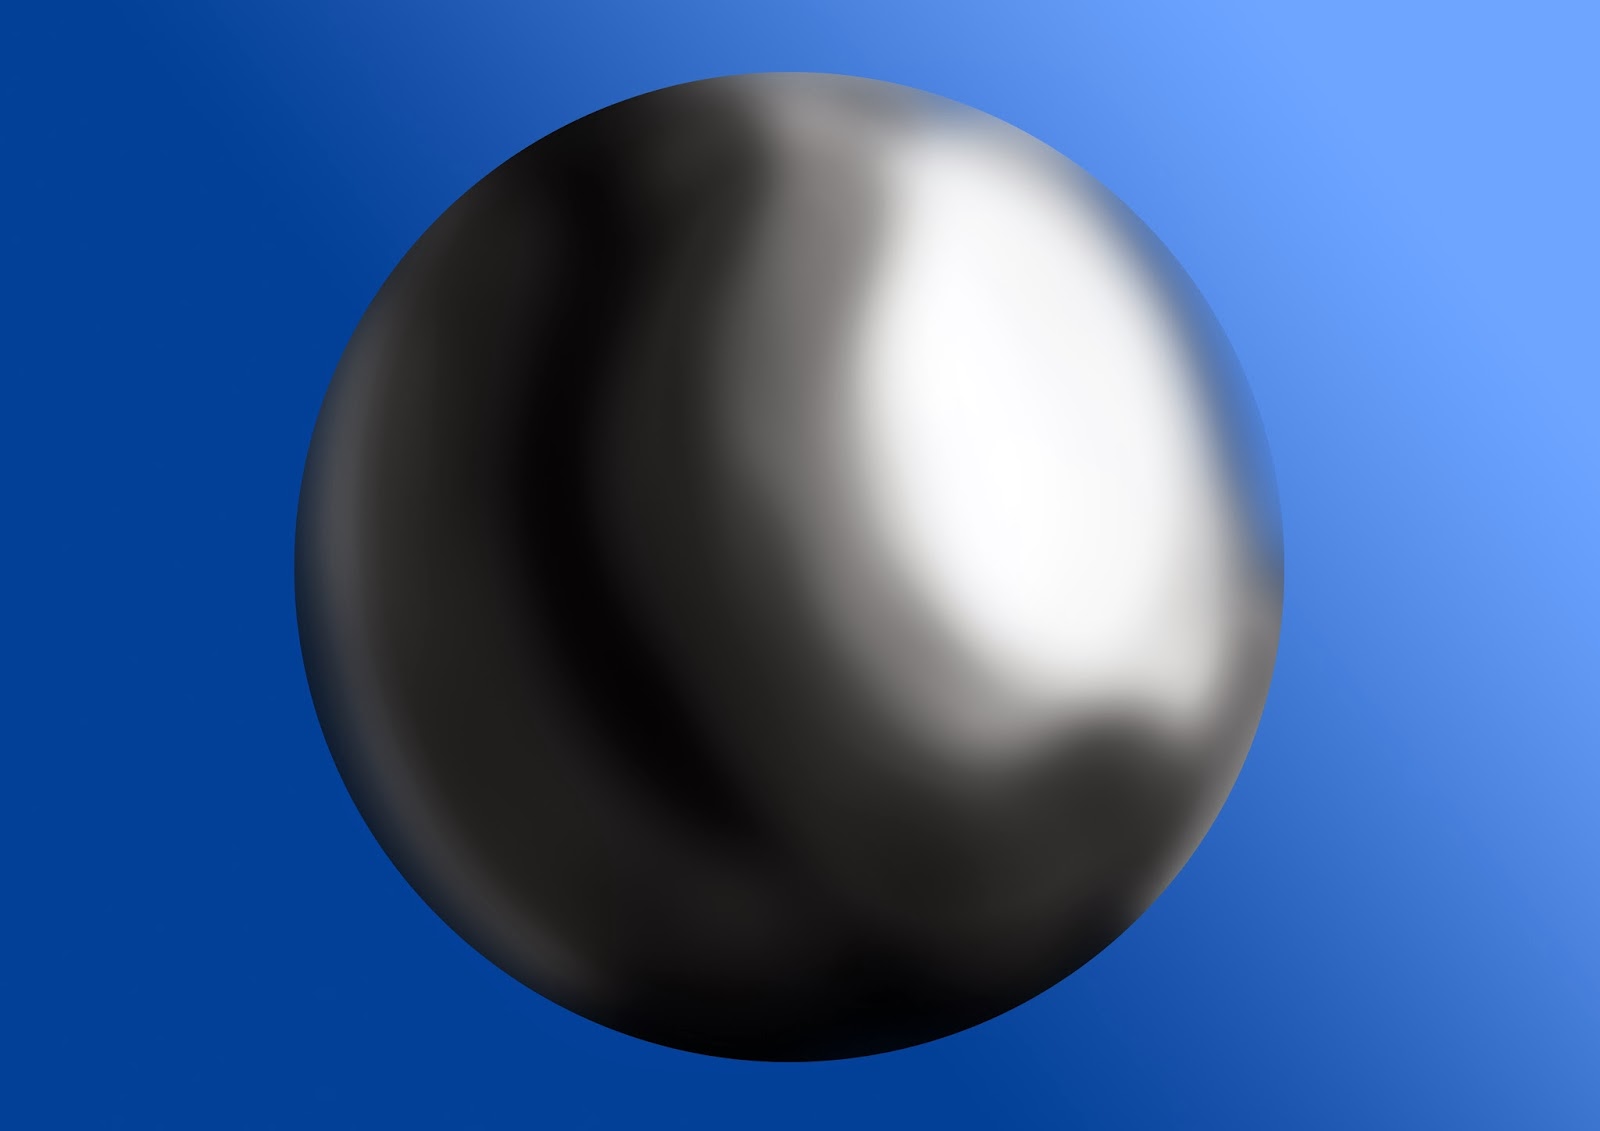
1st Attempt
10th Attempt

As you can see, there is a big difference between the two, the lighting is better, the blending is smoother, and generally a big improvement. Looking at it now though, there should really be a brighter spot towards the top right to use a better range/'make it pop'.

I then spent the next couple of hours trying to sketch out my current vehicle and this is what I ended up with:
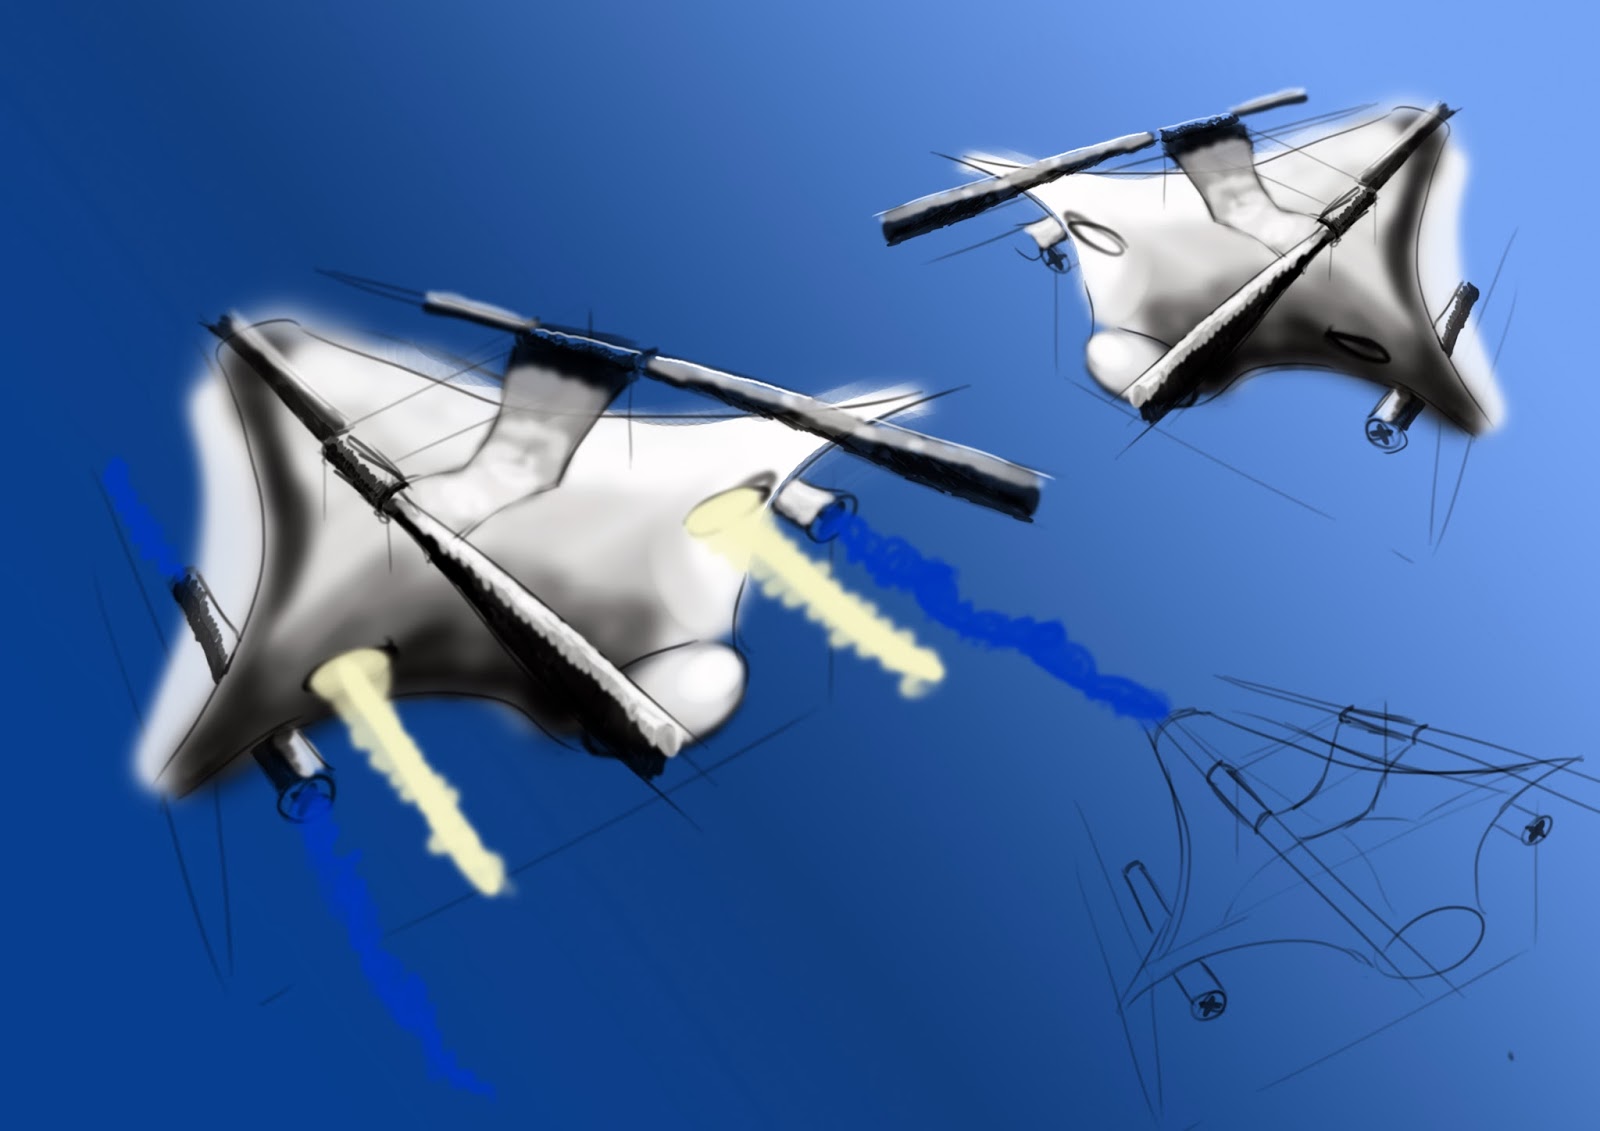
1st attempt at the vehicle
This was not all of the ones I sketched, and I most definitely spent a good couple of hours 'playing about' with colours and getting more used to the tablet. I thought to myself that this is only a draft, and it's far from being a final. So, I got to work on the outline of my final one, being extremely careful about all of my lines and making sure the contour of it looked good. I then proceeded to put on a base colour, and then as it was already 6 o' clock, I left to make myself some dinner - Seeing as I don't have a graphics tablet myself, I didn't do any more work on it until the next day.

Day 5 - Final digital paints & project hand-in

Friday morning I was up rather early to scan in the work I'd done and made my way to the labs to finish off my final pieces. I literally spent all day doing these, and even though I'm slow now, I'll hopefully speed up the more I use them.
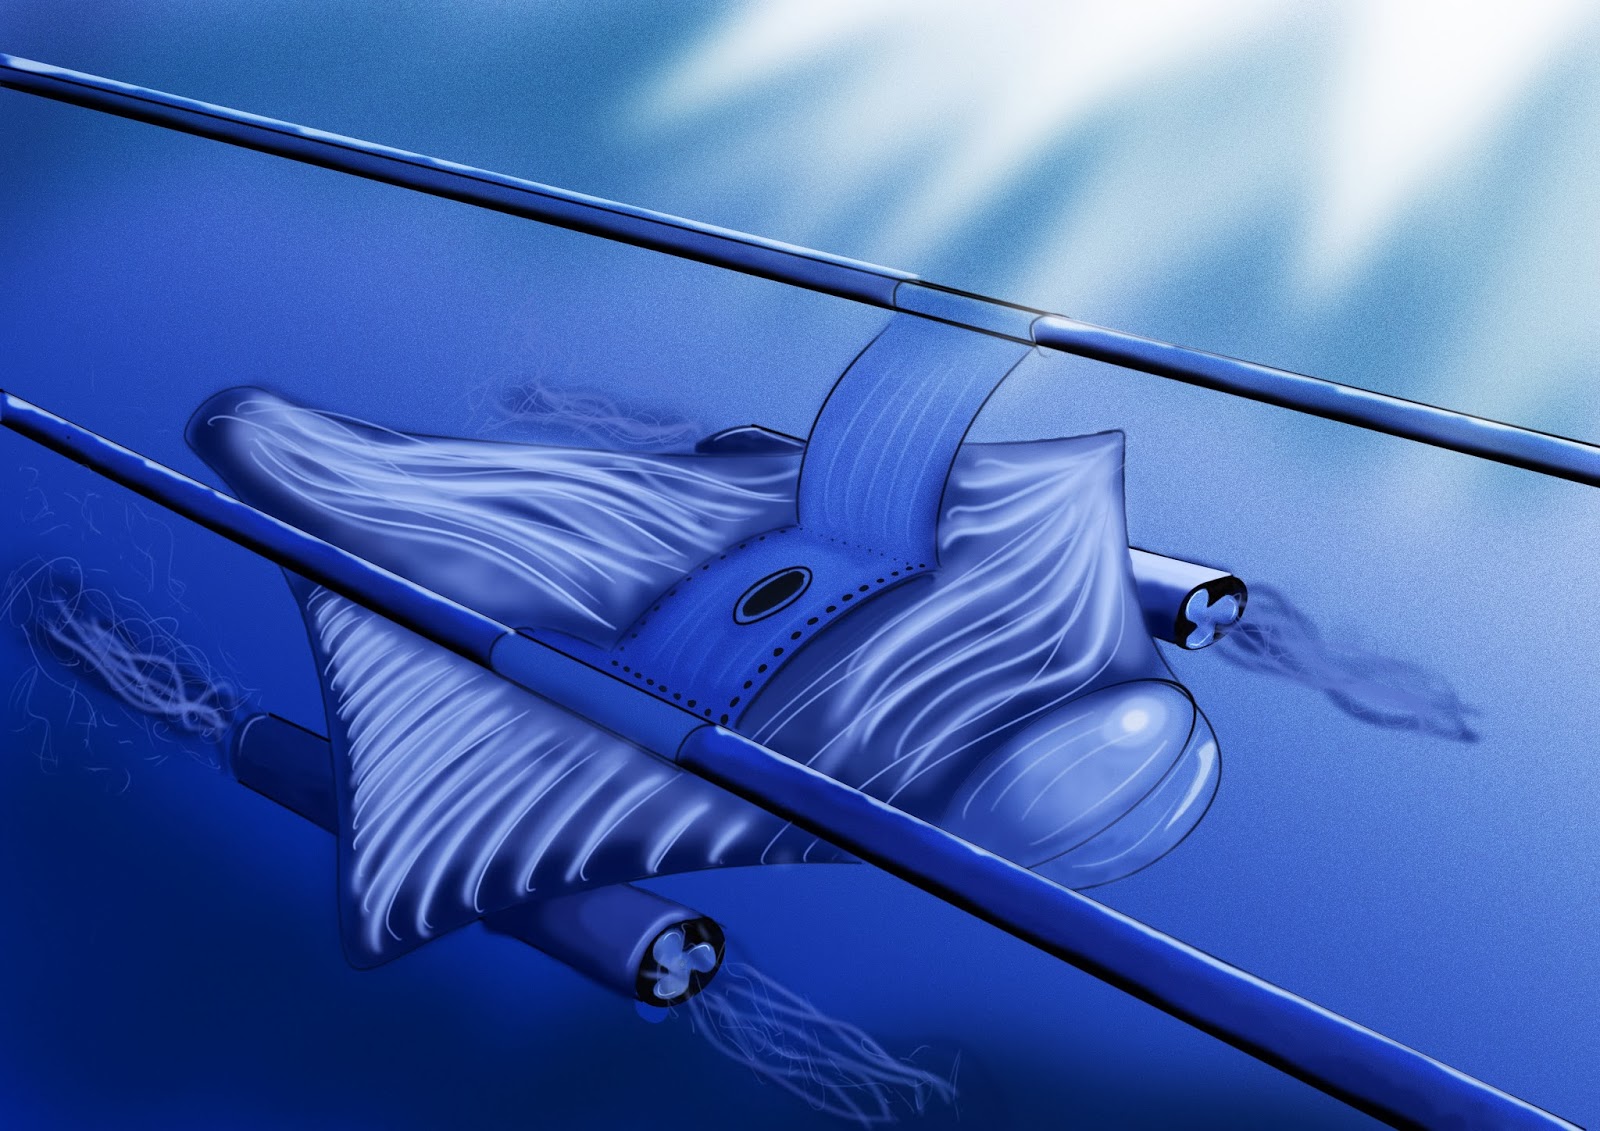
Final Digital Paint - Underwater travel pod

Underwater travel pod interior
From what I have said previously, I was looking for the same learning curve in visual design as I did in game production, and did I get it? Well, despite the complete lack of overall work, I most definitely did have a big learning curve in terms of perspective, and digital painting. I mean, in the space of one day, I went from that abomination of a sphere, to this; even though this isn't particularly amazing in comparison to a lot of other people's, I am proud of the improvement I have made.
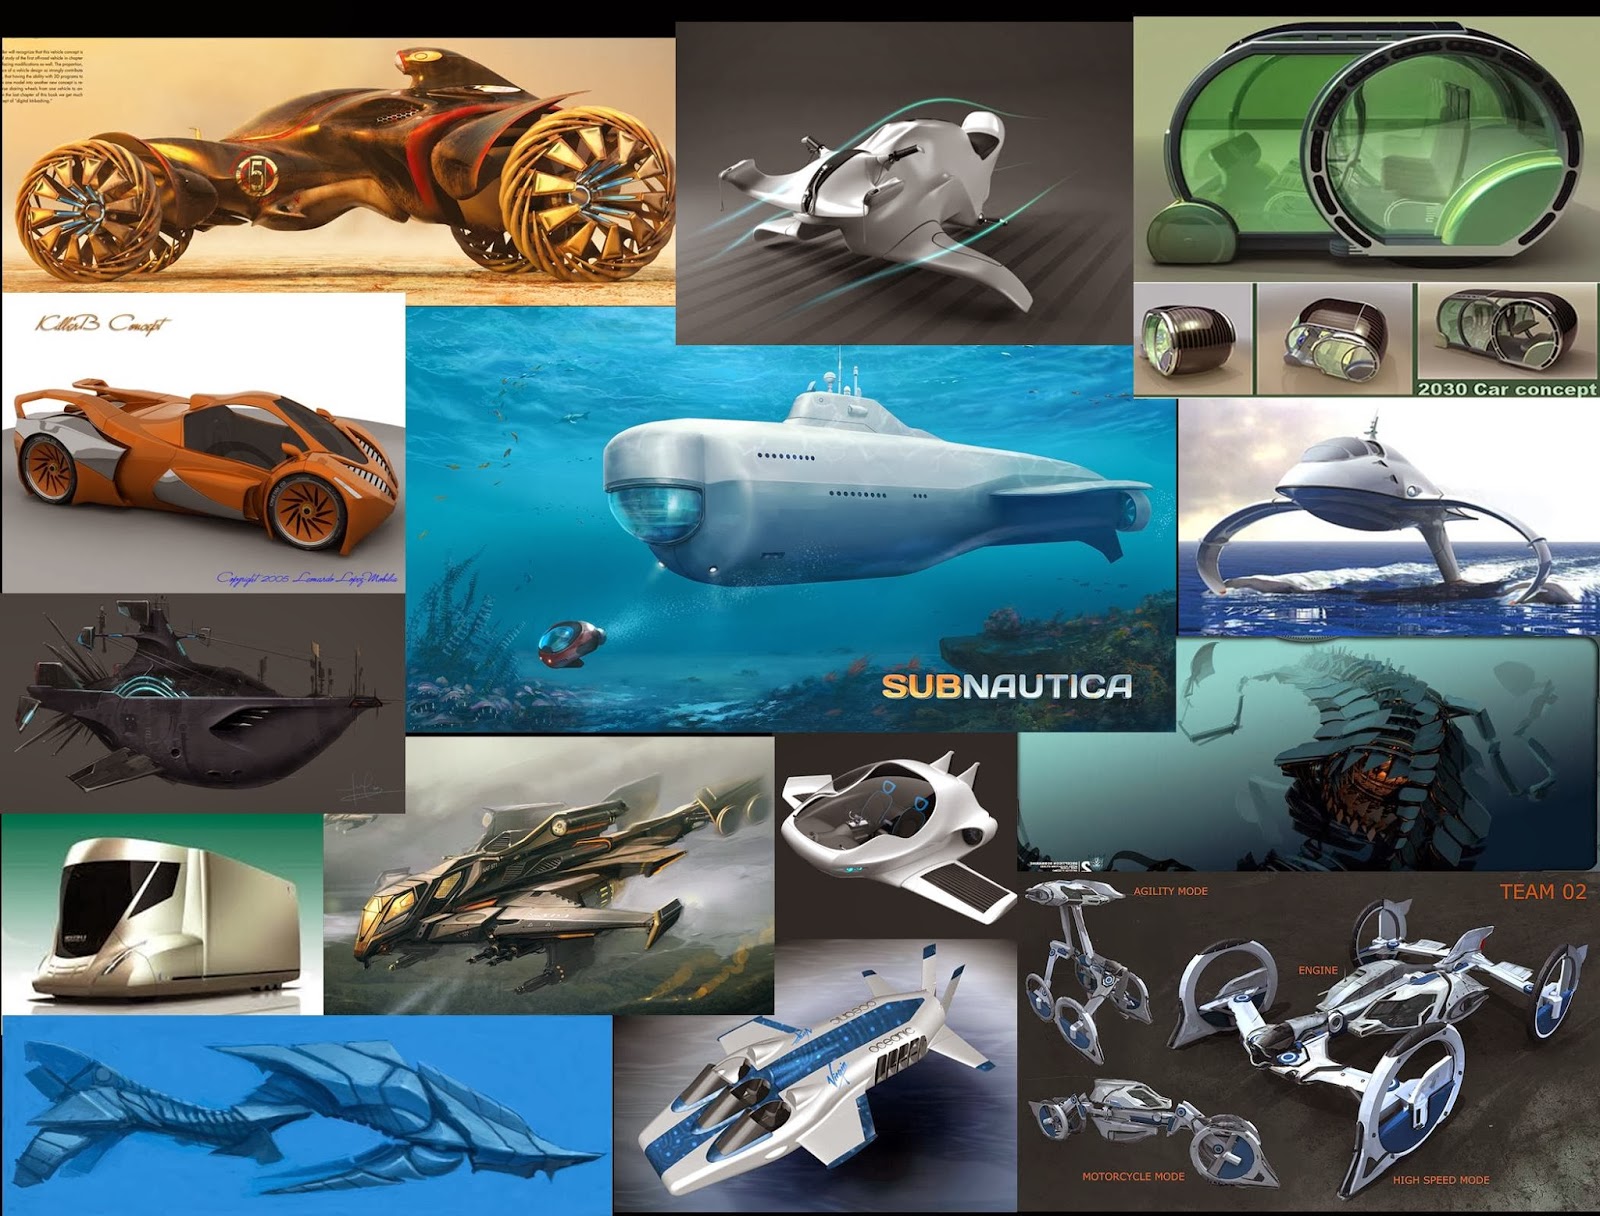
What I will say that I do not like at all was how I handled this project. It is EXTREMELY vague, and rather sloppy. As previously stated, I think it must have been the strict hours I put myself under the week before in game production, and just ran out of steam for this week. No doubt I will get some choice words from Chris about how I haven't done enough, but I know I haven't, I know why, and I do actually understand the design process; it just hasn't been shown here.
I did Product design at A-level and it was drilled into my head with the coursework. So Chris, if you do read this, I apologise for the lack of work on this project, and at the end of the year during the exam period, this is one of the ones I want to revisit and do justice.
To end on a brighter note, I have just ordered a Wacom Bamboo tablet and am very excited to practice on it when I can and will hopefully make many more improvements. These past 2 weeks have certainly been interesting, I have learnt a lot, and wouldn't mind doing something similar in the future because it has been rather beneficial to my education.